Veo 3 for Real Estate: How to Turn Listing Photos Into AI Walkthrough Videos (2026)

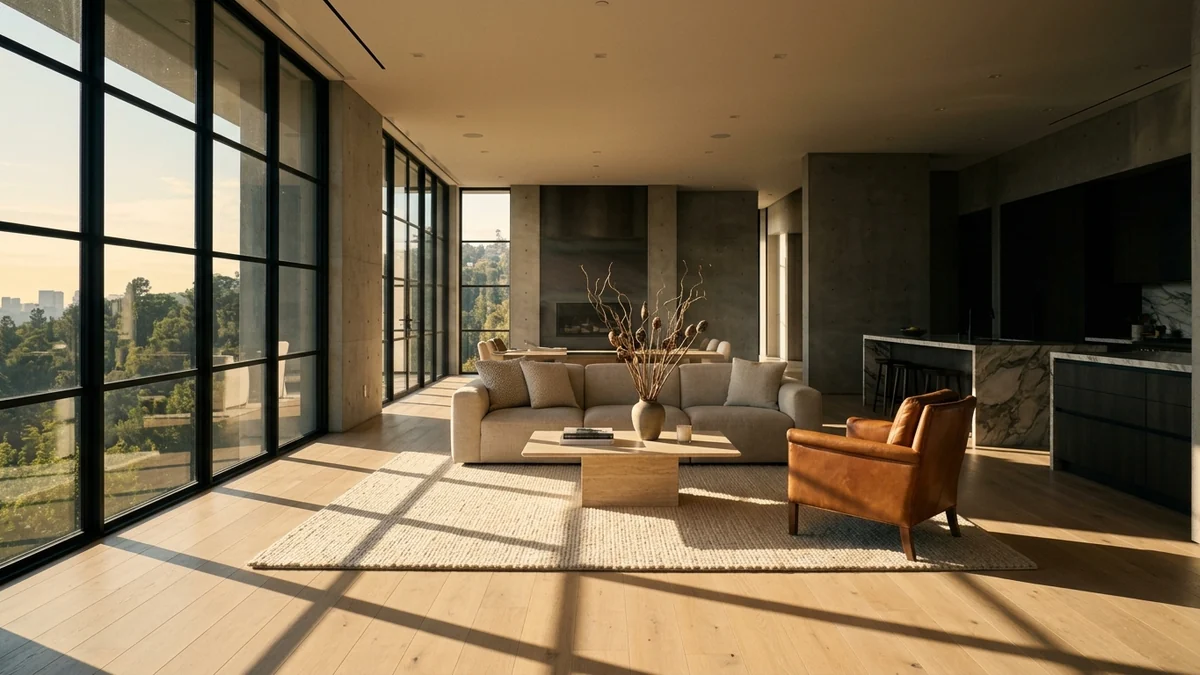
Veo 3 is Google's flagship AI video model, and in 2026 it is the strongest all-round option for property video. It generates high-resolution clips with synchronized native audio, a first for a Google video product, and, the part that matters for listings, it does image-to-video: hand it one photo and it animates a cinematic camera move through the scene. No drone, no crew, no filming day. The Veo 3.1 update (October 2025) sharpened the image-to-video path further.
Our articles are still written by humans!
Get human written articles in your Google feed.
The catch is that Veo 3 is a general video model, not a real estate tool. It will happily generate anything, which means the burden of getting a clean, believable listing clip is on you: what you feed it, what you type, and one step almost everyone skips. Below is exactly how to turn a listing photo into a walkthrough with Veo 3, the prompts that work per room, what it costs, and the faster path if you would rather not juggle any of it.
Quick answer: To make a real estate video with Veo 3, stage or clean up your listing photo first, upload it in image-to-video mode, and prompt one slow camera move (a dolly through the entry, an orbit around the kitchen island), four to eight seconds, no people in frame. Repeat per room and stitch the clips into a 15 to 30 second tour. The biggest quality factor is the photo you start with, not the prompt.
Why Real Estate Is Where Veo 3 Actually Shines
You have seen the bad AI videos: warped faces, seven-fingered hands, people gliding like they are on ice. That is real, and it is why plenty of agents do not trust AI video yet. So here is the thing worth understanding before you spend a credit.
Almost every weakness of AI video comes from two things: people and fast motion. Faces, limbs, crowds, quick physics. A listing video has none of that. It is a slow camera move across a still, empty room, which is the single easiest thing a video model can do. The exact failure modes that make AI video look fake barely touch property footage. That is why Veo 3, pointed at an empty staged room, produces clips that genuinely read as filmed.
Veo 3 adds two things on top that suit real estate specifically. It can synthesize matched ambient audio, the soft room tone of an unfurnished space or footsteps moving from hardwood to rug, which sells the realism. And it handles image-to-video cleanly, so you start from your real listing photo rather than an invented room. The whole game reduces to two rules: keep people out of frame, and keep the camera move slow and singular.
How Veo 3 Makes a Video From a Listing Photo
The workflow is image-to-video, and it is quick once you have a photo worth animating. For one room:
- Open Veo 3 in image-to-video mode in the Gemini app, Google Flow, or the Gemini API, and upload your staged room photo. A clean, well-lit, straight-on shot animates best.
- Prompt one camera move, matched to the room, and describe the light. One move per clip, nothing fancy.
- Set duration to four to eight seconds. Short clips are more stable and easier to stitch than one long take.
- Generate, review, and regenerate if the motion drifts. Slow, simple moves rarely need more than a try or two.
- Repeat per room and stitch the clips into a 15 to 30 second walkthrough, best room first.
Which camera move for which room is most of the craft. This table is the shorthand:
Watch: Turning Listing Photos Into Video With Veo 3
If you would rather see the image-to-video workflow in motion first, this short walkthrough runs real estate photos through Veo 3 end to end, a useful check on what the output actually looks like before you try it on your own listing.
A Veo 3 real estate workflow, listing photos to video. Third-party tutorial by The Social Theory on YouTube.
The takeaway is the one this guide keeps returning to: keep people out of frame, keep the camera move slow, and above all, the clip is only as good as the photo you feed it, which is what the staging step below is about.
Copy-Paste Veo 3 Prompts for Real Estate
Paste one of these into Veo 3's image-to-video prompt box after uploading the room photo. Keep the room well lit, the move slow, and the frame empty of people.
- Entry: "slow dolly forward through the front entry into a bright open-plan living room, eye-level, smooth steady gimbal motion, warm natural daylight, photorealistic, no people"
- Living room: "gentle slow orbit around a styled living room with a sectional sofa and coffee table, soft afternoon light, calm cinematic motion, no people"
- Kitchen: "smooth glide around a modern kitchen island, past the countertop and pendant lights, bright even lighting, premium real estate look, no people"
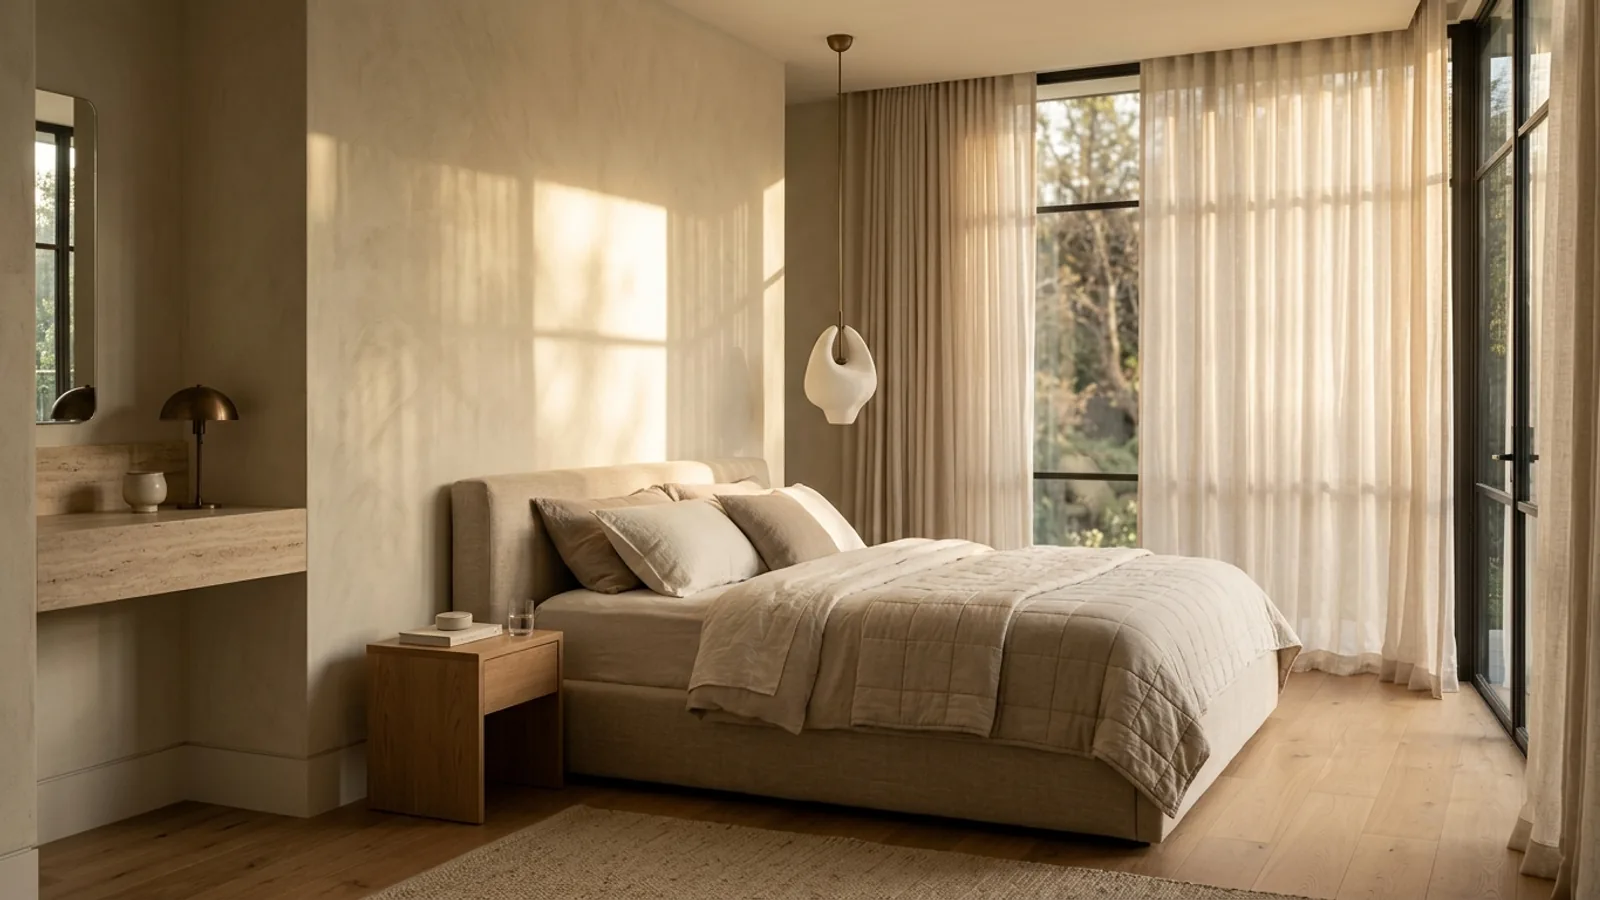
- Bedroom: "slow dolly in toward a made bed in a calm primary bedroom, large window with soft morning light, steady motion, no people"
- Bathroom: "slow pan across a spa-like bathroom, freestanding tub and stone vanity, soft diffused light, elegant and steady, no people"
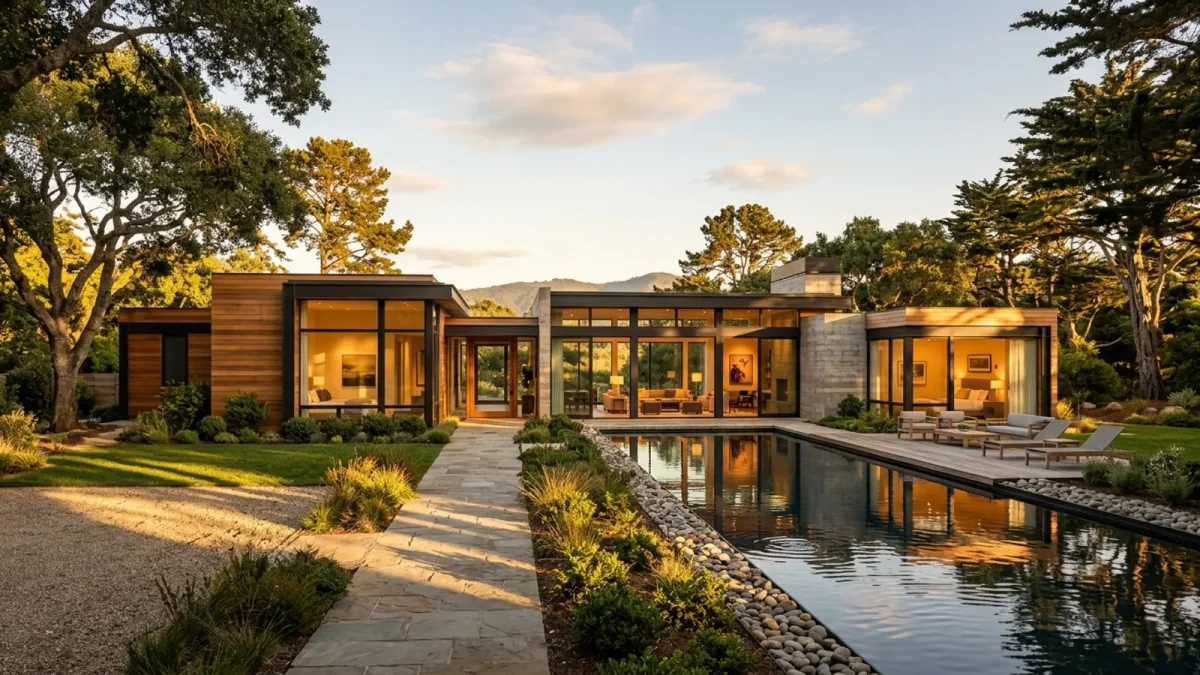
- Exterior: "crane up over the front of a modern house at golden hour, revealing the facade and driveway, smooth rising motion, cinematic, no people"
Rule of thumb: one slow, well-chosen move per room beats a dozen flashy ones. If a clip looks off, it is almost always the move that was too fast or the photo that was too busy, not the wording.
The Step Everyone Skips: Stage the Room First
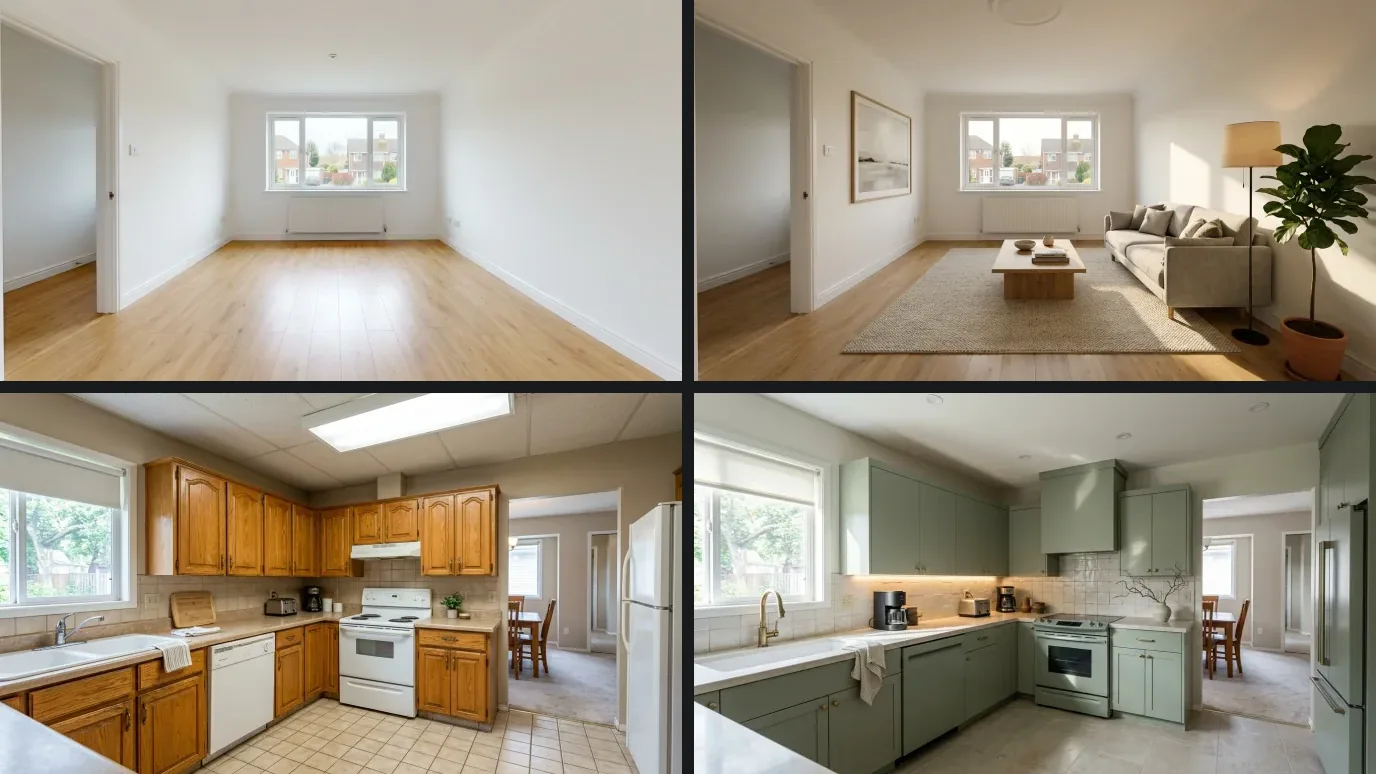
Here is the honest truth that separates a listing video that sells from one that gets scrolled past. Veo 3 animates whatever is in your photo. If the room is empty, dated, or cluttered, you get a beautifully animated empty, dated, or cluttered room. The camera move cannot fix the space, it only moves through it.
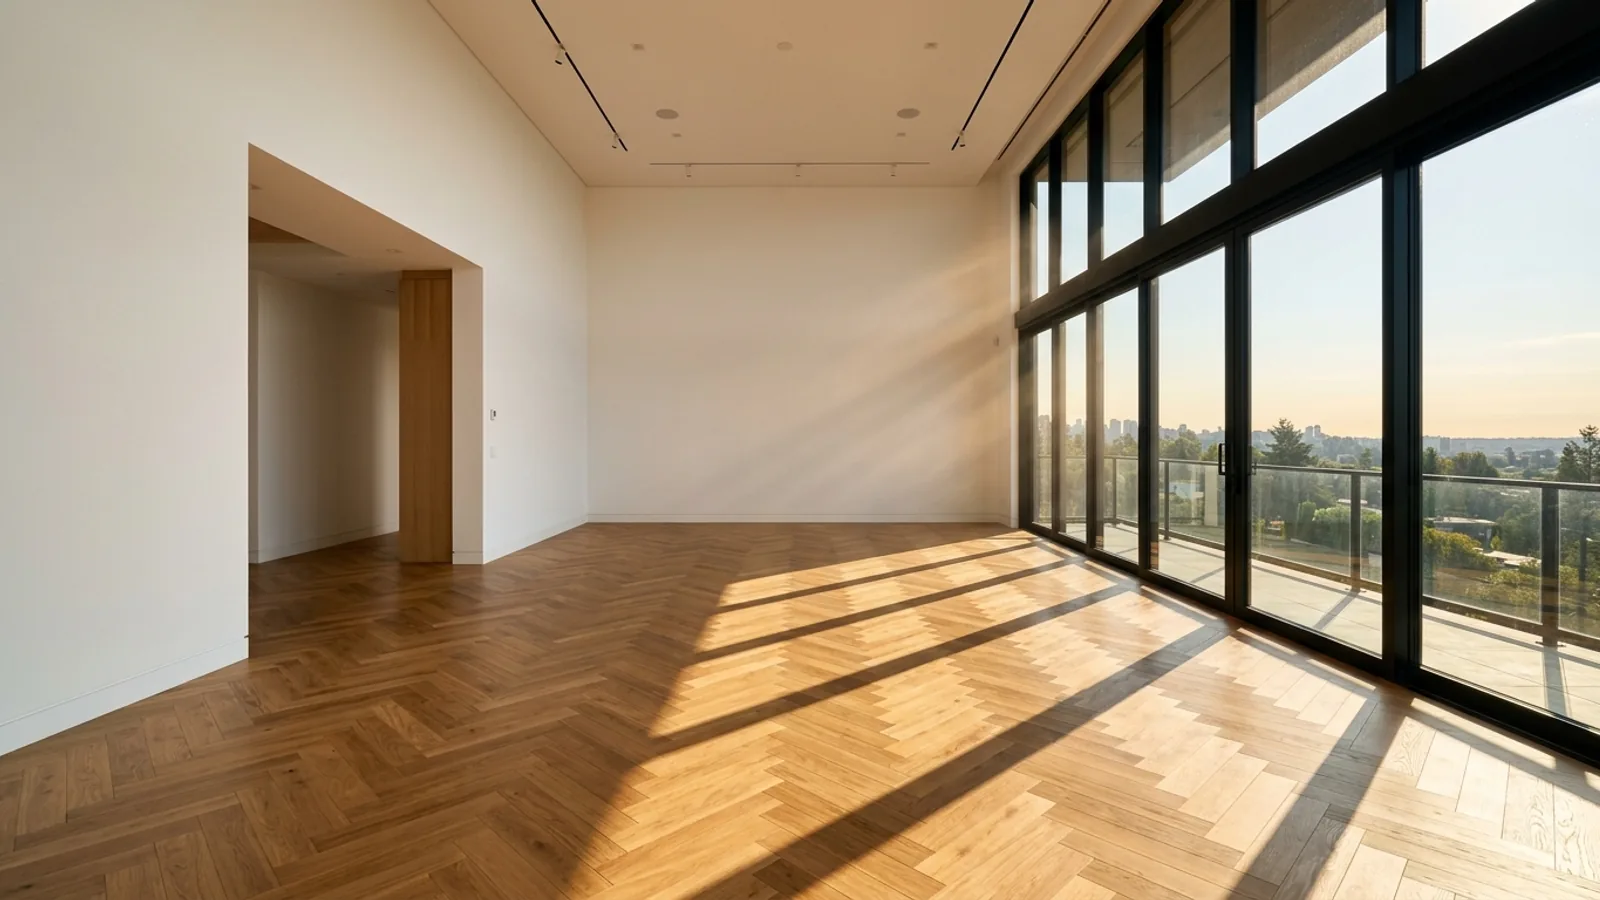
So stage the photo before you ever open Veo 3. This is where MeltFlex does the work no video model does: upload a photo of the actual room, empty or dated, and it furnishes or restyles it into something worth filming while keeping your real walls, windows, and proportions. You get a clean, room-accurate image to feed straight into Veo 3.
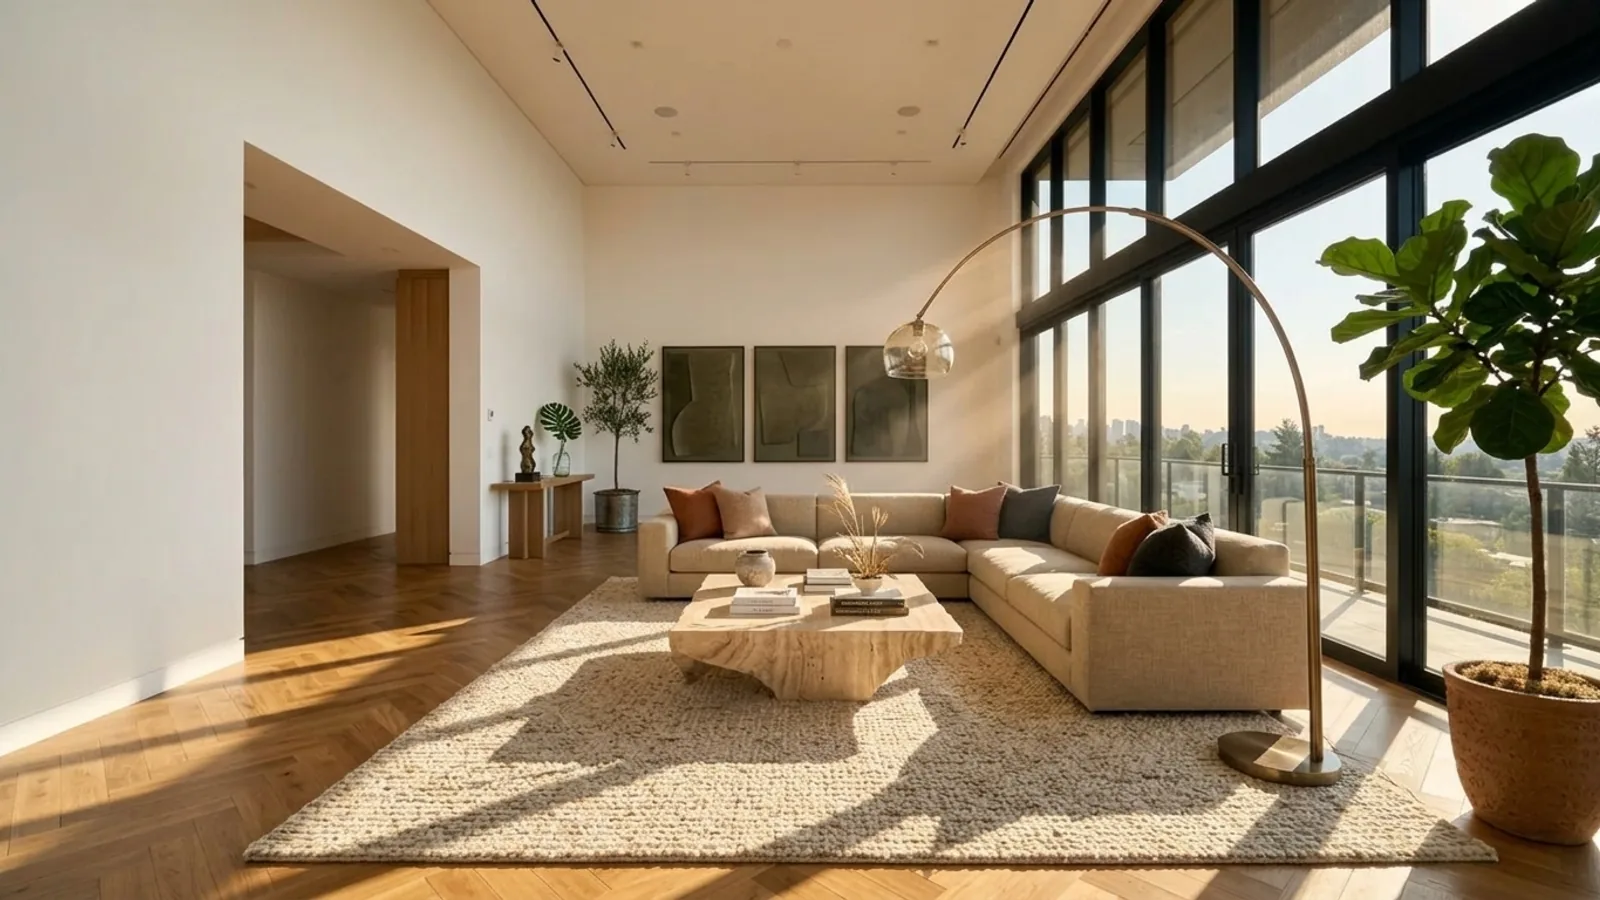
Same room, same layout, now a scene a buyer wants to walk through. Stage first in MeltFlex's create tool, then animate. Skip this step and no prompt will save the clip.
The Faster Path: Skip the Juggling Entirely
Veo 3 is powerful, but for a listing you are stitching together three separate jobs: staging the room somewhere, writing prompts, and generating and assembling clips one at a time. If you make videos occasionally that is fine. If you list every week, it is a lot of steps for a 20 second tour.
This is why we built the MeltFlex AI video walkthrough. It wraps the same class of image-to-video technology into one flow made for property: you upload a room photo, MeltFlex can stage it first, and then you pick a camera style, cinematic, walkthrough, orbit, drone, golden hour, instead of writing a prompt. One click and you get the clip.
A MeltFlex walkthrough generated from a single interior photo. Camera style picked, no prompt written.
The same one-photo-in approach works for exteriors and architectural renders, useful for marketing a project before it is built.
The trade-off is honest: clips are short, so a full tour is several stitched together, and it is built for rooms and buildings rather than open-ended filmmaking. If you want to direct a complex multi-shot scene, a raw model like Veo 3 gives you more rope. For a listing, that rope is mostly unnecessary. You can try the walkthrough tool here and see the difference on your own photo.
What It Costs, and Why It Is Worth Doing
Veo 3 runs on a Google AI subscription or the Gemini API, where a short clip is a dollar or two in 2026, so a stitched tour is a few dollars of compute against the 1,000 to 1,500 dollars a filmed listing video used to cost. Pricing moves often, so check Google's current rates before you budget. The MeltFlex walkthrough folds into a normal plan with the staging, so there is no separate video model to meter. If Veo's per-clip price is what stops you, the budget route is Kuaishou's model instead: our guide to making listing videos with Kling AI runs the same pipeline at roughly a tenth of the cost per second.
The reason to bother is demand-side. Listings with video are widely reported to receive 403 percent more inquiries, a figure attributed to the National Association of Realtors, yet only a minority of agents produce listing videos because traditional videography is slow and expensive. A walkthrough from a single staged photo removes that cost, which is the whole point of doing it with AI.
Bottom Line
Veo 3 is a genuinely strong way to turn a listing photo into a cinematic walkthrough, as long as you respect the two rules, keep people out and the move slow, and, above all, stage the room before you animate it. Do that and the results look filmed.
If you want the shortest path, stage your room in MeltFlex and generate the clip with the AI video walkthrough in one place. If you want to see how Veo 3 stacks up against Kling, Runway for real estate video and the rest before you pick, our roundup of the best AI video generators for real estate tests them side by side, and if you prefer a preset-driven model with fine camera control, our guide to Higgsfield for real estate covers that approach.



)