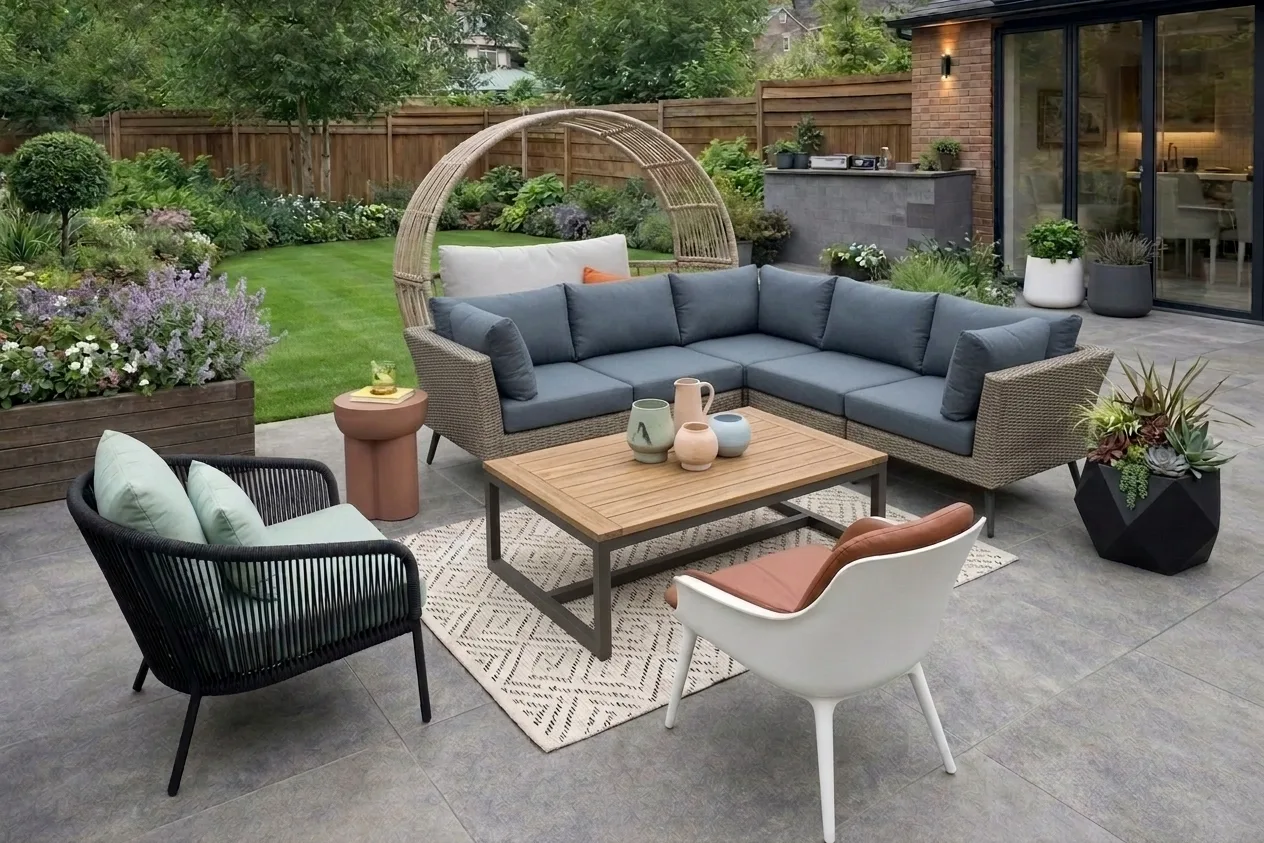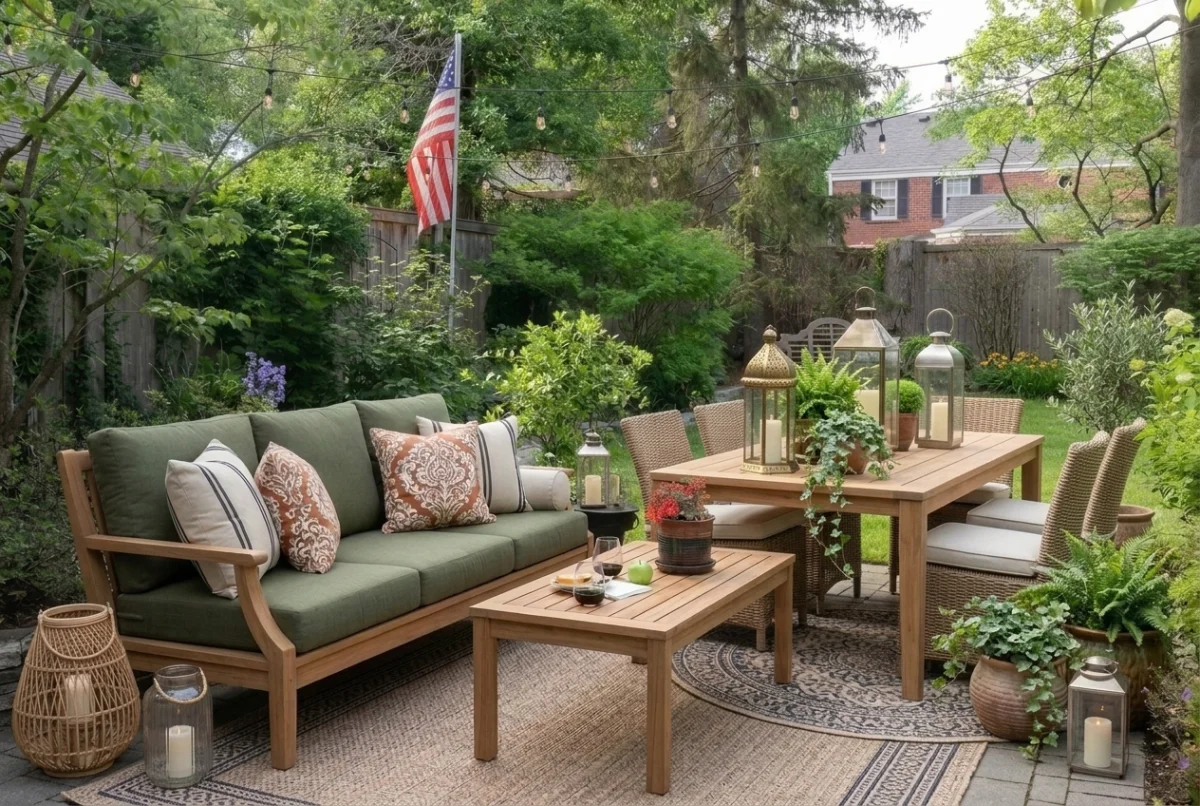
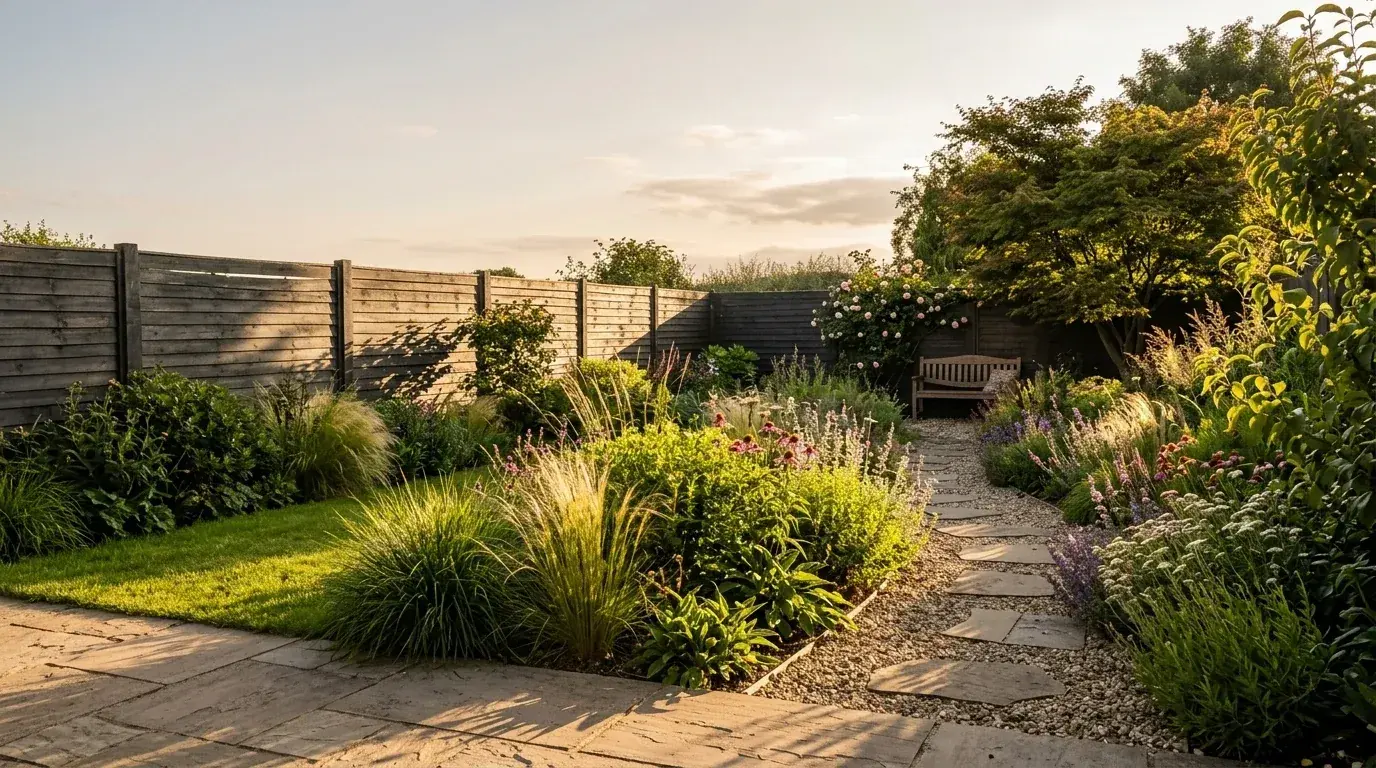
Short answer: design a garden layout by surveying first, then dividing the space into zones by use, then cutting the borders deep before you decide the lawn shape. Aim for borders at least 3 feet deep and ideally 5 to 6 on the main sides, plant in odd-numbered groups of three, five or seven rather than one of everything, and give the garden a reason to be walked into rather than only looked at.
Our articles are still written by humans!
Get human written articles in your Google feed.
There is one thing this guide covers that almost nothing else does, and it matters more than any planting list: every garden render you have ever seen, AI or otherwise, is a lie about time. It shows a mature garden in perfect summer light. Yours will spend its first two years looking sparse and about four months a year looking bare, and knowing that up front is the difference between a garden you enjoy and one that disappoints you every spring.
Step 1: Survey before you design anything
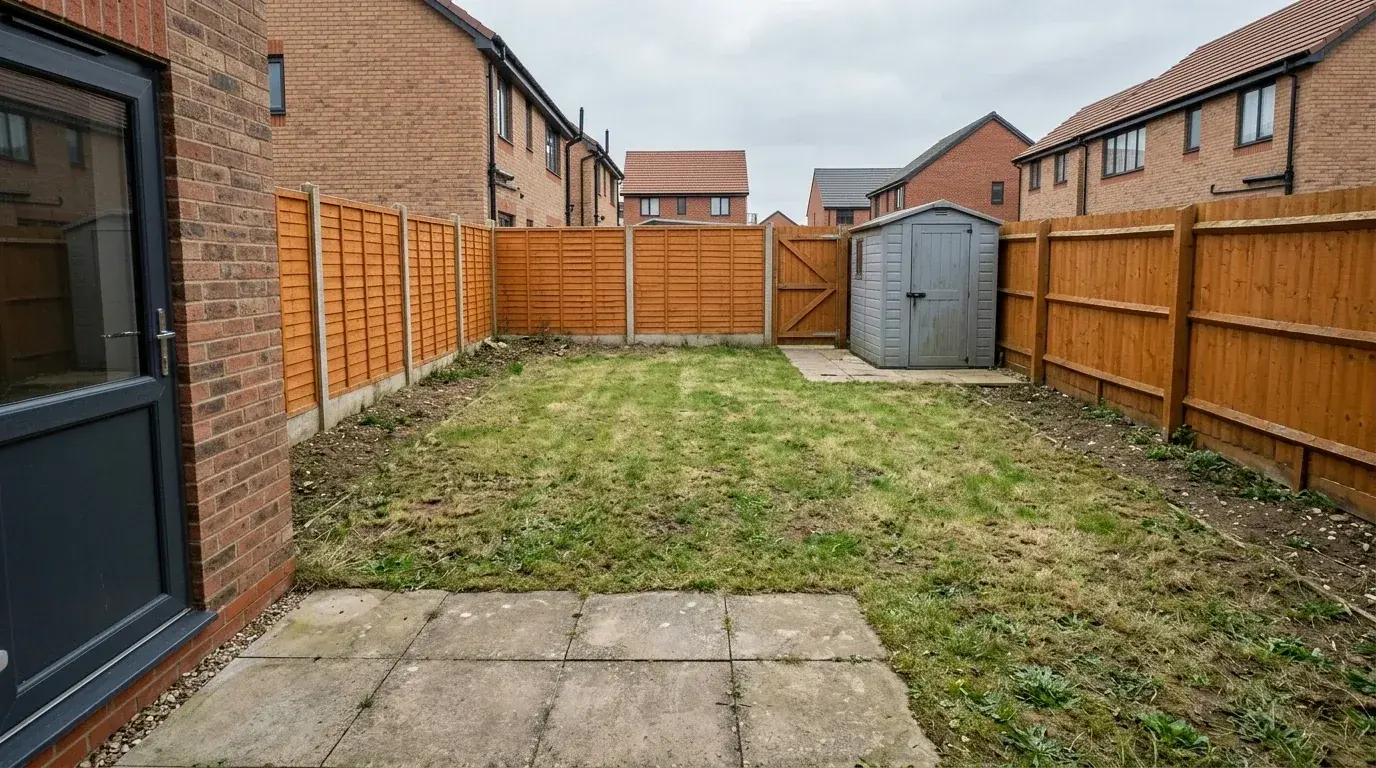
This is where most gardens start: a flat rectangle of tired lawn, a token square of concrete by the back door, bare strips against the fence, and a shed shoved in a corner. It is not a bad garden. It is an undesigned one, and everything below is about the order in which you fix that.
Before drawing anything, spend a weekend recording four things.
Where the sun actually lands. Not which way the garden faces, which tells you less than people think once fences and neighbouring buildings are involved. Take a photo from the same spot at 9am, 1pm and 6pm and mark the shade. Almost every plant failure traces back to this.
Where the water goes. Find the corner that stays wet after rain and the strip along the house wall that never gets any, because that dry rain shadow beside a wall is consistently the hardest place in a garden to plant.
What cannot move. Manholes and drain covers, mature trees with protected root zones, the washing line, the route to the bins, and where a wheelbarrow needs to get in.
What the garden is for. Eating outside, children, growing vegetables, a place to sit with coffee at 7am, or simply looking good from the kitchen window in winter. These conflict, and deciding the priority now saves rebuilding later.
Step 2: Check your hardiness zone, not the one you remember
Your USDA hardiness zone is the average annual extreme minimum winter temperature where you live, and it decides which perennials survive. The reason to look it up rather than recall it is that it has changed.
The 2023 USDA Plant Hardiness Zone Map was the first revision since 2012. It is built on 1991 to 2020 weather data drawn from 13,412 weather stations, against 7,983 for the previous map, and the general direction is warmer, with many areas shifting half a zone. Omaha moved from 5b to 6a, a 15°F difference in the figure it is planned against.
Two honest caveats, because zone is over-trusted. It describes winter cold only, so it tells you nothing about summer heat, humidity or drought, which kill plenty of plants that are perfectly hardy on paper. And a warmer zone number is not permission to relax: it is an average of extremes, and a single hard winter still does what a single hard winter does.
Step 3: Divide the garden into zones
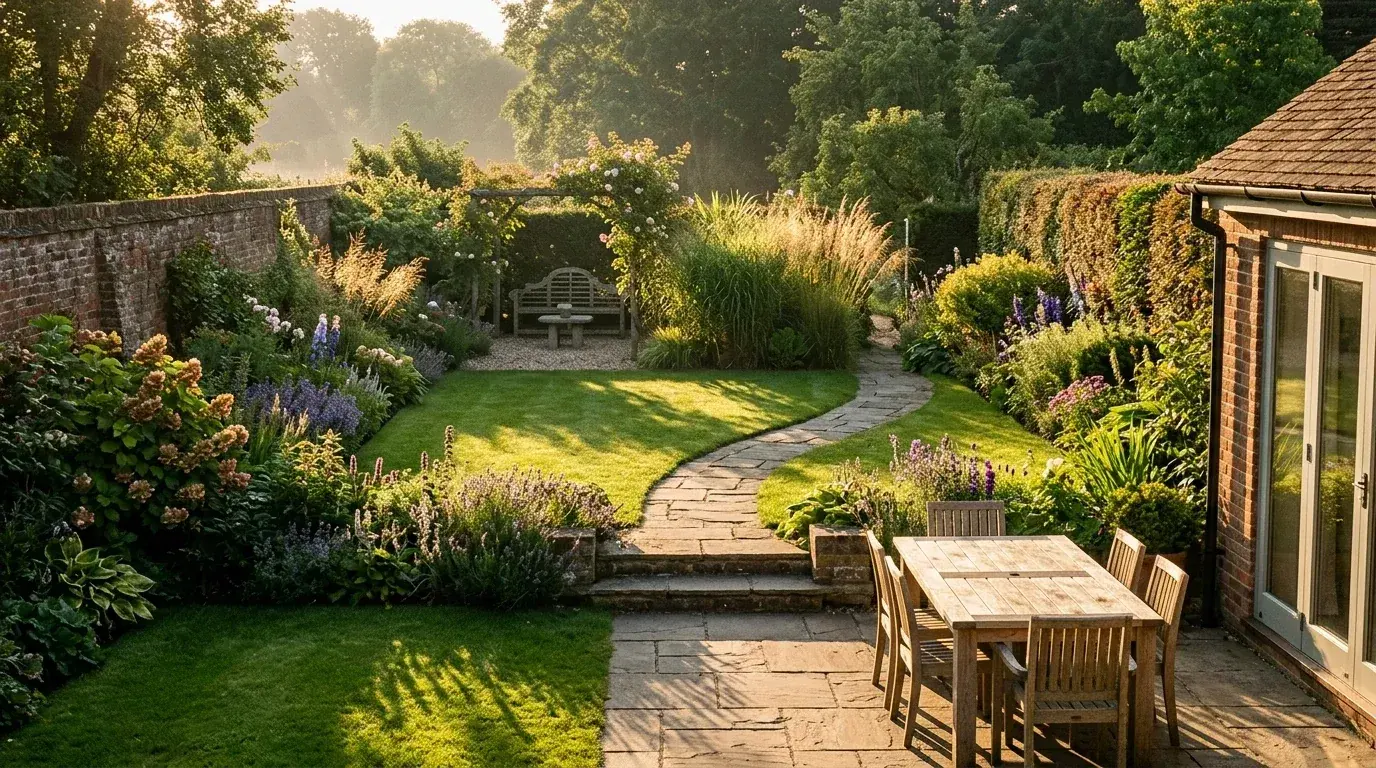
A garden that reads as one open rectangle feels smaller than the same garden broken into areas, which is counterintuitive and reliably true. Three zones cover most gardens:
The near zone is paved, sits against the house, and needs to be bigger than you think. A table with chairs pulled out needs roughly 10 by 10 feet before it stops feeling like a ledge. This is also the zone you look at from indoors all winter, so it earns evergreen structure rather than summer perennials.
The middle zone is the open part, usually lawn or gravel. Its job is to be empty so the borders around it have something to be seen against.
The far zone is a destination: a bench, a small tree, a fire pit. It is the single highest-value move in a small garden, because it gives you a reason to walk the whole length rather than looking at it from the door. Screen it partially so it is not all visible at once.
Step 4: Cut the borders deep, then let the lawn be what is left
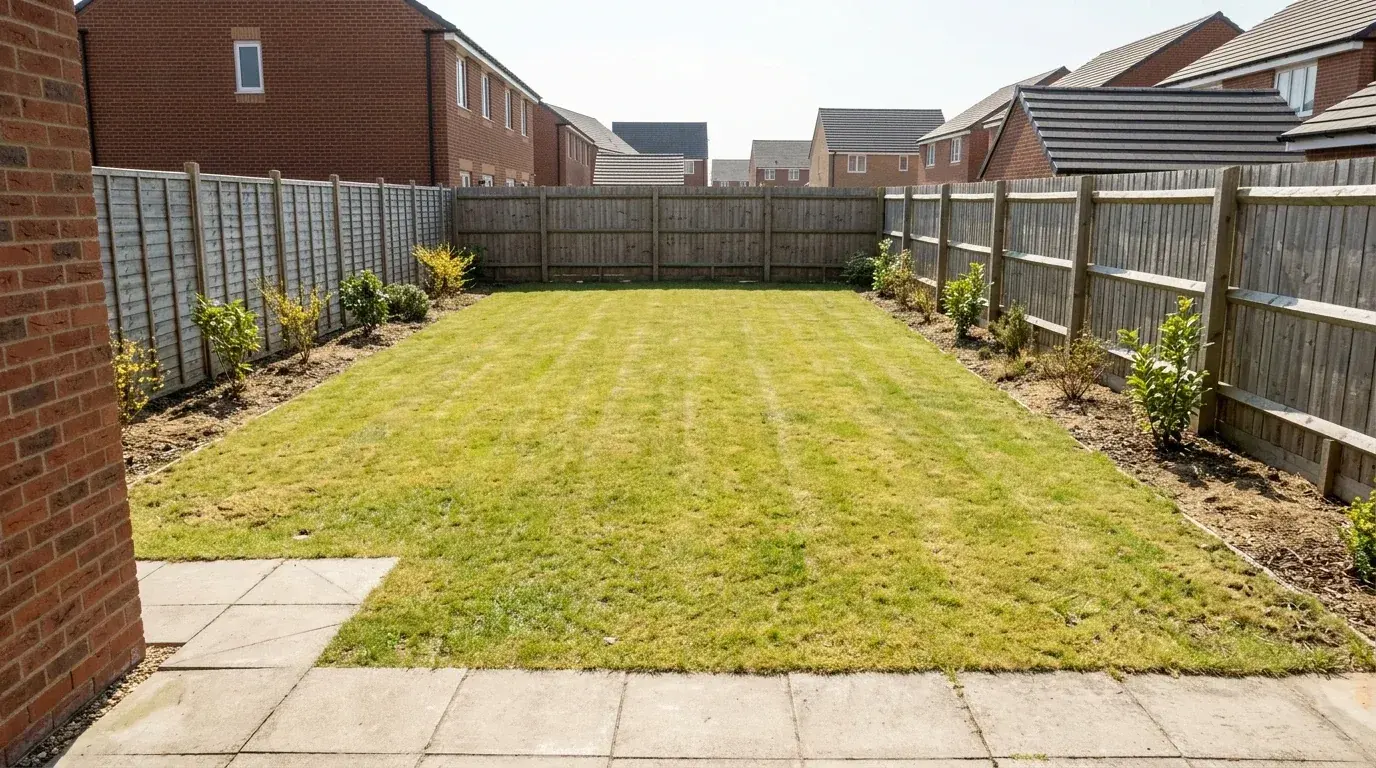
The garden above is the most common garden in the world and it is the direct result of drawing the lawn first. Border depth is the single strongest predictor of whether a garden looks designed, and the numbers are not subtle.
If giving up that much lawn feels wrong, it is worth being blunt about what a lawn costs. It needs cutting weekly for half the year, it wears through wherever people walk, and in a small garden it is usually the least used surface in the plot. The borders are the part you actually look at.
Step 5: Plant in layers and in odd numbers
Build each border in three layers: structure at the back with evergreens, shrubs or a multi-stem tree, mid-height perennials and grasses through the middle, and low mounding plants spilling over the front edge. The front layer is the one beginners skip, and it is what stops a border looking like it is standing to attention.
Then two rules that do more work than any plant list. Plant in odd-numbered groups of three, five or seven of the same plant rather than singles, because groups read as intentional and singles read as a collection. And repeat a few key plants along the length of the border, which is what ties a border together and is the difference between most amateur and most professional planting.
A useful sanity check: a border roughly 10 by 5 feet is usually better with six or seven varieties in groups than with twenty-five different plants. Buying one of everything is the most common and most expensive planting mistake there is.
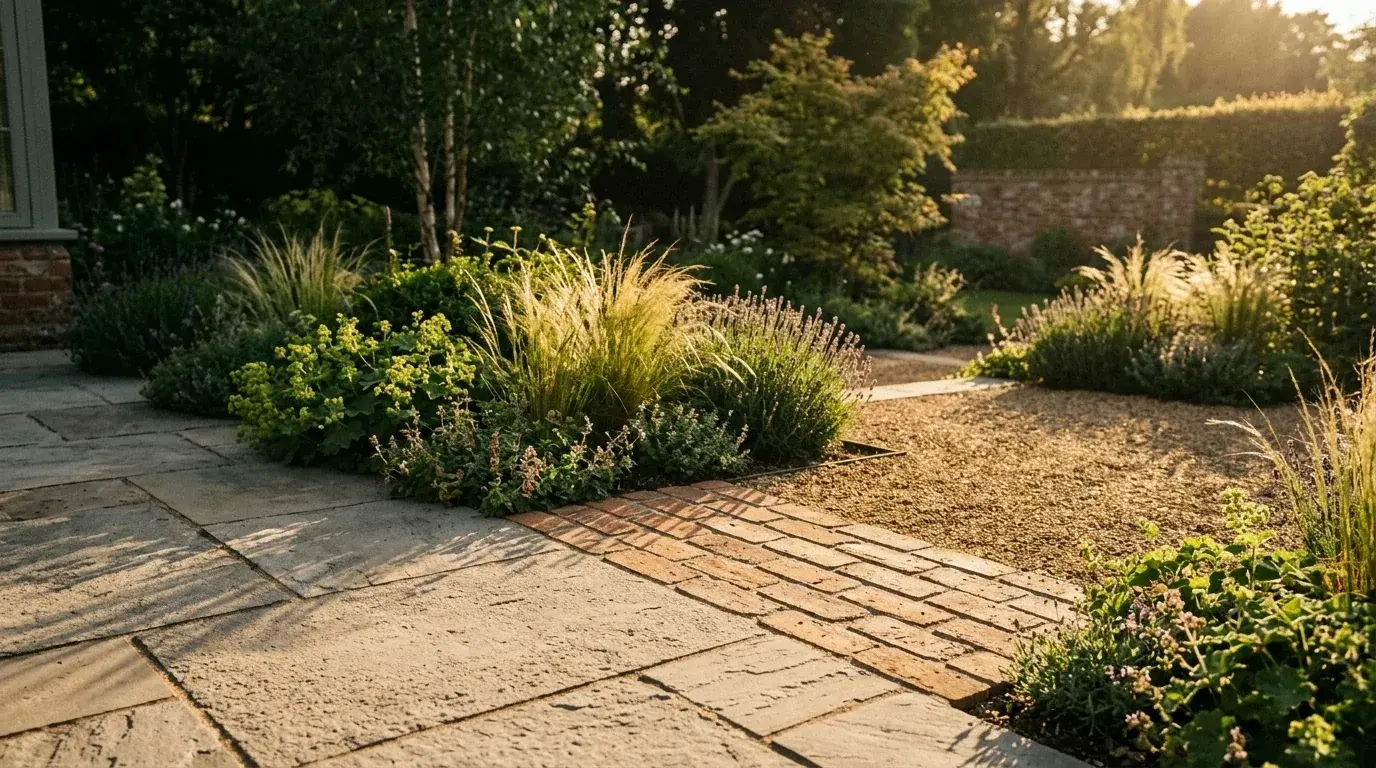
The same restraint applies to hard landscaping. Two materials is plenty and three is usually one too many. Pick one primary paving for the main terrace, optionally one secondary for paths, and let planting do the variety. Mixed paving is the fastest way to make an expensive garden look busy.
Step 6: The thing every garden render hides
Here is the section that made this guide worth writing. Below is the same garden, same camera position, same paving, same fence, four different points in its life. We rendered all four from one base image with MeltFlex so that nothing except plant age and season changes between them.
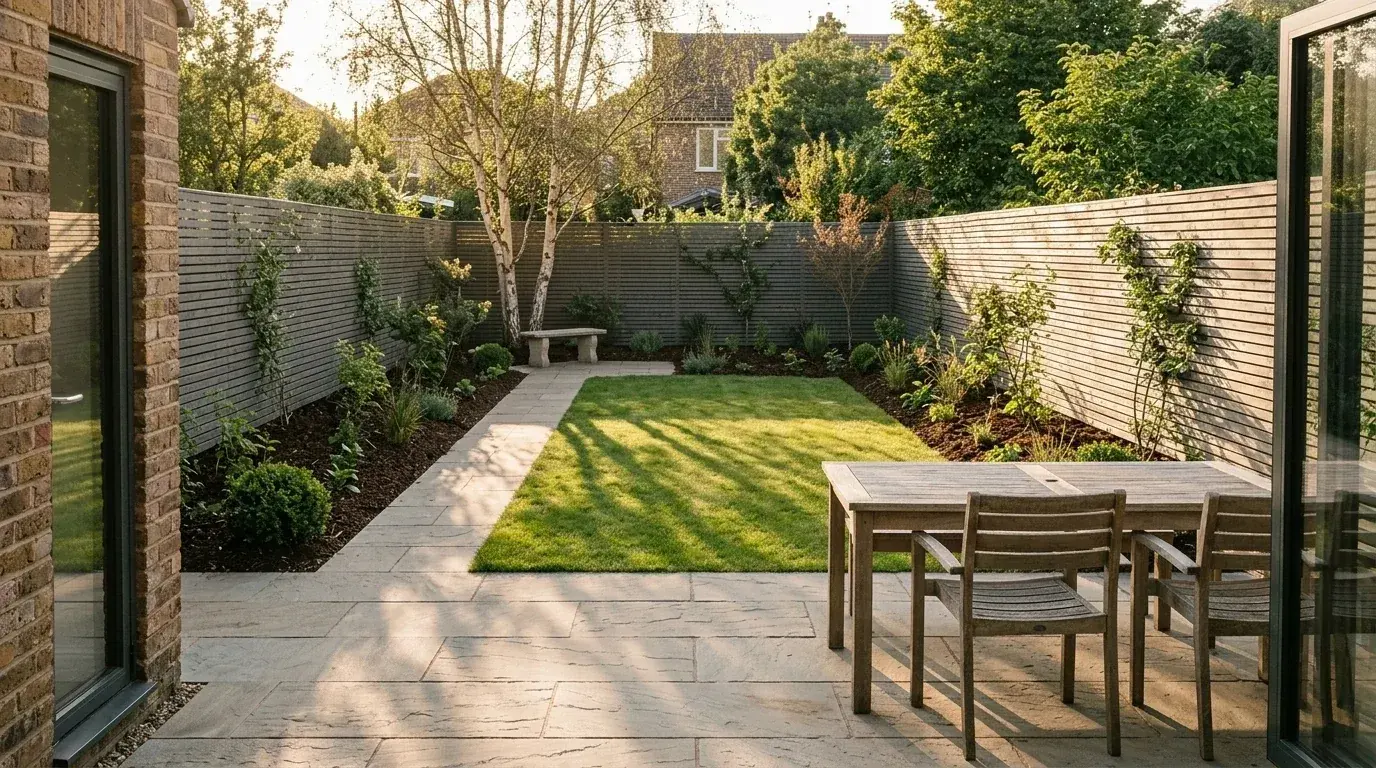
Year one. This is what you actually get the week the landscaper leaves. Small plants, wide spacing, and a lot of visible mulch. Every instinct will tell you to fill the gaps with more plants. Do not. Those gaps are the spacing the plants need, and filling them means digging half of it out in three years.
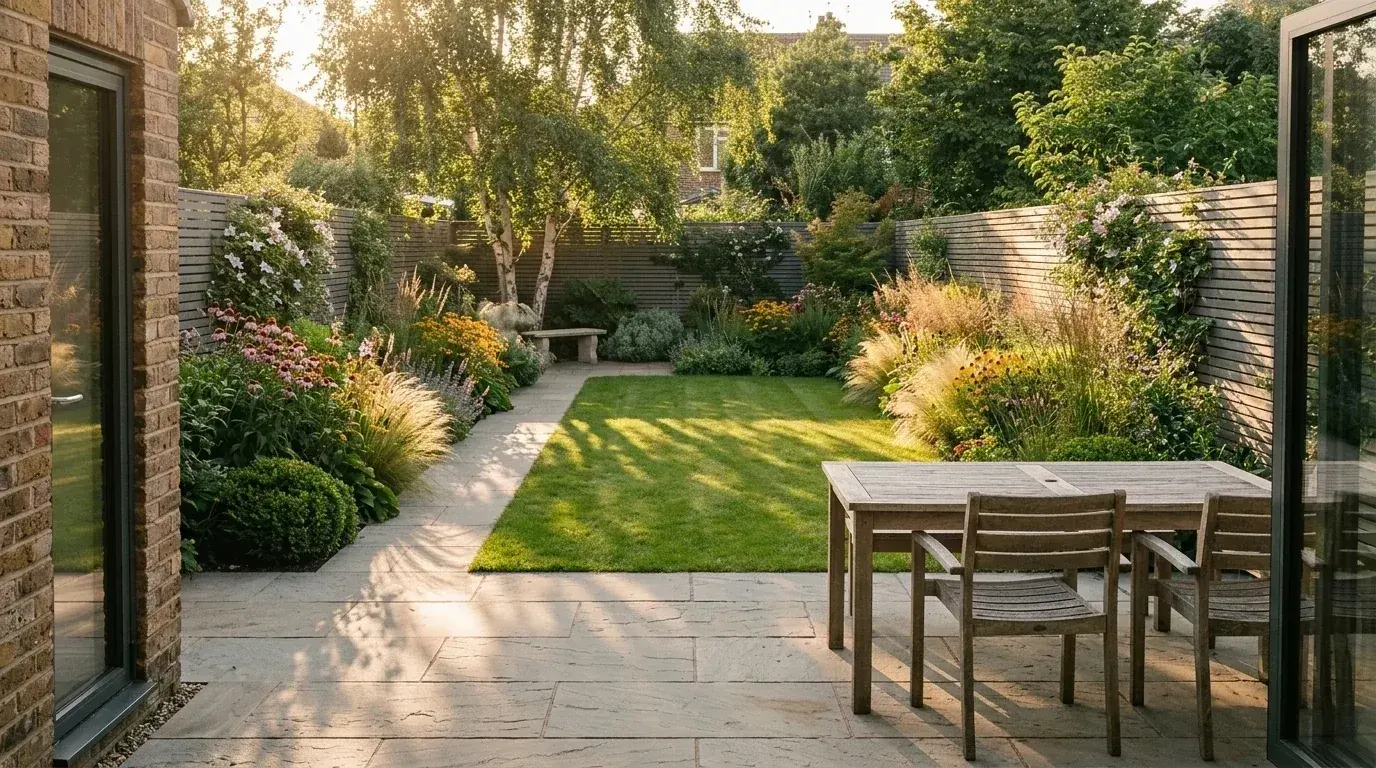
Year three. The plants have met. The beds now read as planting rather than as individual specimens. This is roughly when a garden starts to look like the plan.
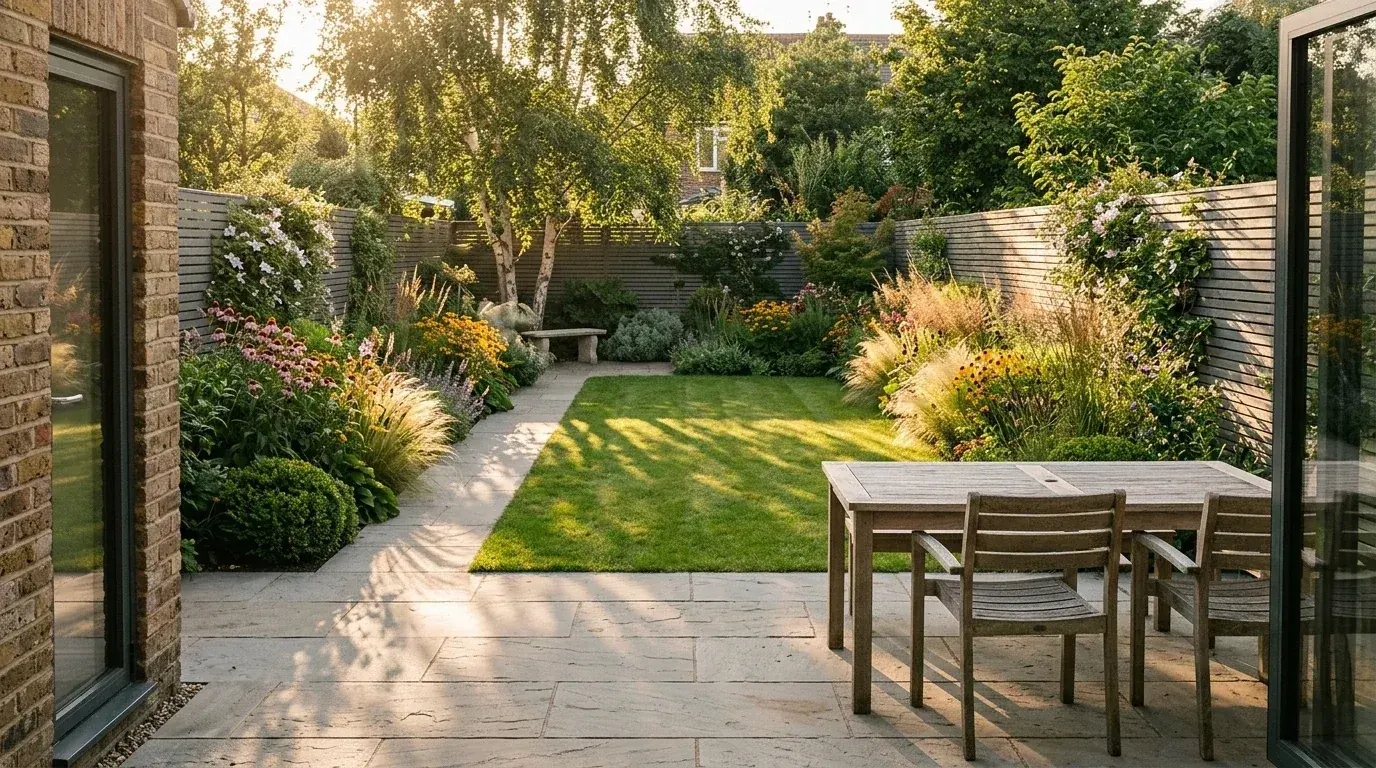
Year five, late summer, golden hour. This is the render you were sold. It is real, it is achievable, and it represents roughly twenty days a year.
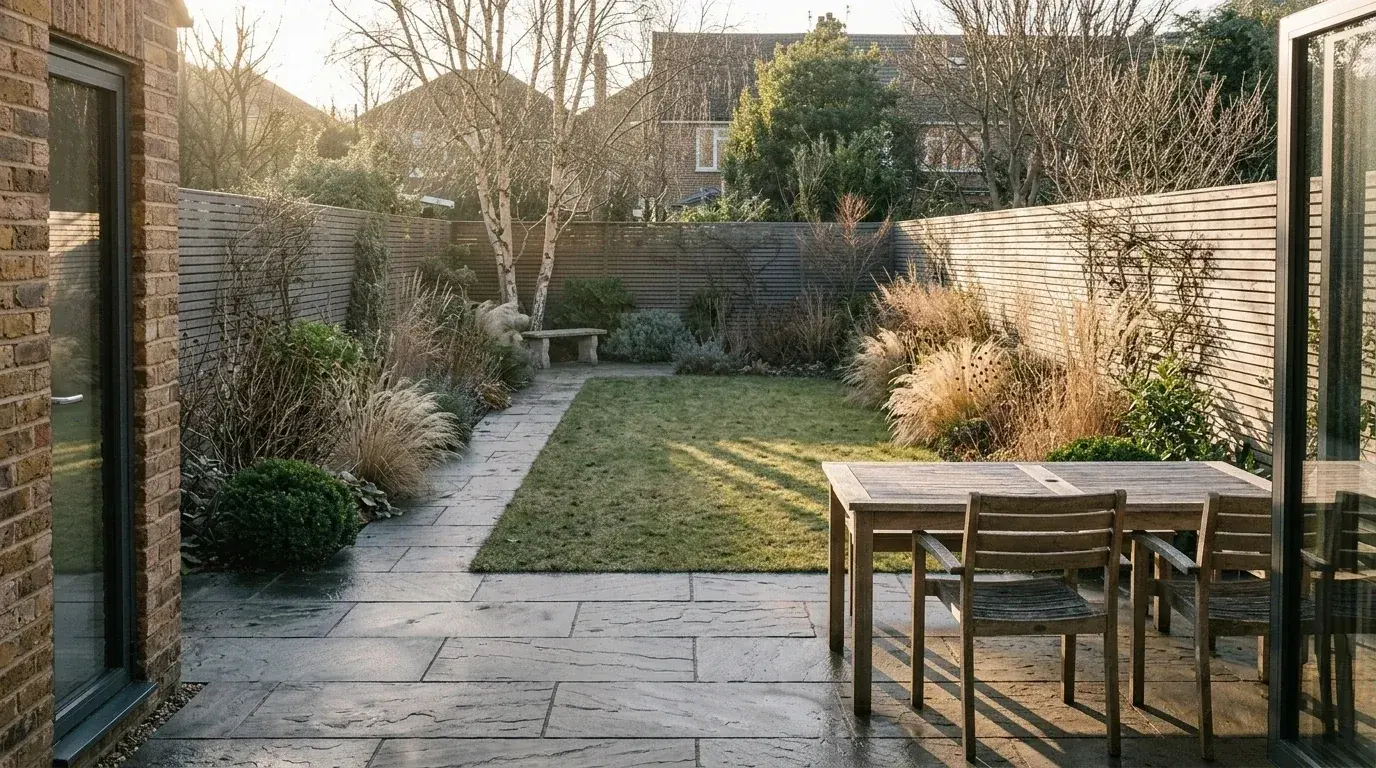
February. The same garden, four months of the year. Grasses bleached, perennials gone, deciduous structure bare. Notice what still works: the paving, the fence, the evergreen shapes and the tree’s branch structure. That is why the boring decisions carry a garden. If your planting plan is all summer perennials, this is the view you get from the kitchen window from November to March, and it is the reason to spend on evergreen structure before you spend on flowers.
How to make a small garden work
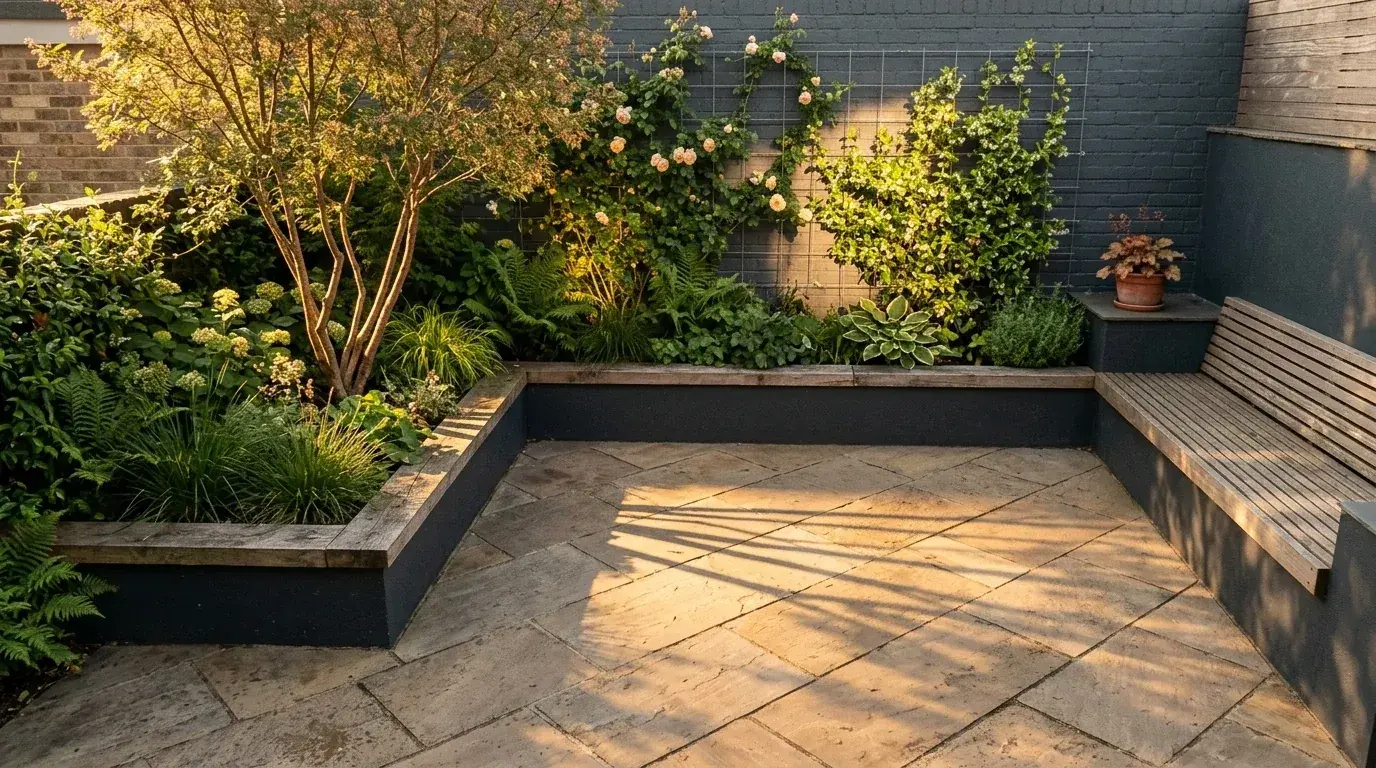
Small gardens fail when they are treated as scaled-down large gardens. Four moves change more than anything else.
Break the sightline, so you cannot see the whole garden from the door. A screen of tall grasses or a multi-stem tree partway down makes a small garden feel larger, which sounds wrong and works. Lay paving diagonally, since the longest dimension in a small square is the diagonal and the eye follows it. Build storage and seating in rather than buying furniture, because freestanding furniture eats a small garden. And seriously consider dropping the lawn entirely: a tiny lawn wears out along the walking route, needs a mower you have nowhere to store, and gives back very little.
If your outdoor space is a balcony or a courtyard rather than a garden, the same logic runs through our guide to outdoor furniture for patios and balconies, which deals with what actually fits in a few square metres.
Step 7: Use AI for the look, not for the plants
AI garden design is genuinely good at one half of this job and genuinely bad at the other, and the split is clean enough to be worth a table. This is from rendering gardens with our own engine, including every image on this page.
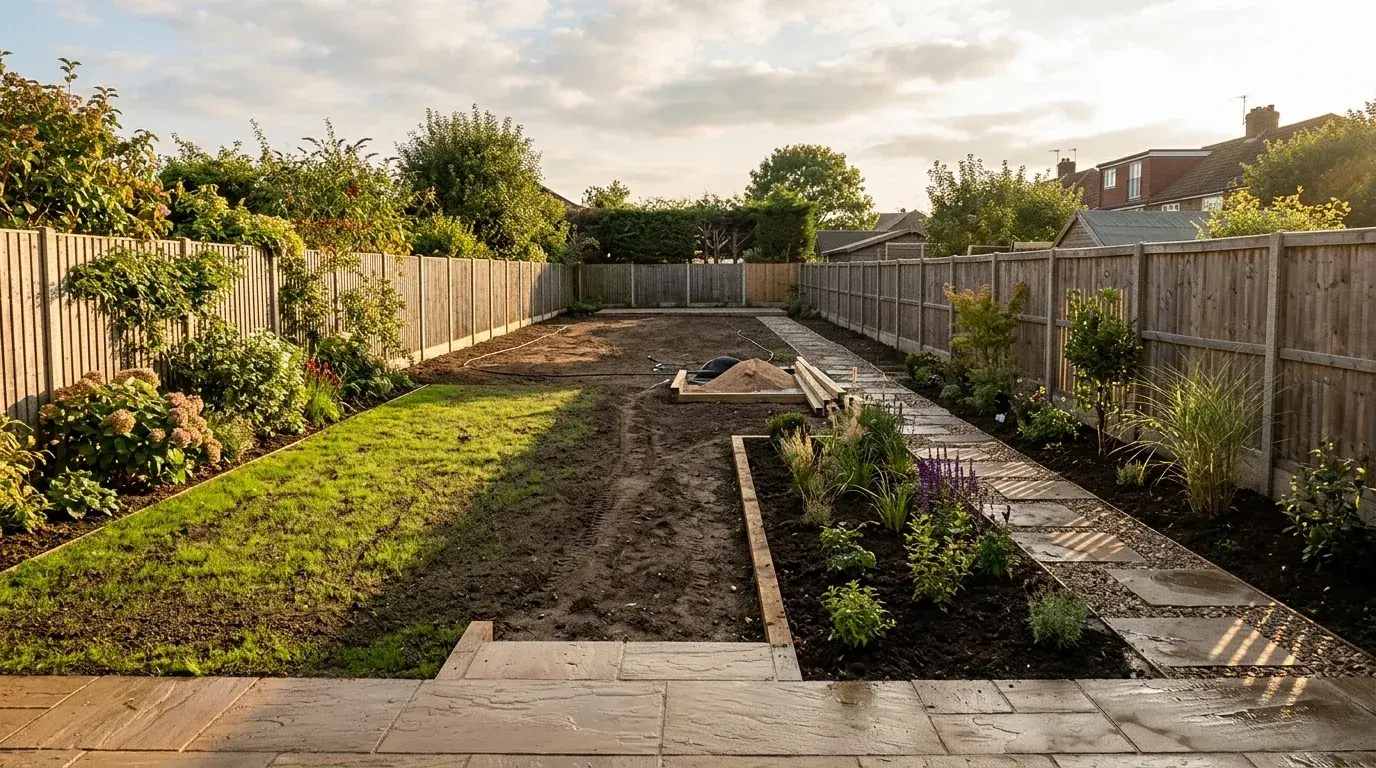
One practical note that makes a large difference to output quality: stand with your back to the house and shoot straight down the length of the garden at chest height, so both boundaries and the full depth are in one frame, as above. A photo taken from a corner at an angle gives the model no idea what shape the plot is, and the render will invent one.
So the workflow mirrors the one in our kitchen layout guide and our small bathroom dimensions guide: set the constraints yourself, then use AI to decide what it looks like. Reversing the order is exactly the failure described in why AI renders look fake. For the wider field of tools rather than the method, see our comparison of free AI garden design tools, and if you are also changing the house itself, AI exterior design and exterior house colour palettes cover the facade side. For garden furniture specifically, our guide to seeing outdoor furniture in your garden before buying covers the visualisation side, and you can check anything bulky against a furniture fit calculator before it arrives on a pallet. The prompts that get a usable render out of them are in the AI landscape design prompts library.
Frequently Asked Questions
How do I design a garden layout as a beginner?
Survey before you design. Measure the boundaries, watch where the sun lands at three points in the day, and mark what cannot move. Then divide the garden into zones by use, cut borders at least 3 feet deep and ideally 5 or 6, and plant in layers with odd-numbered groups of the same plant repeated along the border. The most common beginner error is designing the lawn first and treating the borders as what is left over, which produces a green rectangle with a token fringe.
How deep should a garden border be?
At least 3 feet, and 5 to 6 feet on the main sides if the garden allows it. Depth is what makes layered planting possible, and layering is what makes a garden look designed rather than decorated. A 12 inch strip can only hold a single row of plants against a fence, which reads as a fringe. If the garden feels too small to give up the space, take it from the lawn: lawn is the least useful square footage in most gardens.
Why do AI garden renders look better than real gardens?
Because they show a garden that does not exist yet and possibly never will. AI renders default to fully mature planting in perfect late-afternoon summer light, which is a garden at roughly year four or five, photographed on one of about twenty good days a year. Your garden in year one is small plants surrounded by bare mulch, and your garden in February is bare stems. Neither of those is a failure, but if the render is your reference point, both will feel like one.
How many plants should I buy for a border?
Fewer varieties in larger groups. Plant in odd-numbered blocks of three, five or seven of the same plant rather than one of each, and repeat a handful of key plants along the length of the border. A 10 by 5 foot border is usually better with about six or seven varieties in groups than with twenty-five different plants, which reads as a collection rather than a design. Buying one of everything is the most common and most expensive planting mistake.
What is my hardiness zone and does it still matter?
It is the USDA measure of average annual extreme minimum winter temperature in your area, and it decides which perennials survive the winter where you live. It matters, but check the current figure rather than a remembered one. The 2023 map was the first update since 2012, drew on 13,412 weather stations against 7,983 previously, and shifted many locations half a zone warmer. Zone is only half the story though: it says nothing about summer heat, humidity or drainage, which kill as many plants as cold does.
How do I make a small garden look bigger?
Stop trying to keep the middle clear. Small gardens look bigger when you cannot see all of them at once, so break the sightline with a screen of tall grasses or a multi-stem tree partway down and give yourself a reason to walk to the far end. Lay paving diagonally, use one paving material throughout rather than three, and consider losing the lawn entirely, because a tiny lawn is high maintenance, wears out in the traffic route and rarely earns its space.
Can AI design a garden for me?
AI is genuinely useful for testing how a layout looks and comparing planting styles or paving palettes, and it is unreliable as a planting plan. It does not know your hardiness zone, your soil, your aspect or your drainage, and it will happily place a sun-loving Mediterranean planting scheme in a north-facing shaded corner. Use it to decide what the space should look like, then check every plant against your own conditions before buying anything.
What is the most common garden design mistake?
Treating the lawn as the design and the borders as the leftover. It produces the most common garden in the world: a large flat green rectangle ringed by a one foot strip of soil with a sparse row of shrubs. The fix costs nothing at planning stage, because you simply draw the borders first at a proper depth and let the lawn be whatever shape remains. Second place is planting one of everything instead of groups.
The Bottom Line
Garden design rewards a boring order of operations. Survey the sun and the water, check your current hardiness zone, split the space into zones by use, cut the borders deep, plant in layers and in threes, and only then decide what it should look like.
And hold on to the four images above. The render is year five in golden hour. You will live with year one for two seasons and with February every year. Design for those two and the good version arrives on its own. Design your garden with AI from a photo to test the layout and the paving, then take the plant list to someone who knows your soil.



)