Organizing a pantry is a math problem before it is a shopping problem. Set the shelf gaps to what you actually store (6.5 inches over cans, 8.5 over jars, 13.5 over boxes), keep every row you need to see within 12 inches of the front, and load heavy at the floor, daily at eye level, light on top. Do that and the same cabinet holds about two more shelves of food, nothing expires in a back corner, and you have not bought a single matching container. This guide derives the numbers from real package sizes, walks the one afternoon reset, and shows twenty organized pantries to steal a layout from.
Our articles are still written by humans!
Get human written articles in your Google feed.
The zone stack: heavy at the floor, daily at eye level
Nearly every reach-in pantry ships the same way: an 84 inch cabinet, five equal gaps of 16.8 inches, and adjustable shelf pins that nobody has touched since the house was built. That spacing serves no real object. A cereal box is 12 inches tall. A soup can is 4 and a half. A gallon jug is 10 and a quarter. Equal gaps are wrong for all three at once, which is why the factory pantry always feels full at half its real capacity.
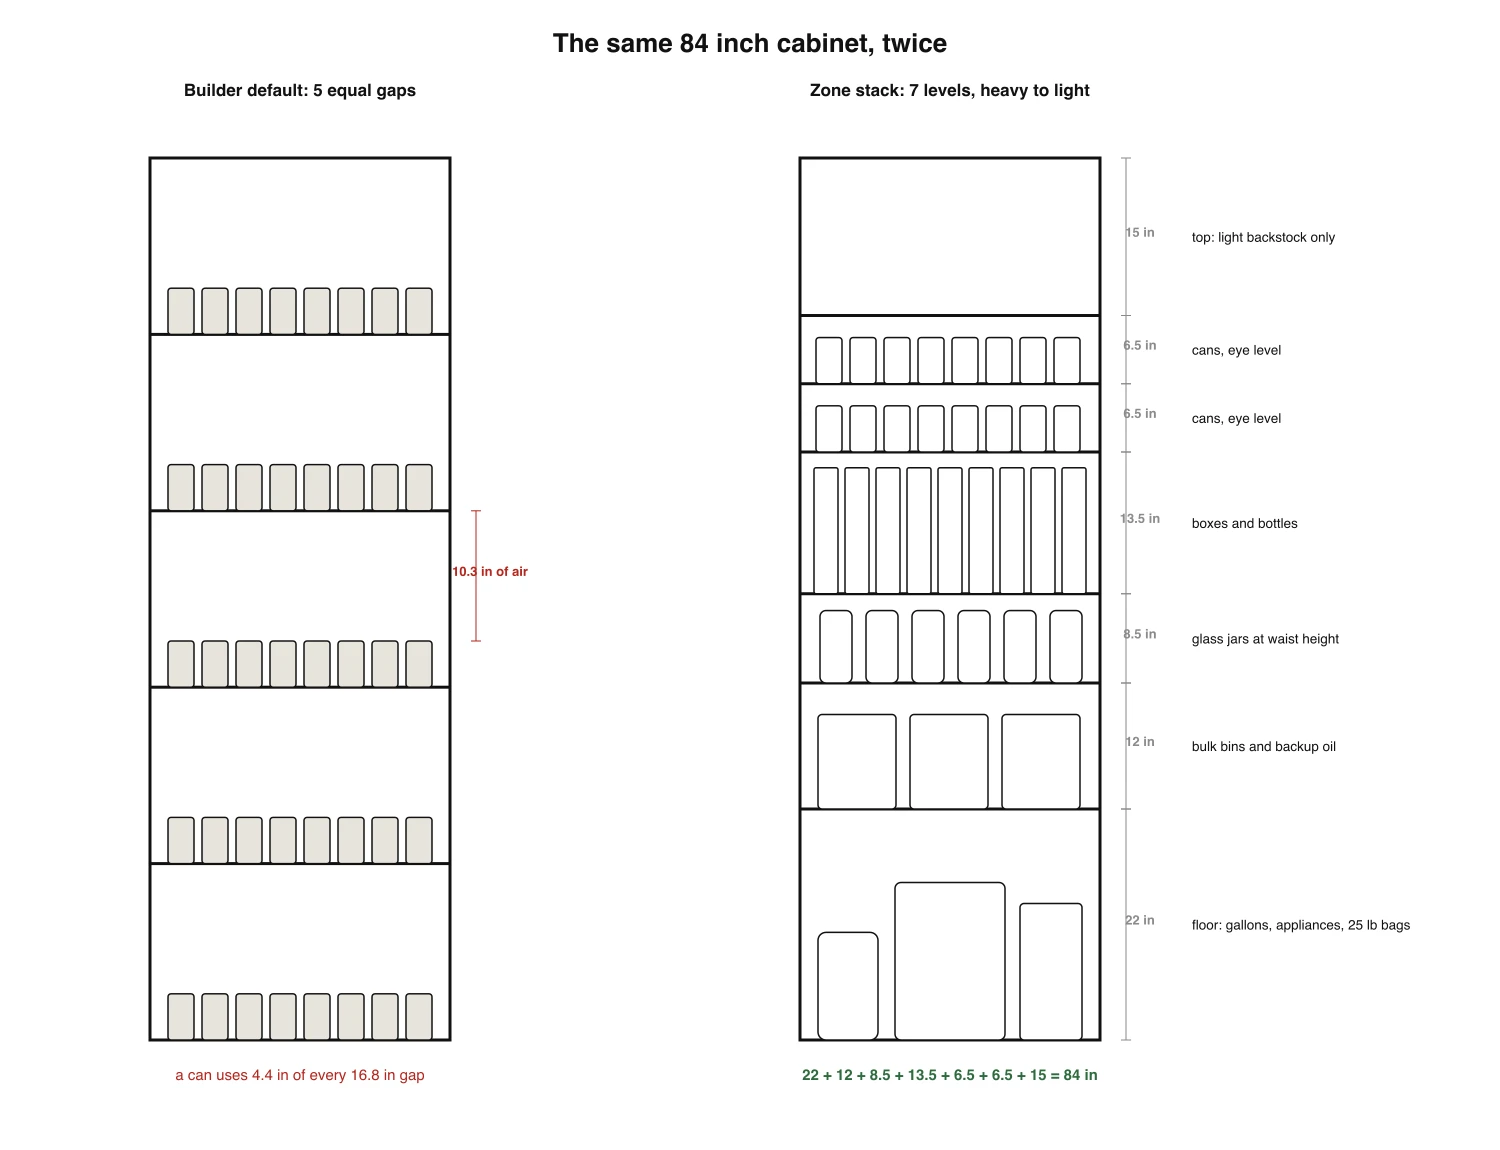
The stack on the right is the whole method. Weight decides height: the heaviest things live at the floor so they never fall, glass lives at waist height so it never falls far, and everything you touch daily sits between your waist and your eyes. The gaps are sized from the objects, and the arithmetic closes on the cabinet: 22 + 12 + 8.5 + 13.5 + 6.5 + 6.5 + 15 is exactly 84 inches, with seven usable levels where the builder gave you five.
One placement rule outranks all of this, and it comes from the USDA's food safety arm, not from a stylist. Their shelf-stable food fact sheet says it verbatim: store canned foods and other shelf stable products in a cool, dry place, and never put them above or beside the stove, under the sink, or in a damp garage or basement. Temperatures below 85 degrees Fahrenheit are best. If your current snack cabinet shares a wall with the oven, that is the first thing to move, before any bin gets bought.
How deep should pantry shelves be?
Twelve inches, for anything you need to see. The number falls out of the can: under the industry sizing convention (a can code like 300 x 407 reads as diameter by height in inches and sixteenths), the standard 15 oz can is 3 inches across. With breathing room a row costs about 3.2 inches of depth, three rows fit in 12 inches, and row three is where both the eye and the hand stop.
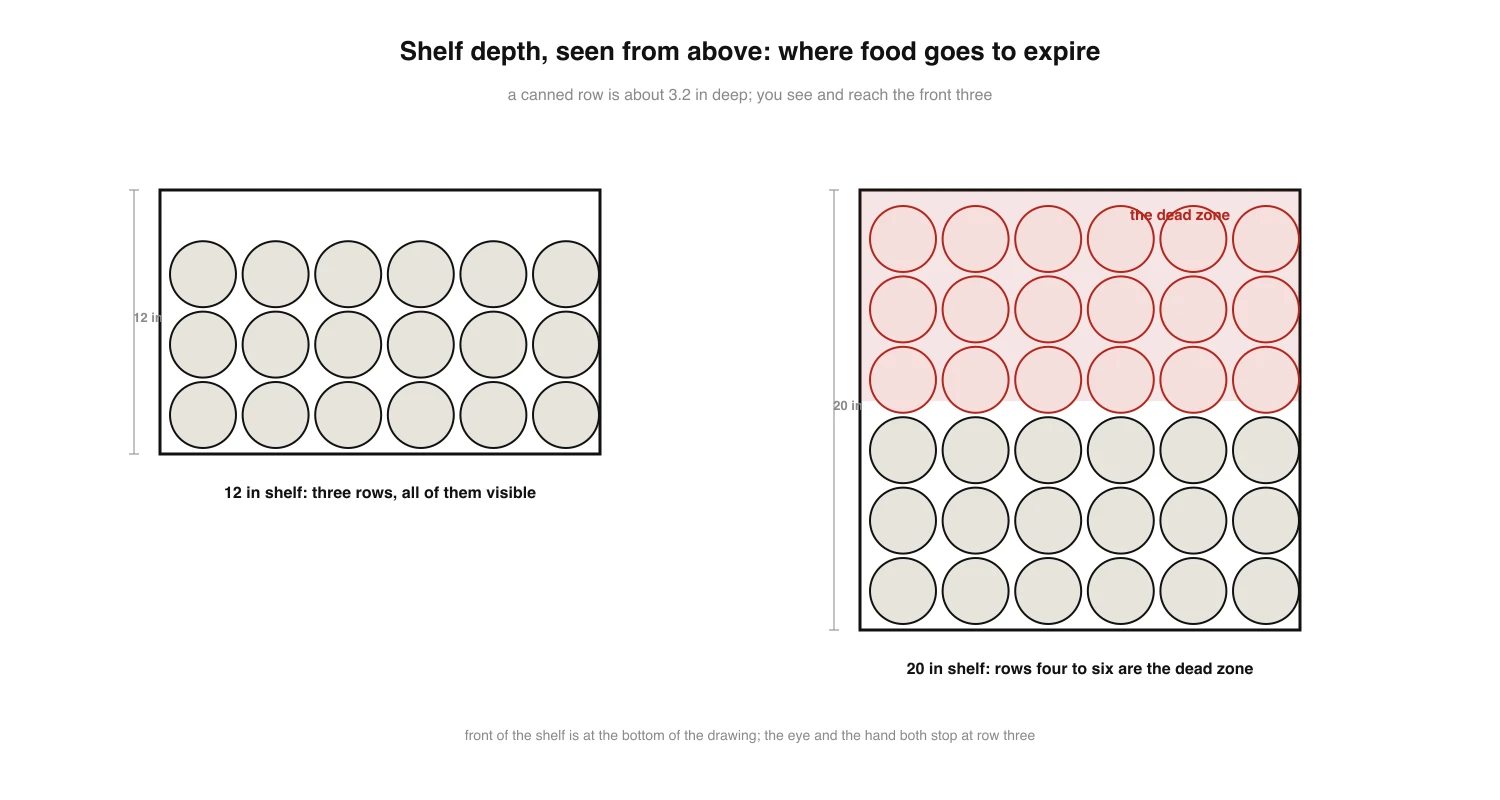
This is the quiet reason deep builder shelves feel chaotic. A 20 inch shelf holds six rows of cans, and rows four to six are a dead zone: invisible from any angle, reachable only by unloading the front. Food does not get lost in a pantry, it gets lost behind row three. The fix costs nothing: keep dated goods in the front 12 inches, use the back for sealed backstock and the seldom-used waffle iron, and let a stepped riser or a turntable bring corners forward. On a 48 inch wide shelf, three visible rows at a 3.25 inch pitch is 42 cans, which is more canned food than most households own, all of it readable at a glance.
We measured the packages before drawing the elevation, and the table is the entire argument for touching the shelf pins: no gap in it matches the 16.8 inch factory spacing. The same arithmetic ran the closet post, where rod inches did the work that shelf gaps do here; it is the same system wearing different clothes.
Before and after: the same pantry twice
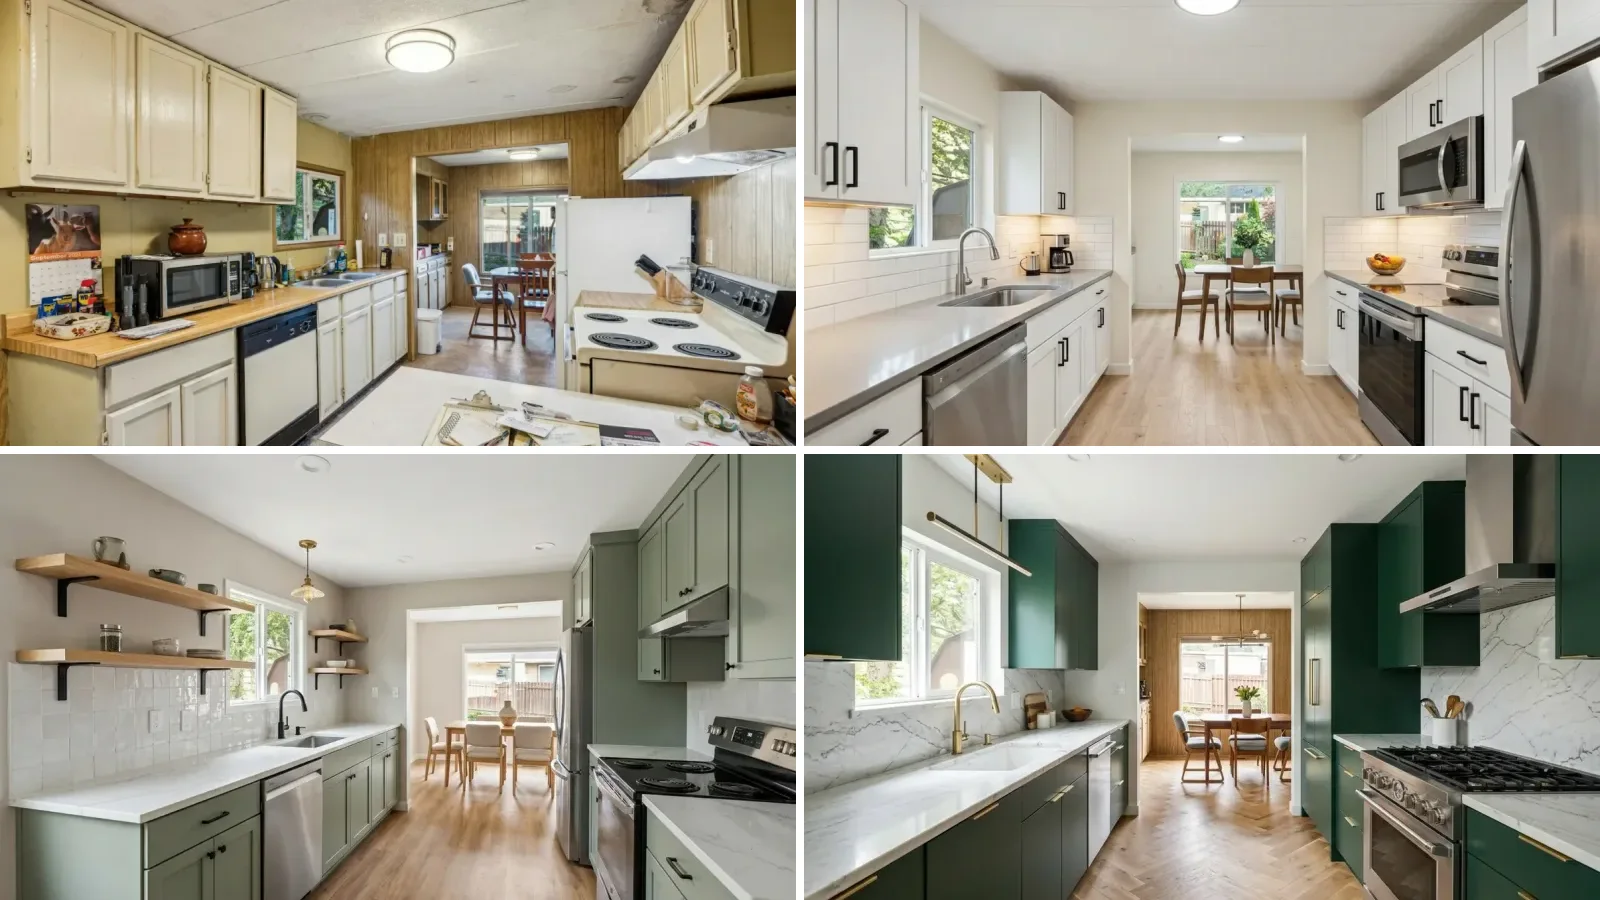
Both pairs below are the identical room rendered twice, once as most pantries live, once zoned. Nothing was bought between the panels. The change is grouping, shelf heights and the three-row rule, which is the honest version of every pantry makeover photo you have ever seen.
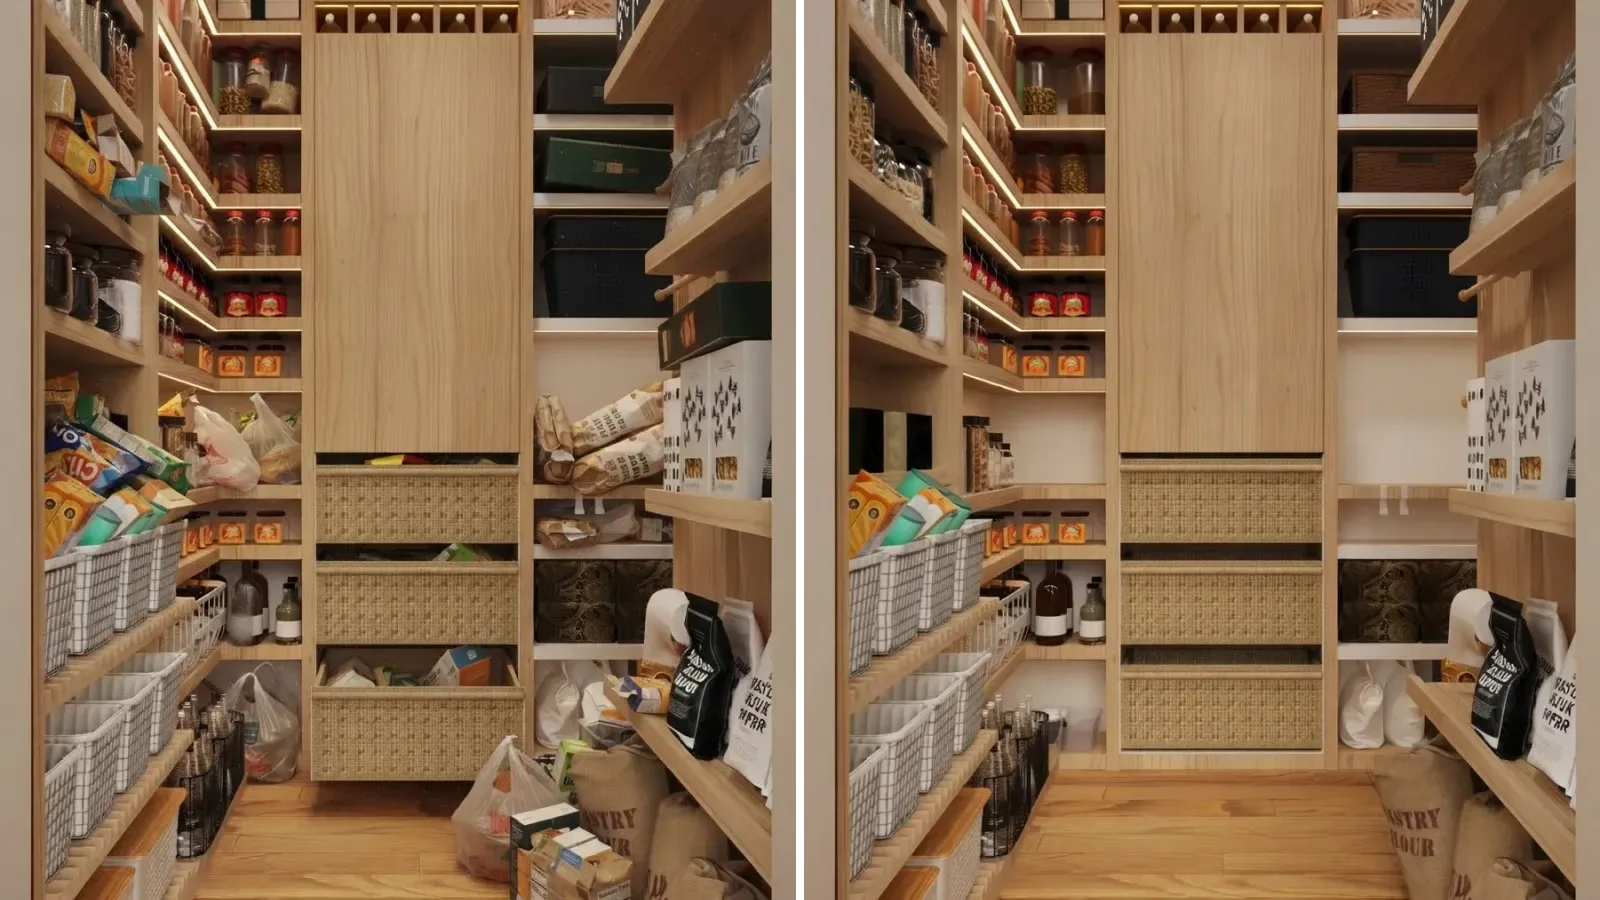
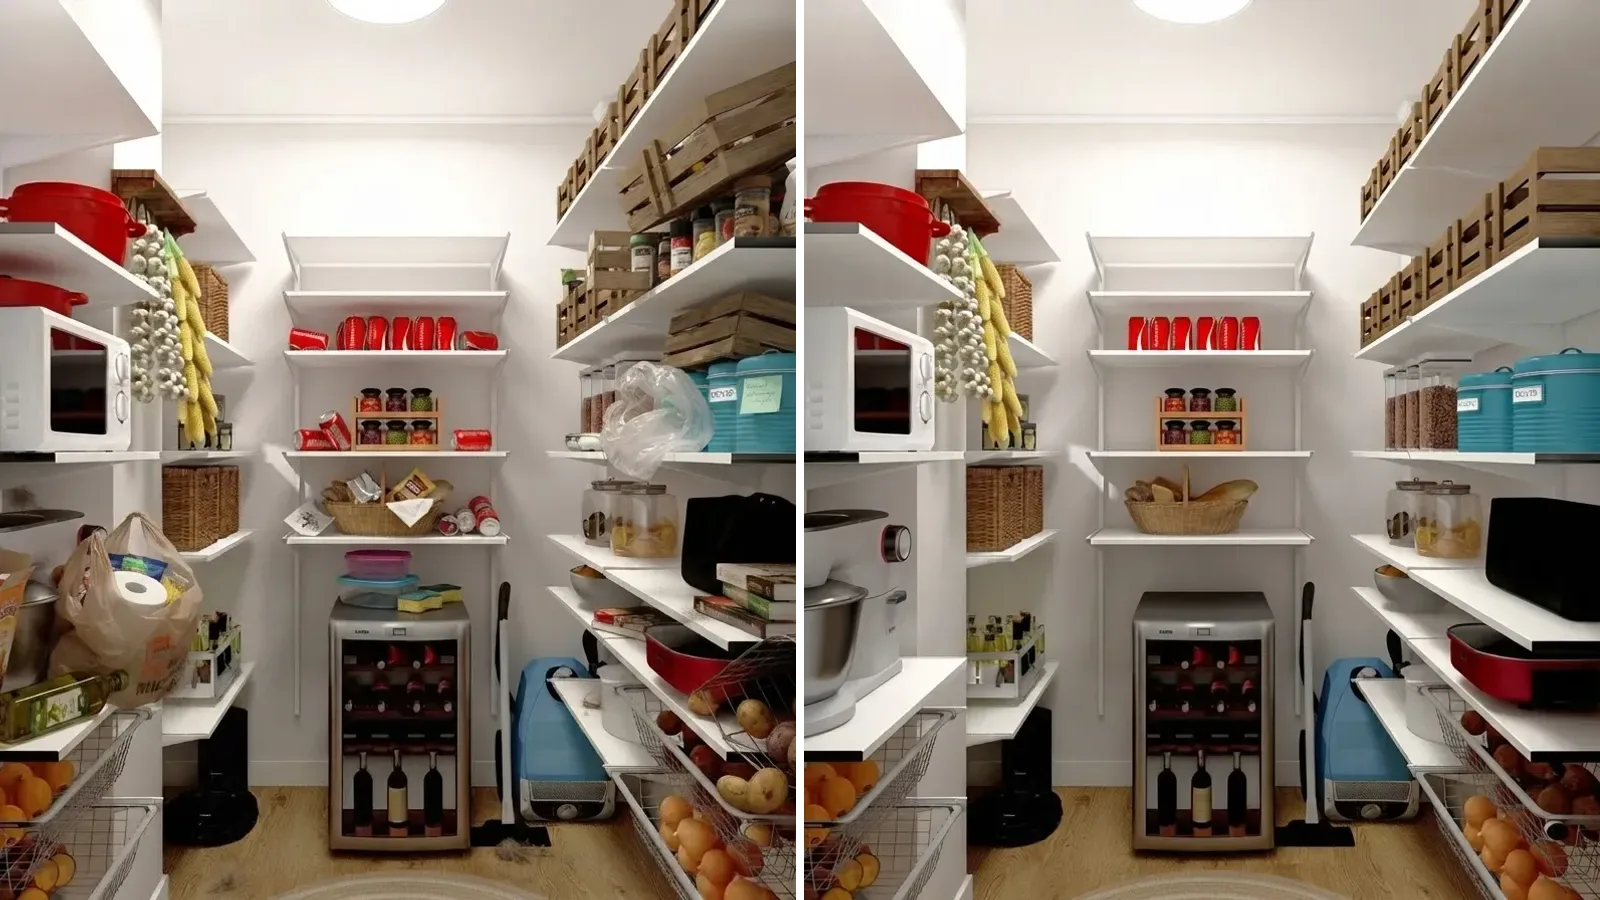
Same shelving, same food, zero new containers. Grouping and facing the front rows does most of what people credit to the bins.
How to organize a pantry in one afternoon
The full reset takes about four hours for a family pantry, and the order matters: empty, cull, move the pins, then zone. The structured seven steps live in this page's how-to schema; the short version is that steps one and two do most of the work, because the date cull typically recovers a full shelf and the pin move adds two more. The one purchase that earns its place on day one is a stepped can riser and, for deep corners, a turntable. Bins come last, if at all.
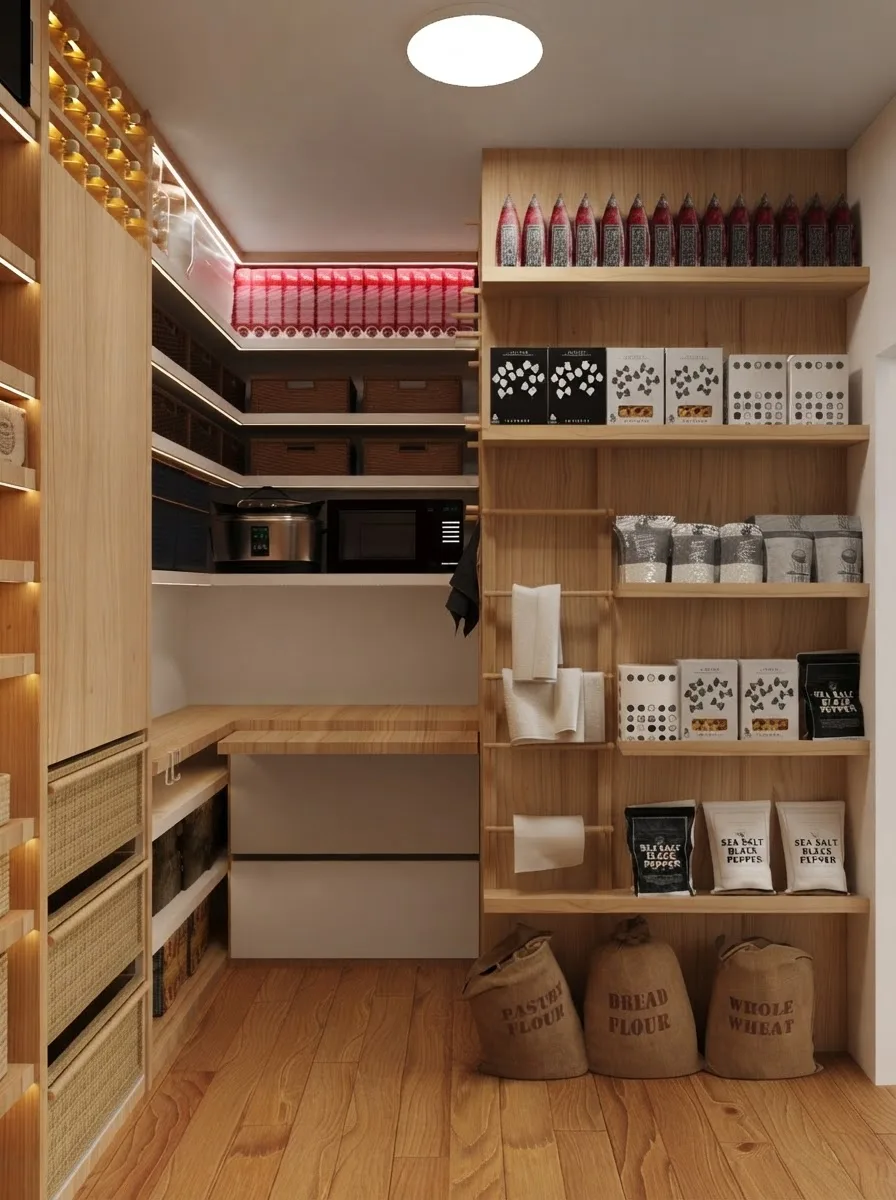
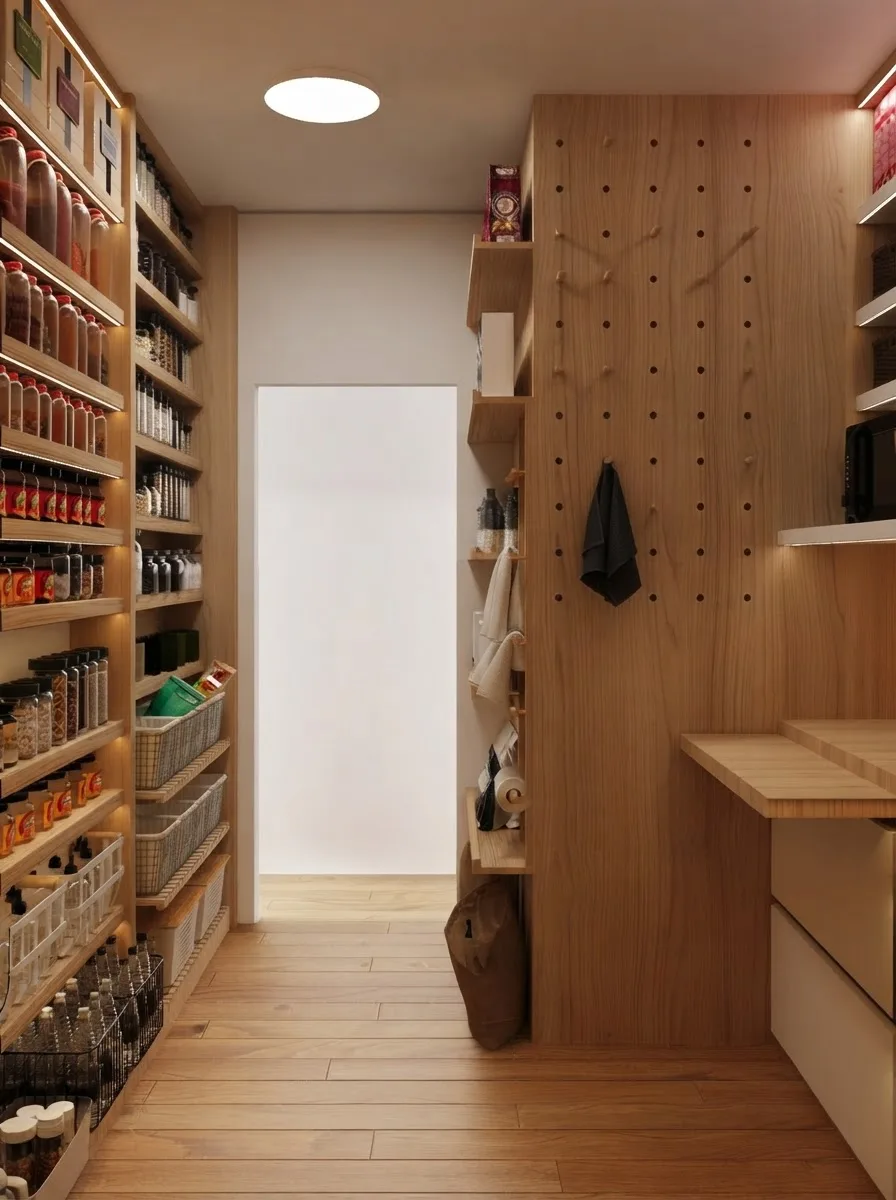
Two details from real pantries that photograph poorly and work well: a step stool that lives inside the pantry, because a top shelf you cannot reach without fetching a chair becomes a junk shelf within a month, and a hook strip on the side wall for aprons and the broom, because floor clutter is what makes a full pantry read as a messy one.
What to decant, and the container tax
The matching-container pantry is the most photographed and least honest idea in this genre, so here is the split that survives actual cooking. Four staples earn a container: flour, sugar, rice and cereal. Once the bag is open they go stale, they spill, and the first three are what pantry moths come for, so an airtight seal is function, not styling. Everything else stays in its original packaging, which already carries the expiry date, the cooking instructions and a shape engineered to stack.
Decanting the whole pantry into 40 matching jars runs 150 to 300 dollars, deletes every printed date in the room, and adds a transfer step to every grocery run, which is why those pantries look perfect in month one and abandoned by month six. The four-container version costs about 40 dollars and holds. Write the purchase date on a piece of tape on anything you decant, and keep the label side of the rule simple: label bins by category, never jars by grain.
The expiry system: first in, first out
The USDA's food waste FAQ estimates that 30 to 40 percent of the US food supply goes to waste, a figure their retail and consumer estimate put at 133 billion pounds and 161 billion dollars in a single year. A household pantry cannot fix agriculture, but almost all of its own waste is one failure repeating: the new can goes in front of the old one until the old one dies of age in the dead zone.
The fix is the loading rule restaurants run: first in, first out. New groceries go behind old ones, every time, and the monthly ten minute reset pulls anything close to its date into an eat-first basket at eye level. The dates themselves are more forgiving than most people think, per the same USDA fact sheet:
Those spans assume the cool, dry storage from the zone section, which is the practical link between where the pantry sits and how much food it wastes. And they are why the cull in step one is safe to do briskly: the dangerous cans announce themselves (bulging, rusted, leaking or deeply dented), while a sound can a few months past its printed date is a quality question, not a safety one.
Small pantries, deep pantries and kitchens without one
The zone stack scales down before it scales up. In a single 24 inch cabinet, the zones become shelf halves: heavy at the bottom, daily at eye level, and the can rule matters more, not less, because every inch is front row. In a galley or a small kitchen, the pantry is often a wall you have not read as one yet: a 12 inch deep floor-to-ceiling cabinet beside the fridge outperforms a deep closet across the room, precisely because nothing in it can hide.
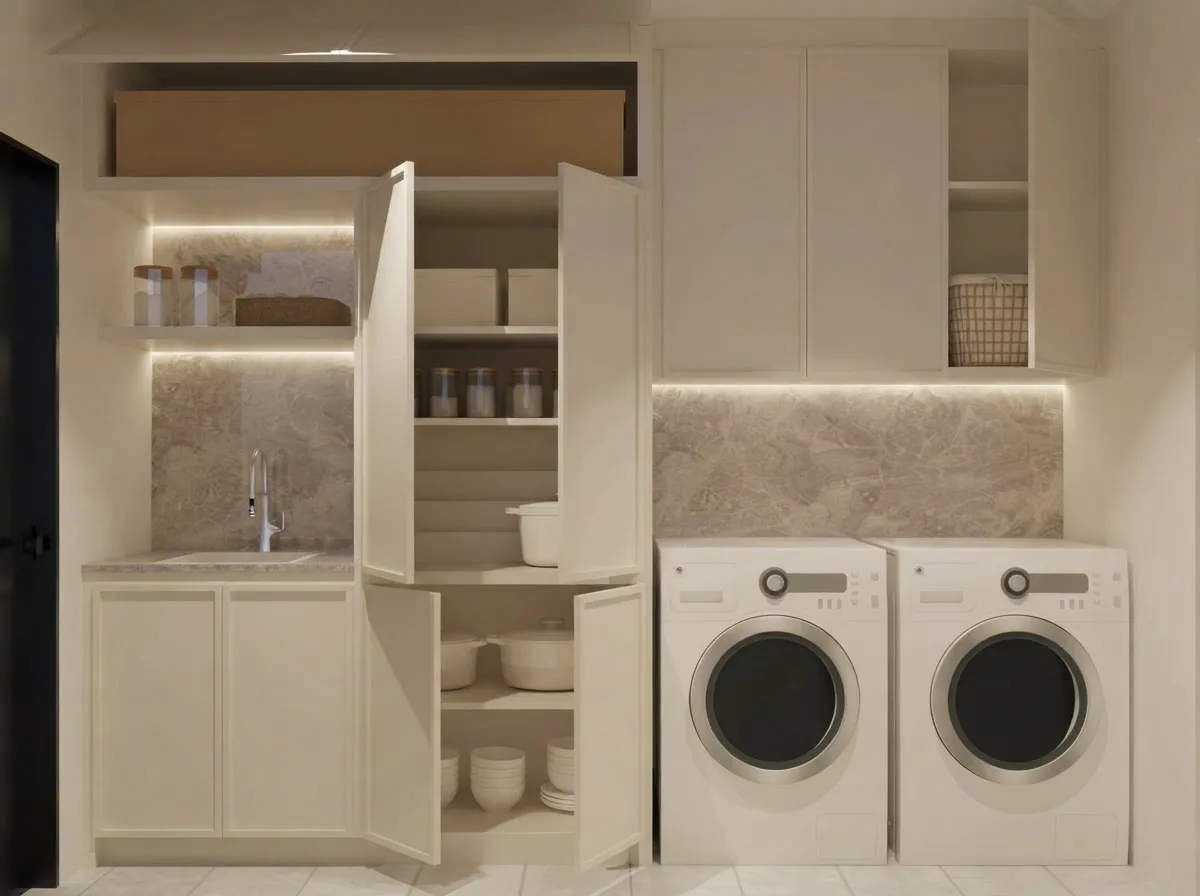
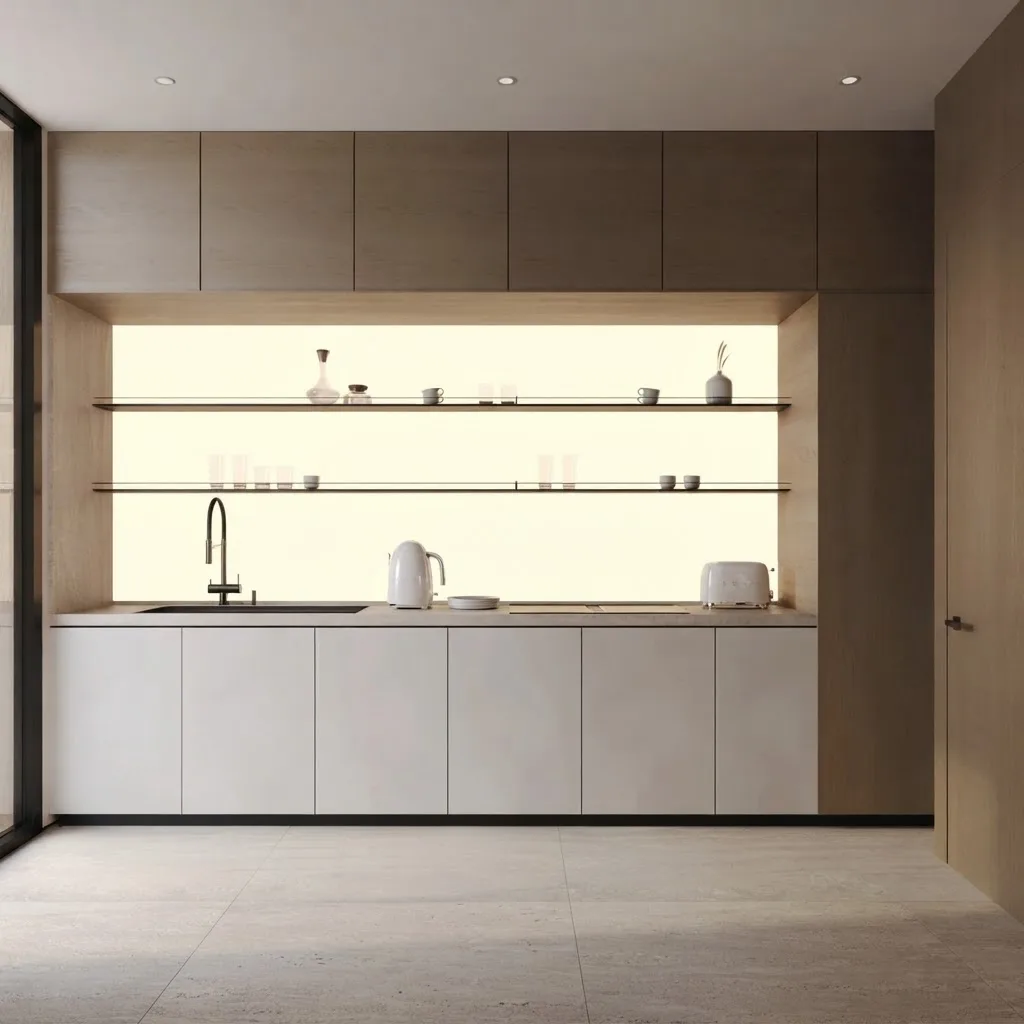
A pull-out pantry is the engineered answer to the dead zone: the shelf comes to you, so a 24 inch depth becomes fully visible. It is also the one place this article recommends spending real money, because hardware is what you are buying, not aesthetics. The concealed butler-wall version does the same job behind doors, and one pair below shows exactly what that looks like closed and open.
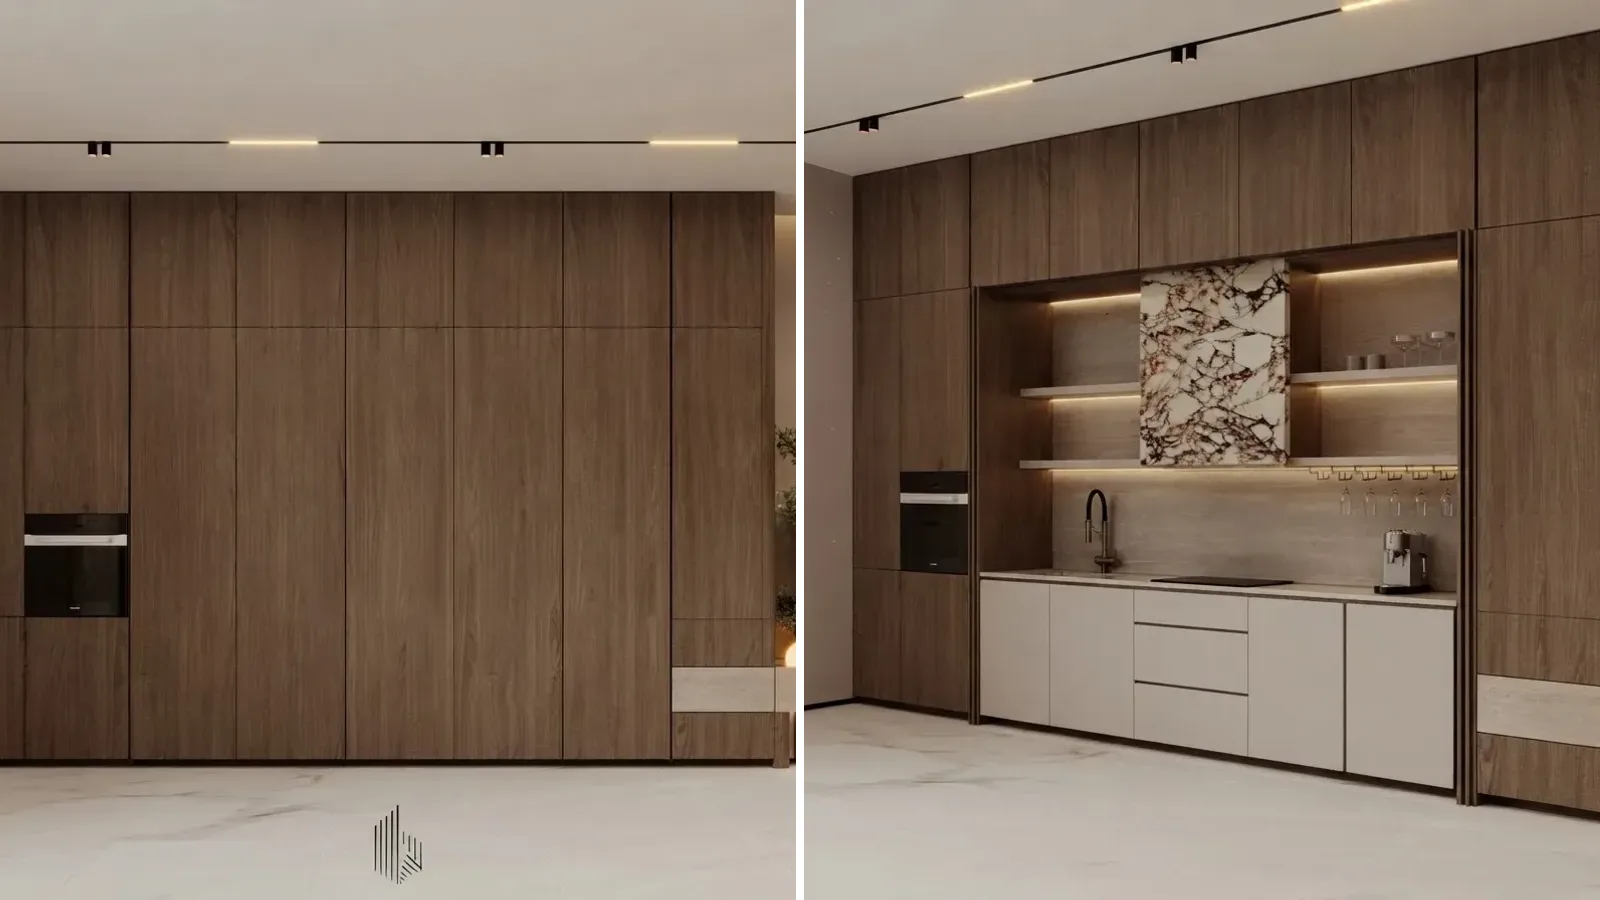
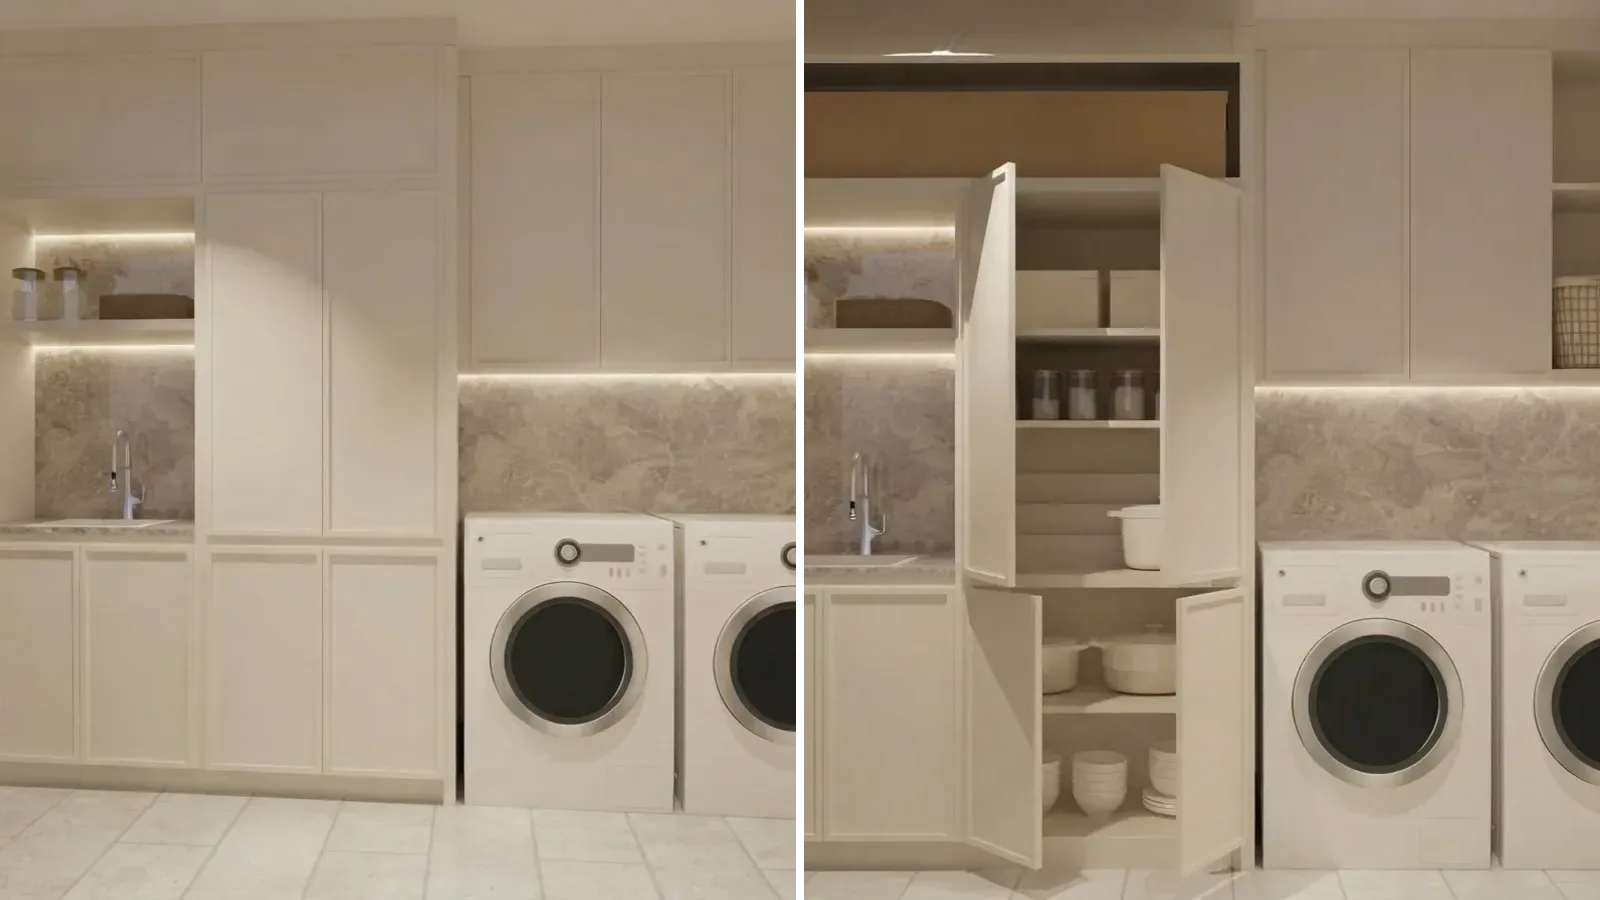
If you are weighing a dedicated walk-in as part of a bigger kitchen project, size it honestly: our room size guide covers what a walk-in pantry realistically claims from a floor plan, and the AI kitchen remodel walkthrough is the cheapest way to see whether that wall of your kitchen wants to become storage.
Nine pantries to steal a layout from
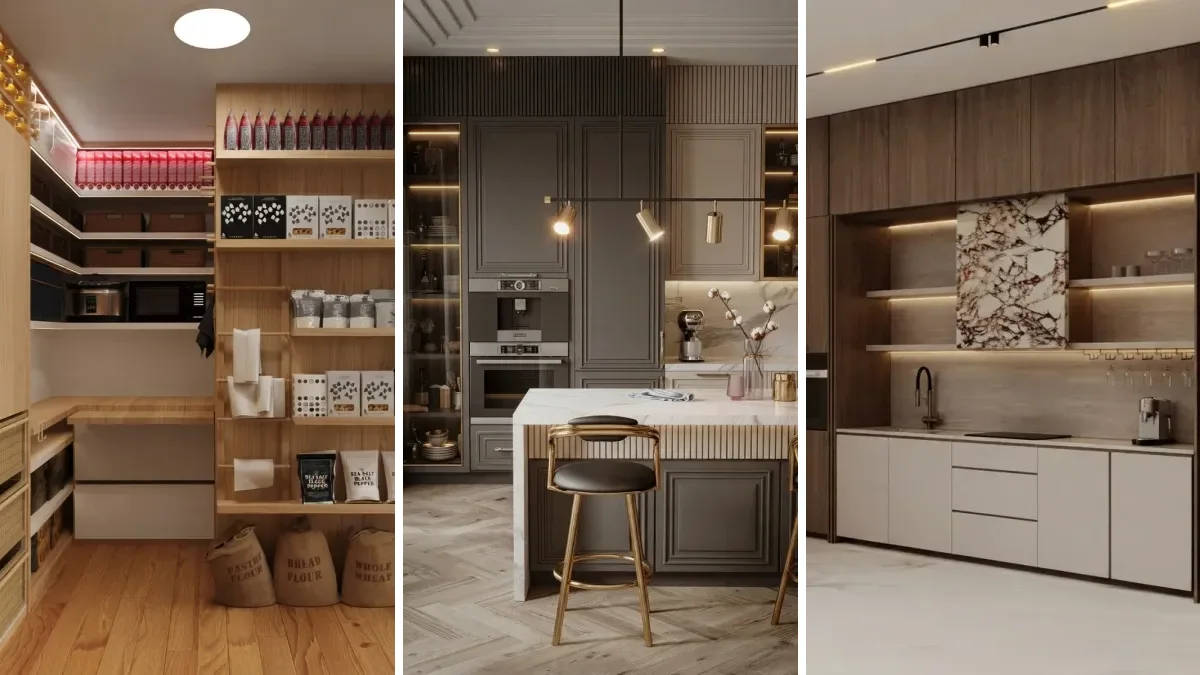
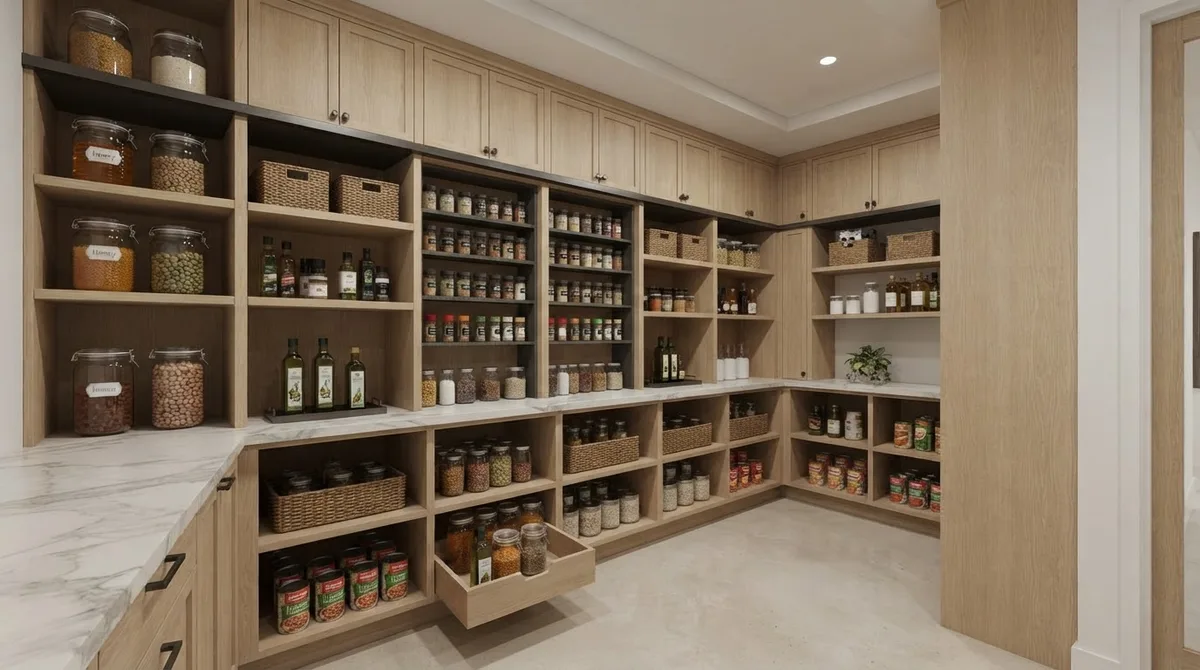
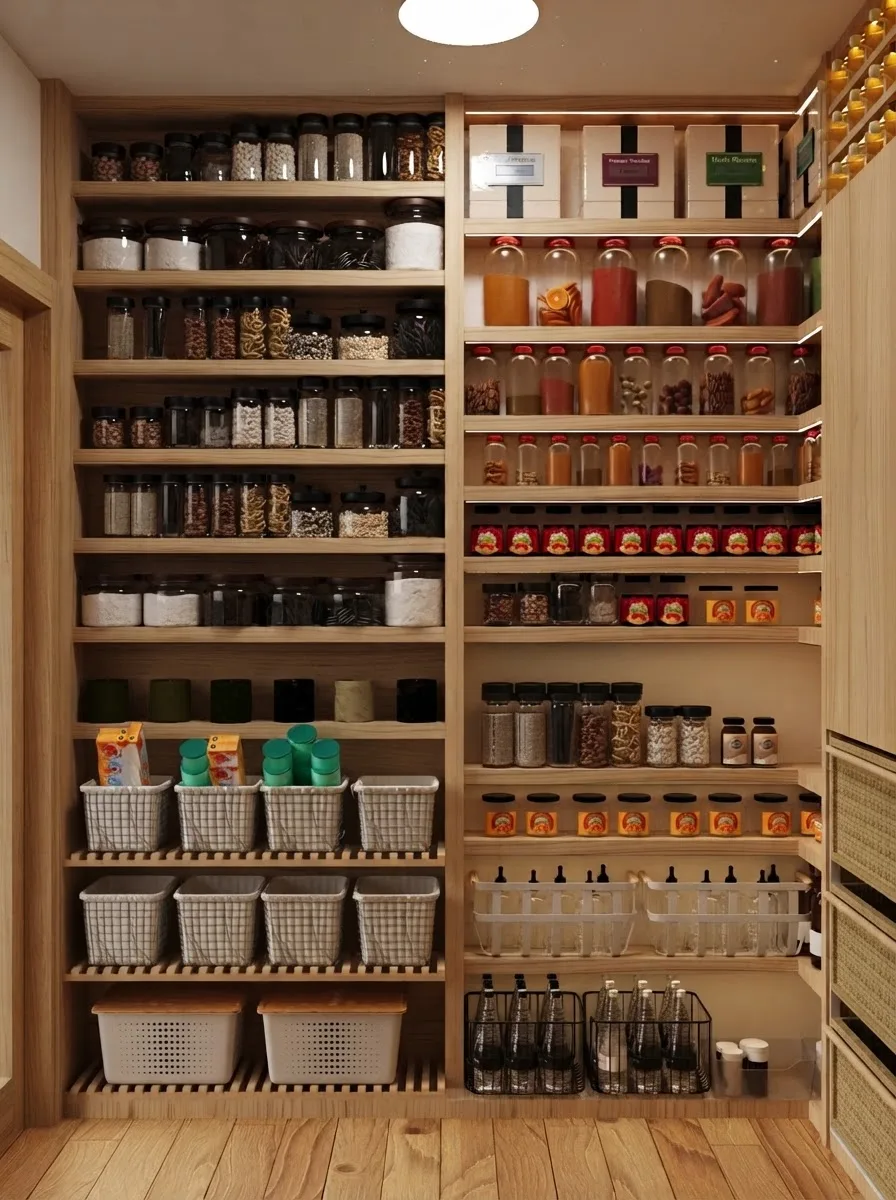
Every render below follows the rules above somewhere: three-deep rows, glass at waist height, heavy at the floor, light on top. Steal the layout that matches your architecture, not the prettiest one.
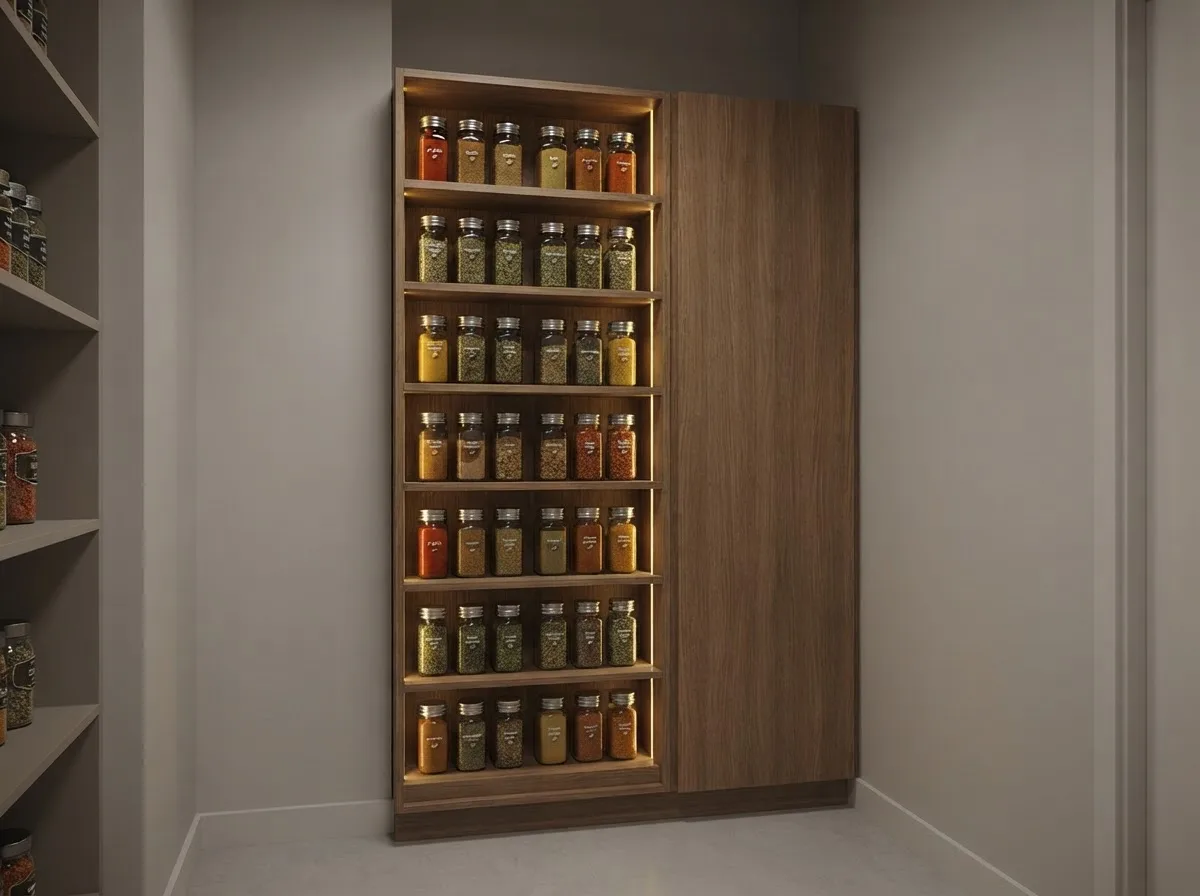
The recessed spice wall is the depth rule taken to its logical end: a shelf exactly one jar deep can never hide anything.
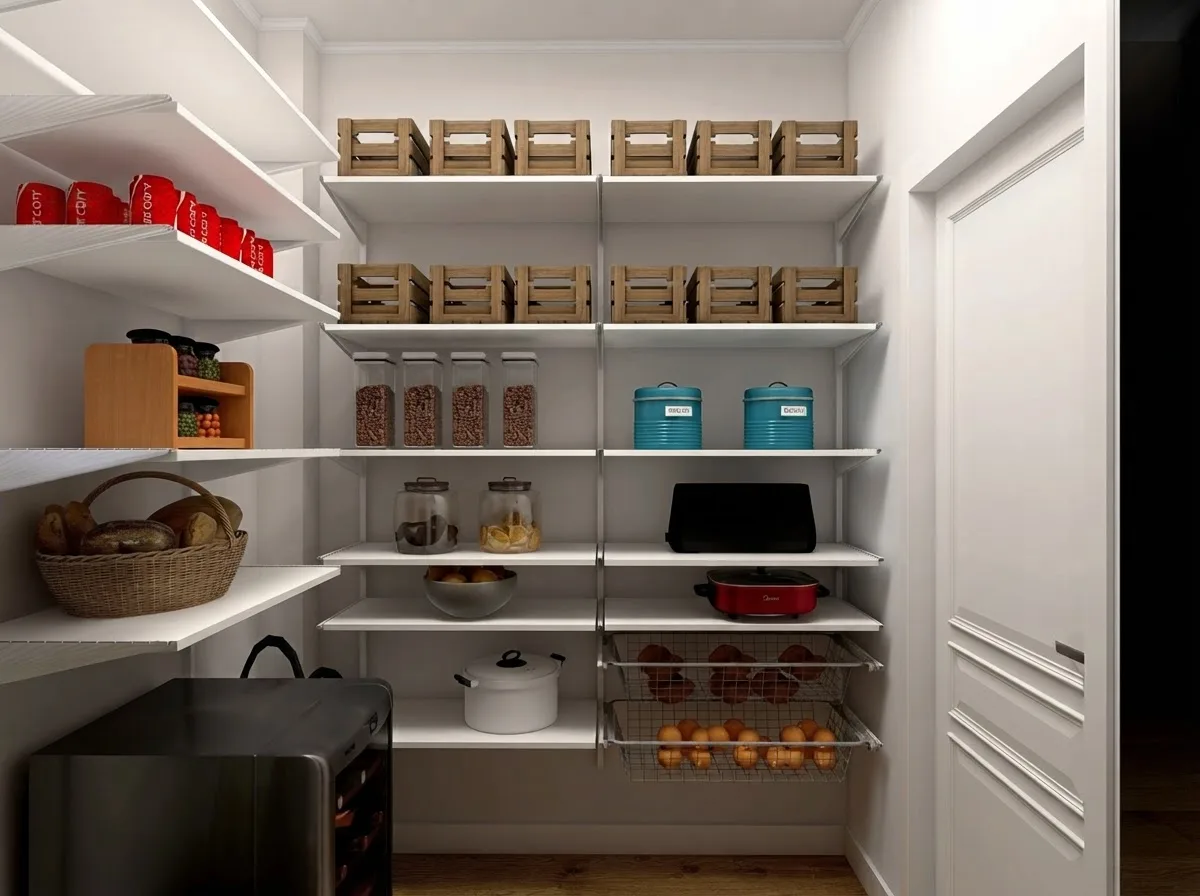
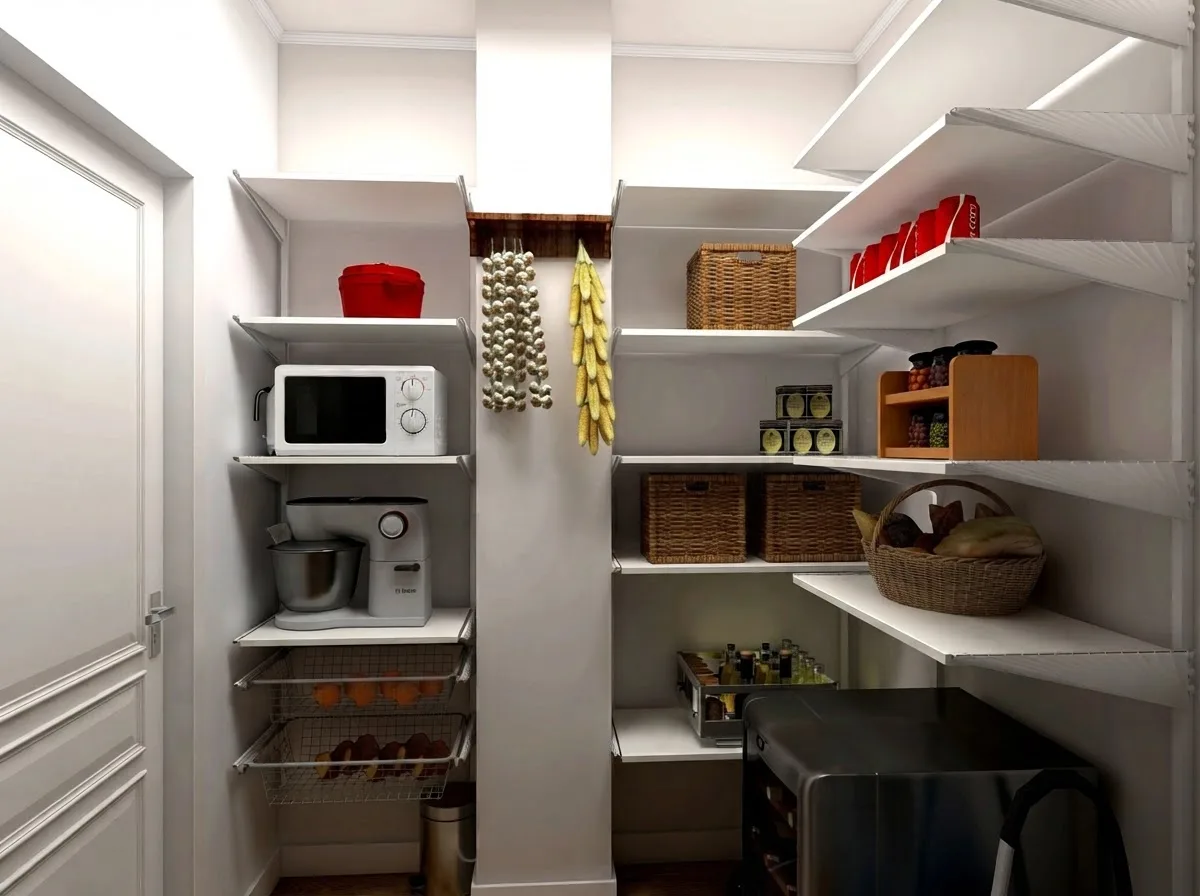
The compact white walk-in is built from stock wire shelving, which is the budget end of this whole genre: an IKEA-hack pantry with the pins set right beats a custom one with factory spacing.
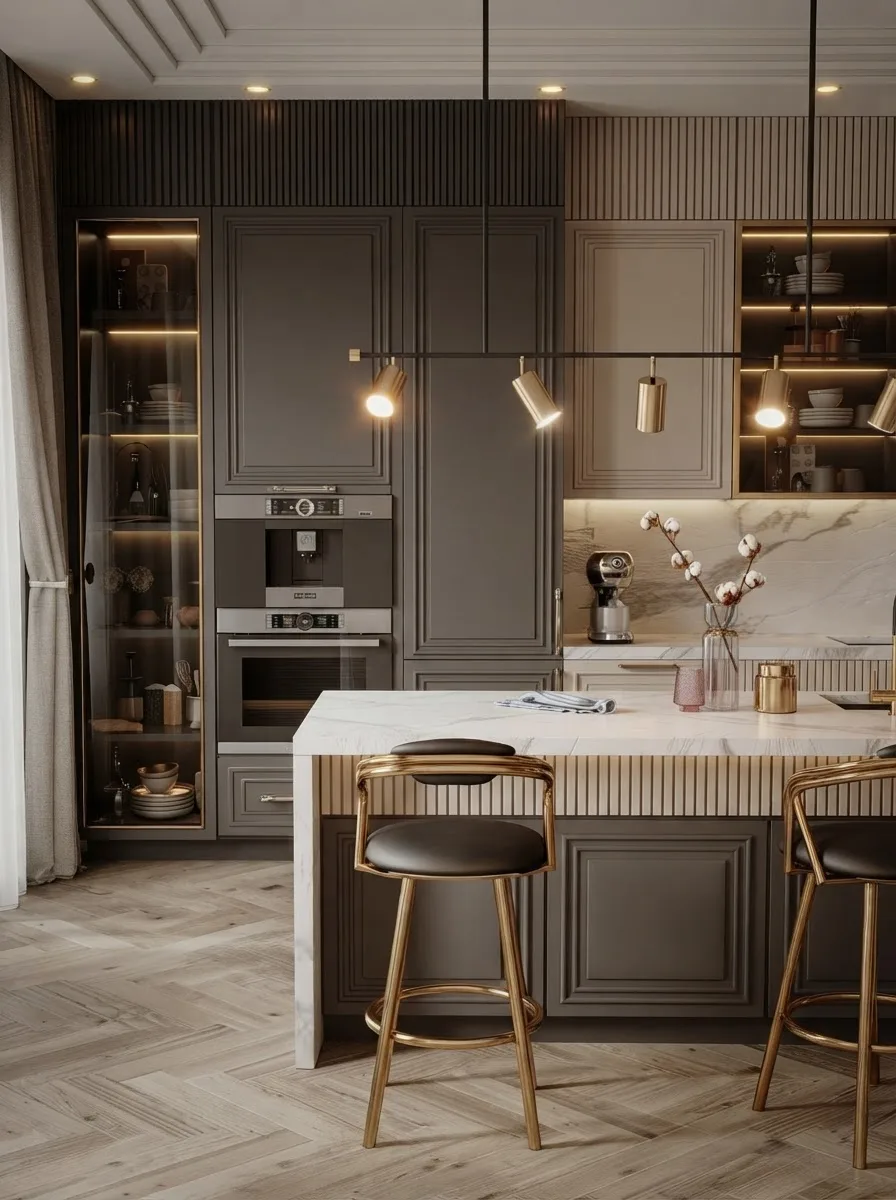
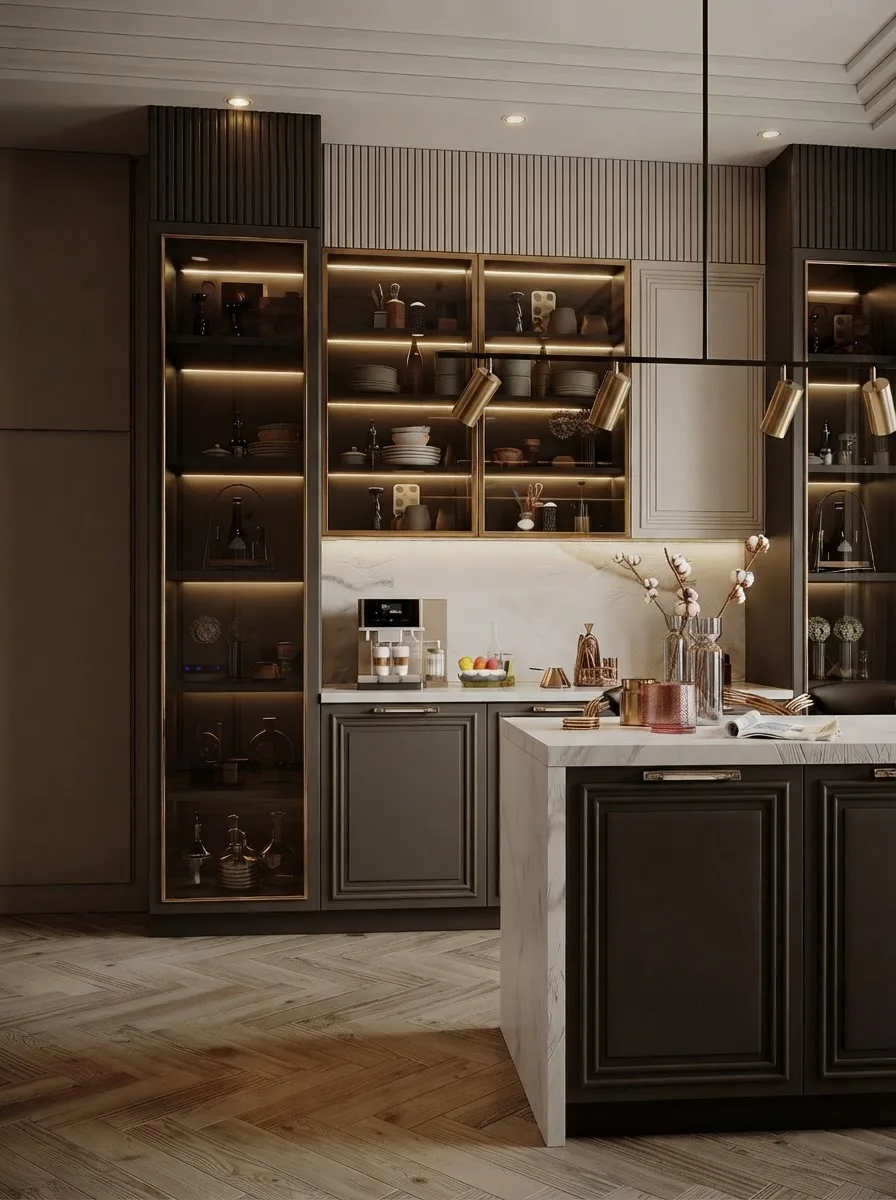
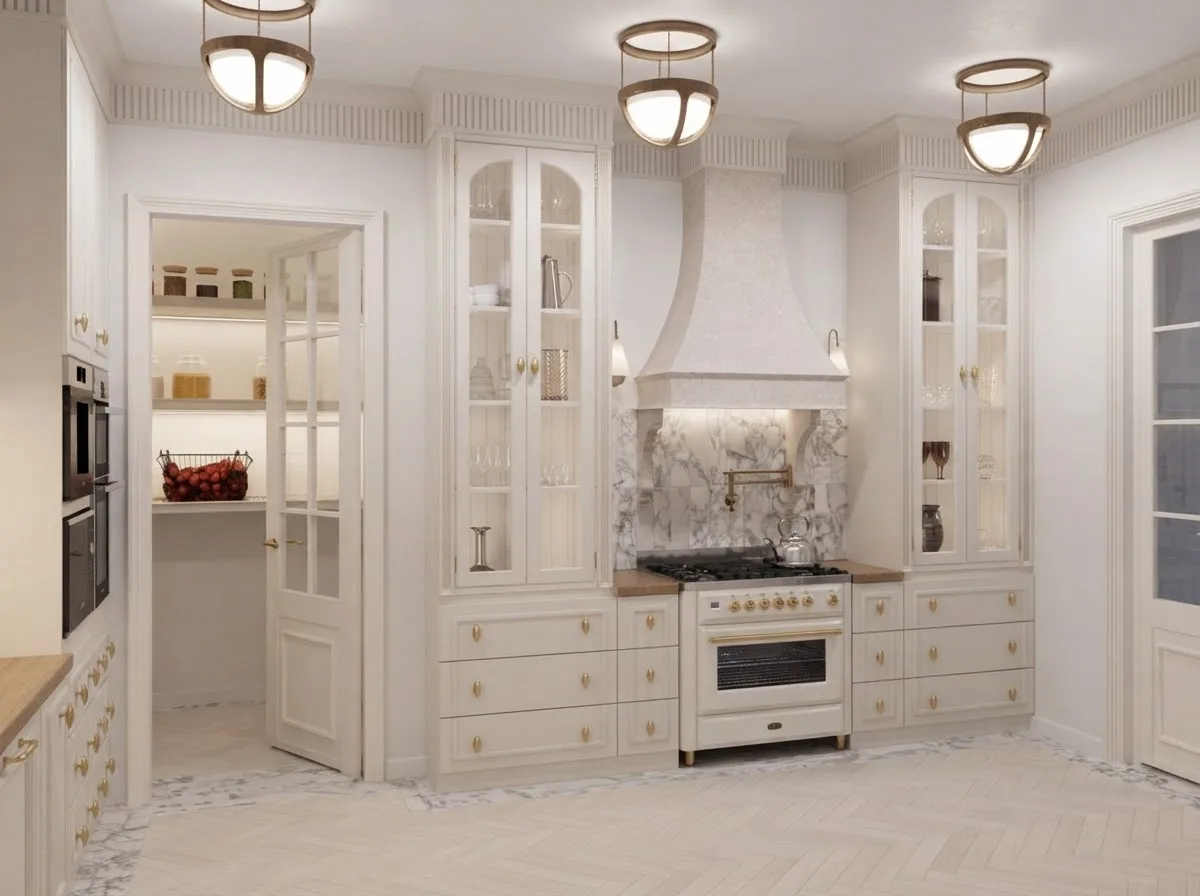
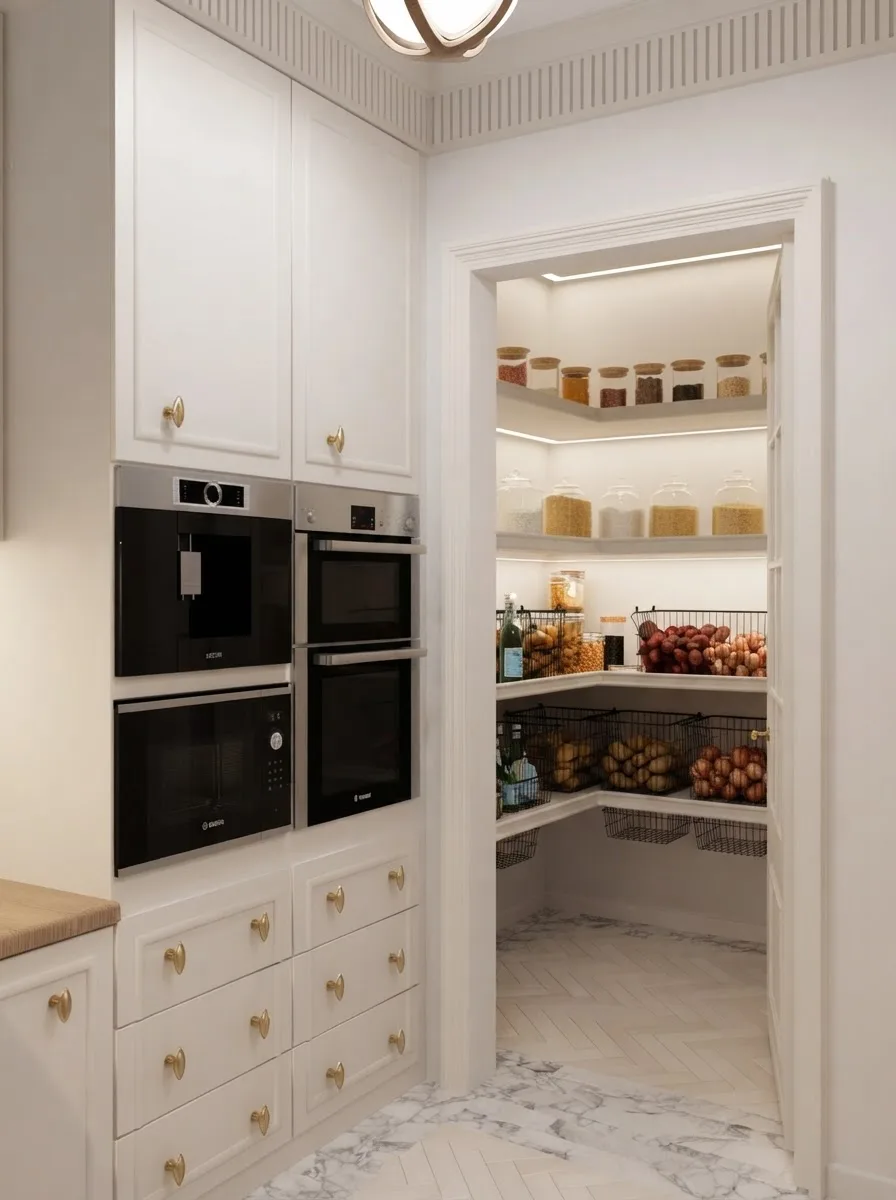
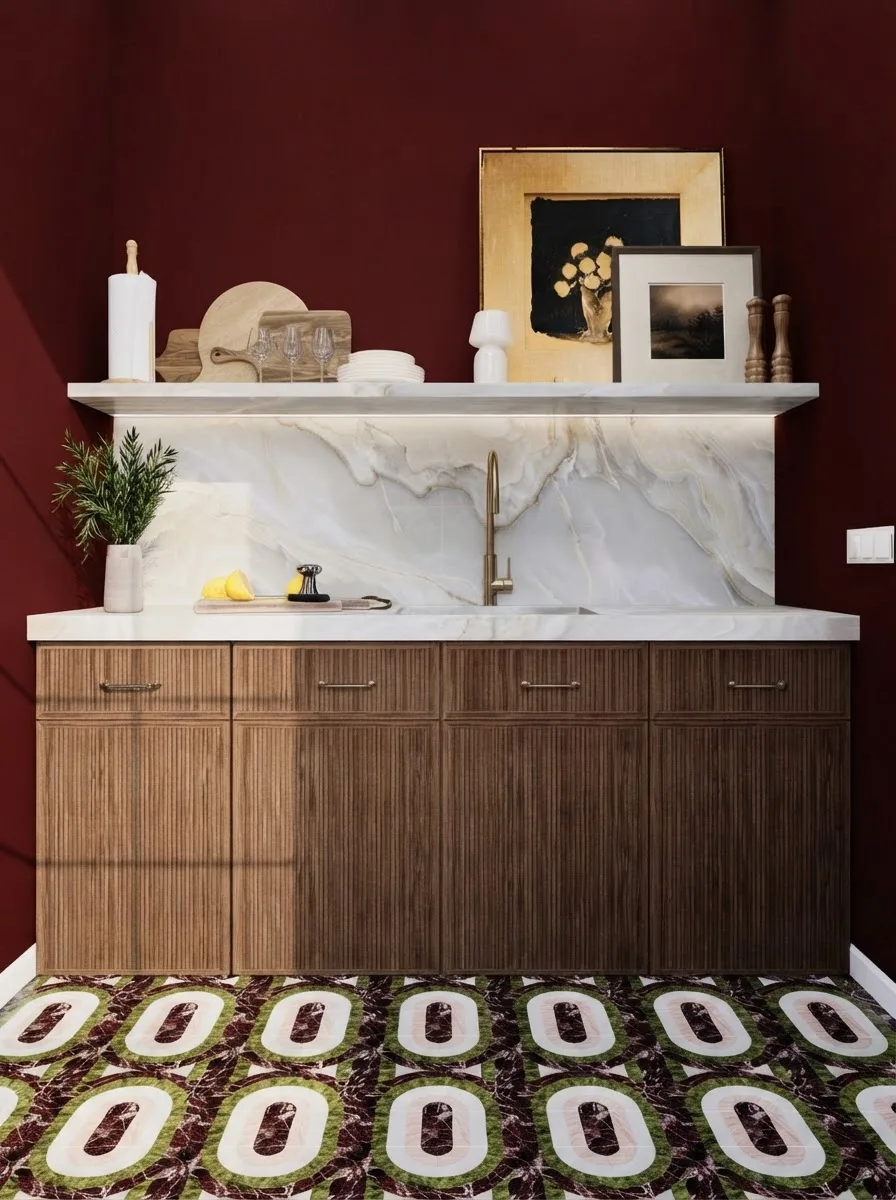
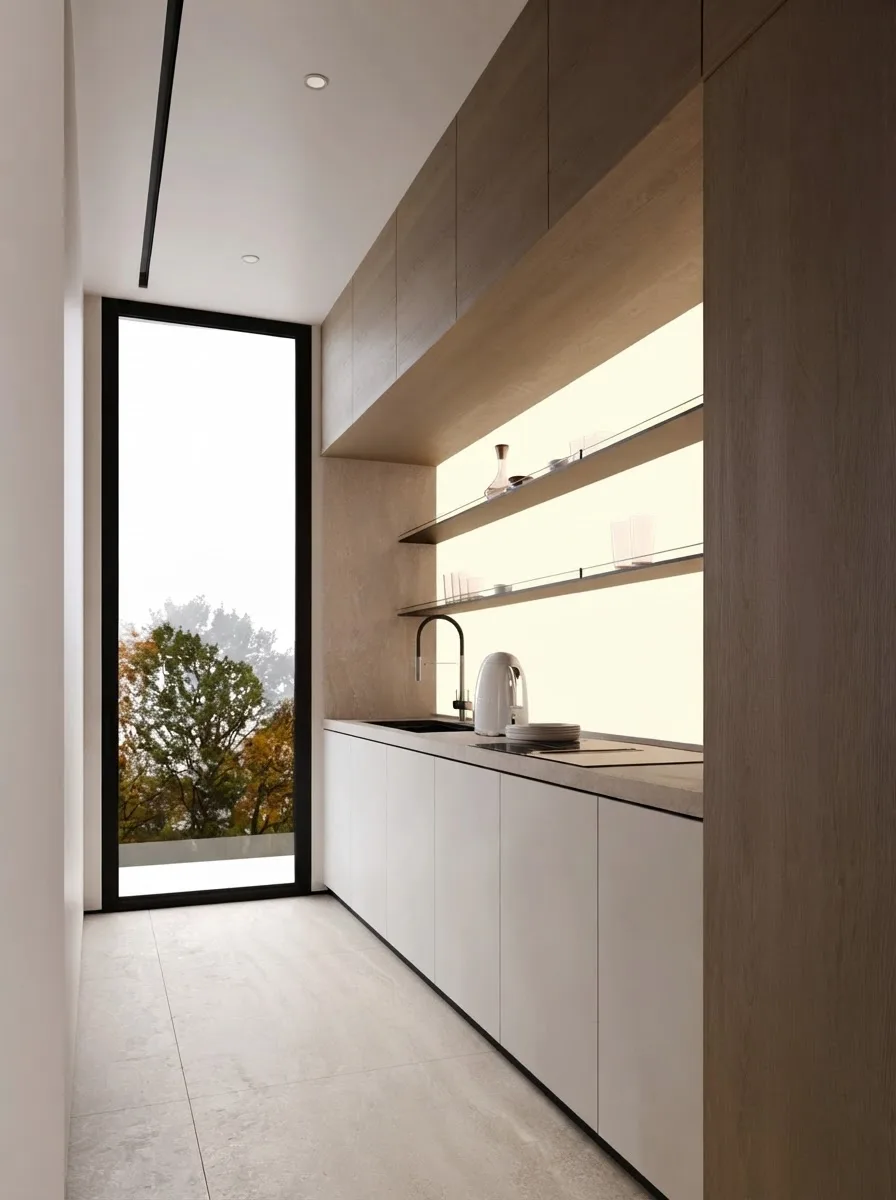
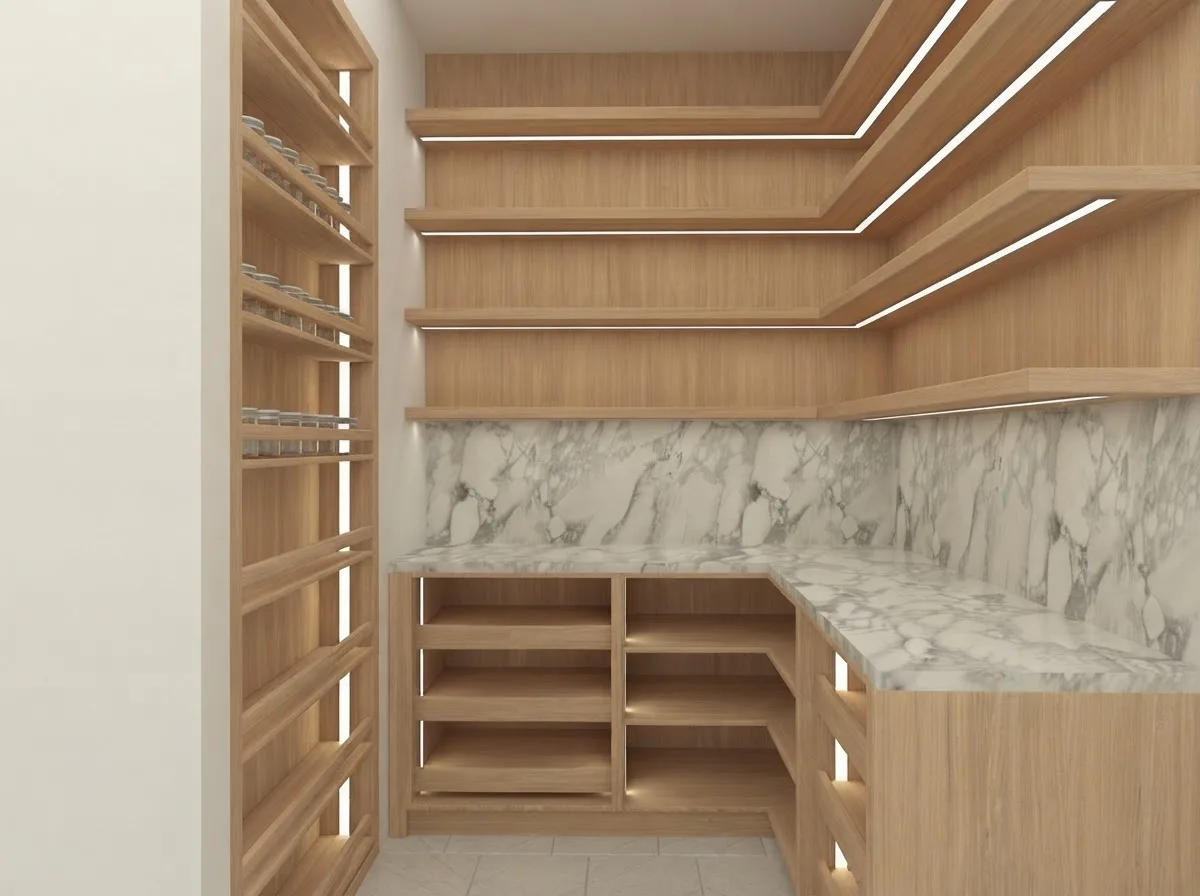
An empty pantry is the best moment to set the gaps: pin heights are a five minute job with the shelves bare and a whole afternoon with them loaded.
See your pantry organized before you buy a single bin
Zones and gaps are arithmetic, but whether a butler wall, a pull-out column or an open galley suits your kitchen is a visual question, and it deserves a visual answer before money moves. Photograph the wall and let the AI kitchen designer draw the pantry into your actual room, with your light and your floor in the frame. Every interior in this article came out of that same engine, including both before and after pairs, which are the identical render with only the shelves reworked; the kitchen prompt library has the exact wording for variants like these.
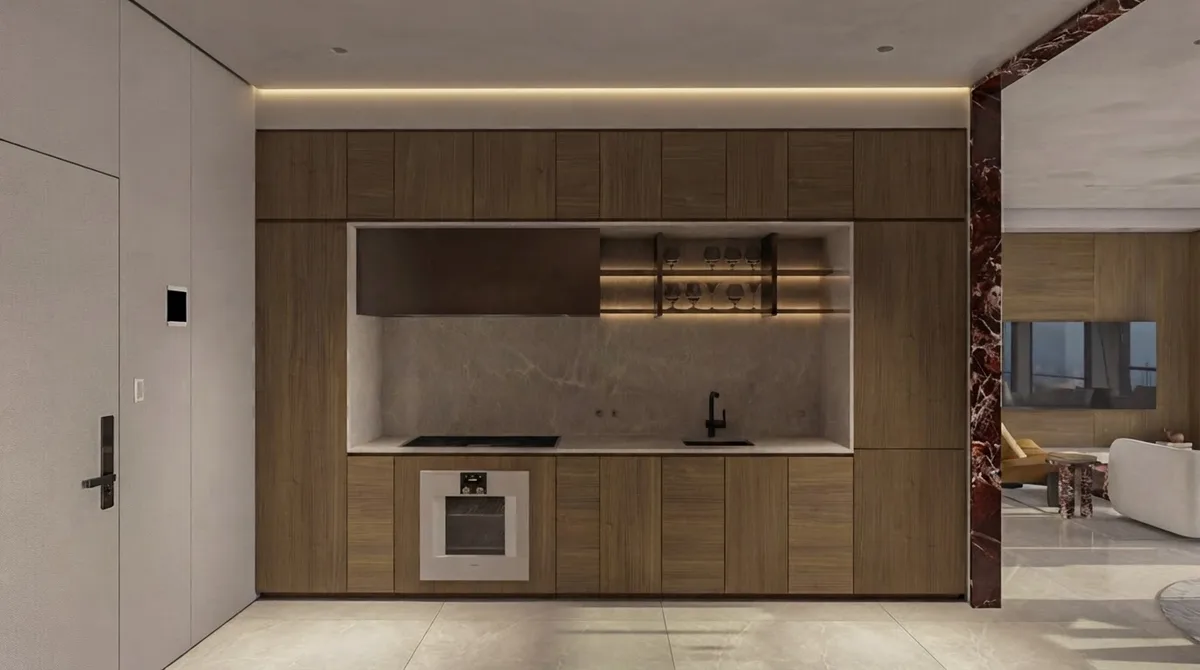
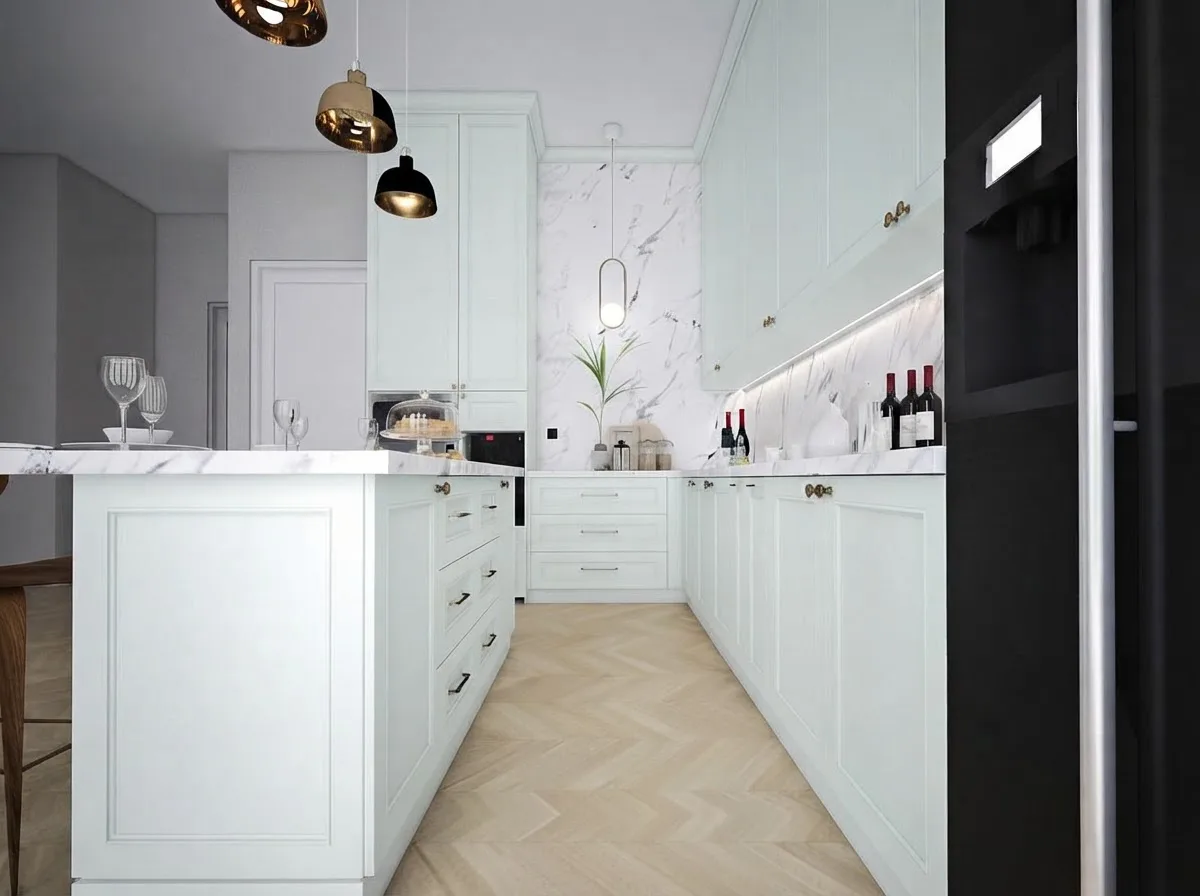
If the pantry rethink is one move in a larger kitchen change, price the rest of it with the kitchen remodel cost guide, test the whole scheme from a photo of the room, and if the storage problem you actually have wears clothes instead of cans, the closet version of this system is where this method started.
Frequently asked questions
How deep should pantry shelves be?
Twelve inches is the working depth for anything you need to see: a canned row is about 3.2 inches deep, and three rows is where both the eye and the hand stop. Sixteen inches suits large appliances and bulk bins on low shelves. Anything deeper than that without pull-outs creates a back zone where food expires unseen.
How far apart should pantry shelves be?
Match the gap to the tallest item in the row, plus about an inch of hand room. Cans need 6.5 inches, quart jars 8.5, cereal boxes and large bottles 13.5, and the floor zone wants around 22 inches for gallon jugs and small appliances. Five equal builder gaps of 16.8 inches leave 10.3 inches of air above every can row.
What goes on each pantry shelf?
Sort by weight and frequency: heaviest at the floor (water, oil, bulk bags, appliances), glass jars at waist height so they never fall far, boxes and bottles at chest height, cans and everyday items at eye level, and only light backstock above your head. If you use it daily, it lives between your waist and your eyes.
Should I put everything in matching containers?
No. Decant the four staples that go stale or attract pantry moths once opened: flour, sugar, rice and cereal. Everything else keeps its original packaging, which already carries the date, the instructions and a shape designed to stack. A full matching-container makeover costs 150 to 300 dollars and mostly buys a photograph.
How do I organize a deep pantry so food does not get lost?
Treat everything behind the front 12 inches as storage, not display. Sealed backstock and rarely used appliances go behind, daily items stay in the visible front rows, and turntables or pull-out baskets bring deep corners to you. The rule that keeps it honest: nothing with an expiry date lives past row three.
How long do canned goods last in a pantry?
Per USDA guidance, low-acid canned goods such as meat, stews, soups and most vegetables keep 2 to 5 years; high-acid ones such as tomatoes, fruit and juice keep 12 to 18 months. Store them in a cool, dry place below 85 degrees Fahrenheit, and skip bulging, rusted or deeply dented cans entirely.
Where should you not put a pantry or food storage?
The USDA is specific: never above or beside the stove, under the sink, or in a damp garage or basement, because heat and moisture are what shorten shelf life. If your only option is a cabinet near the range, keep oils, oats and anything delicate elsewhere and let that cabinet hold dishes instead.
How do I keep the pantry organized after the makeover?
Two habits carry the whole system. Load first in, first out, so new groceries go behind old ones. And run a ten minute monthly reset: face the front rows, pull anything within three months of its date into an eat-first basket, and put strays back in their zone. No labels or containers survive without those two.