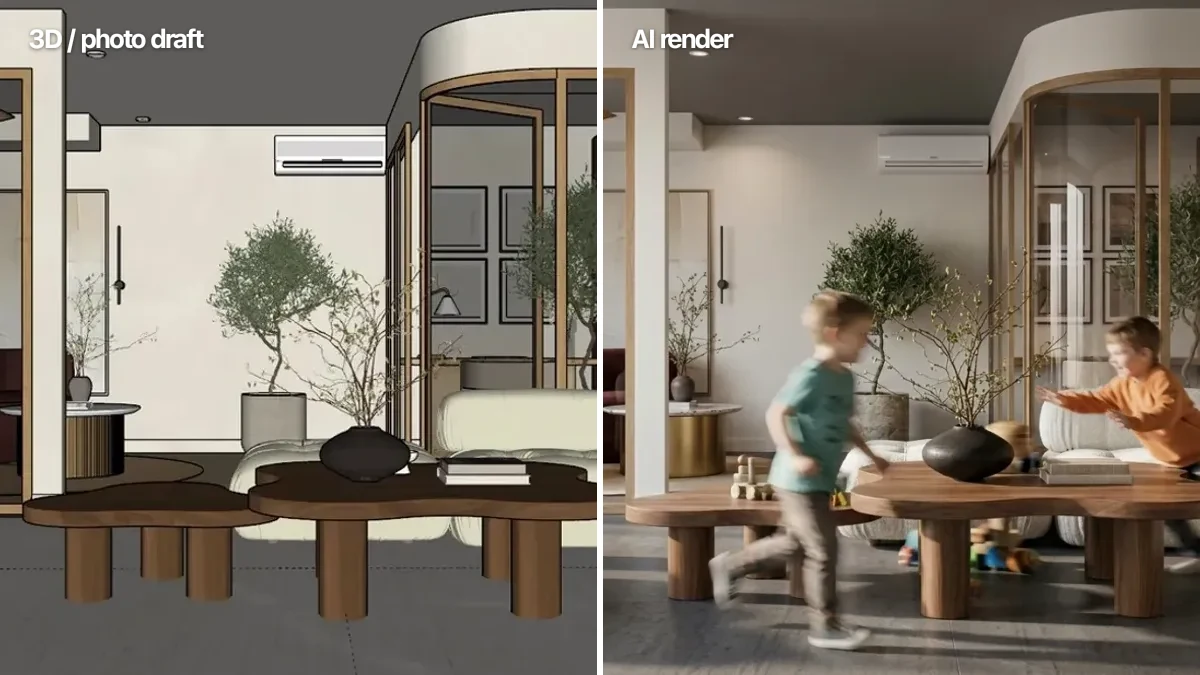
Short answer: to render architecture with AI, you give a photo-to-render tool one input (a photo, a sketch, or a screenshot of a 3D view), describe the look you want in one sentence, and it hands back a photorealistic render in about 20 seconds. No render engine, no GPU, no V-Ray license. The same still image from a visualization studio costs $250 to $2,500 and takes 3 to 7 days (Realspace3D, NoTriangle Studio). This guide is the exact workflow: the steps, what to type, the real benefits, and the honest limits.
Our articles are still written by humans!
Get human written articles in your Google feed.
How to Render Architecture With AI
For most of its history, an architectural render was a project in itself. You modeled the building, assigned materials, set up lights, waited for a render engine to chew through the scene, and often paid a specialist to do all of it. That is why a single presentation image could cost more than a week’s rent and take just as long.
AI collapsed that into three moves you can do from a browser:
- Give it an input. A photo of the space or building, a sketch, or a screenshot of your 3D or SketchUp view.
- Describe the look. The style, materials, time of day and mood, in plain English.
- Generate. A photorealistic render comes back in about 20 seconds, and you refine from there.
That is the whole loop. The rest of this guide is about doing each step well, because the difference between a flat AI image and a client-ready render is entirely in how you feed and steer it.
We Timed It: How Fast AI Rendering Really Is
“About 20 seconds” gets thrown around a lot, so we stopped guessing and measured it. We ran three real inputs, an empty interior, a suburban house and a commercial glass facade, straight through the same image model MeltFlex uses, and clocked the raw generation each time. The before-and-after renders further down this page come from these exact same inputs and engine.
So the honest number is roughly 11 to 13 seconds of pure generation, and closer to 20 seconds end to end once you include uploading the image and the interface around it. Either way it is the same point: this is a per-image cost measured in seconds, against the 3 to 7 days a studio quotes for a single still. That gap is not an efficiency tweak, it is a different way of working, and everything below follows from it.
The Step-by-Step, From Input to Render
Here is the full workflow, the way an architect or designer actually runs it on a real project.
Step 1: Start with the right input
The single biggest lever on render quality is the input. A well-lit, straight-on photo of a room or facade gives the AI clean geometry to preserve, so the render comes back looking like the same space, just finished. A blurry, tilted, badly lit photo forces the AI to guess, and guessing is where warped walls and invented windows come from. If you are starting from a model, a simple screenshot of your SketchUp or 3D view works just as well as a photo.
Step 2: Write a one-sentence brief
You are not writing code, you are briefing a very fast junior visualizer. Name the concrete things: the style (Scandinavian, warm minimalist, industrial), the materials (oak floor, matte plaster, brushed brass), the time of day (bright morning, golden hour, blue-hour dusk) and the mood (calm, editorial, inviting). Skip empty words like “nice” and “beautiful” and the render sharpens immediately.
Step 3: Generate, then read the result honestly
The first render lands in around 20 seconds. Look at it the way a client will: does the light have a direction, do the materials catch it, is the furniture at human scale? If something looks off, it almost always traces back to lighting or materials, which is a prompt fix, not a tool problem. Our breakdown of why AI renders look fake is the fastest way to diagnose it.
Step 4: Refine, lock, export
Change one variable at a time. Swap the palette, push the light to dusk, try a different material, and regenerate. Because each pass is 20 seconds, you can explore ten directions before lunch instead of briefing a single revision and waiting two days. When it matches your intent, download it and drop it straight into the deck or the listing, or turn the render into a moving AI video walkthrough for a presentation that does not sit still.
The 20-second render, in one line
Input (photo, sketch, or 3D view) + a one-sentence brief (style, materials, light, mood) = a photorealistic render, about 20 seconds later. Everything below is how to make that render actually good.
What You Can Render From
The reason AI rendering is faster is not just the engine, it is that it removes the prerequisite. You do not need a finished, textured 3D model to get a render. Four inputs all work:
Different tools lean into different inputs. Text-to-image tools like Midjourney are strongest for concept imagery from words, which is why we keep a library of Midjourney architecture prompts. Photo-to-render tools like MeltFlex are strongest when you have a real space or building to preserve. If you want the full landscape, we tested and ranked the best AI architectural rendering tools on price, quality and CAD fit.
One input worth calling out on its own is a plan. If your starting point is a drawing rather than a photo, you can go straight from a 2D floor plan to a 3D model and render the space from there, which is the fastest way to show a client a room that has not been built yet.
See It Happen: Real Before and After Renders
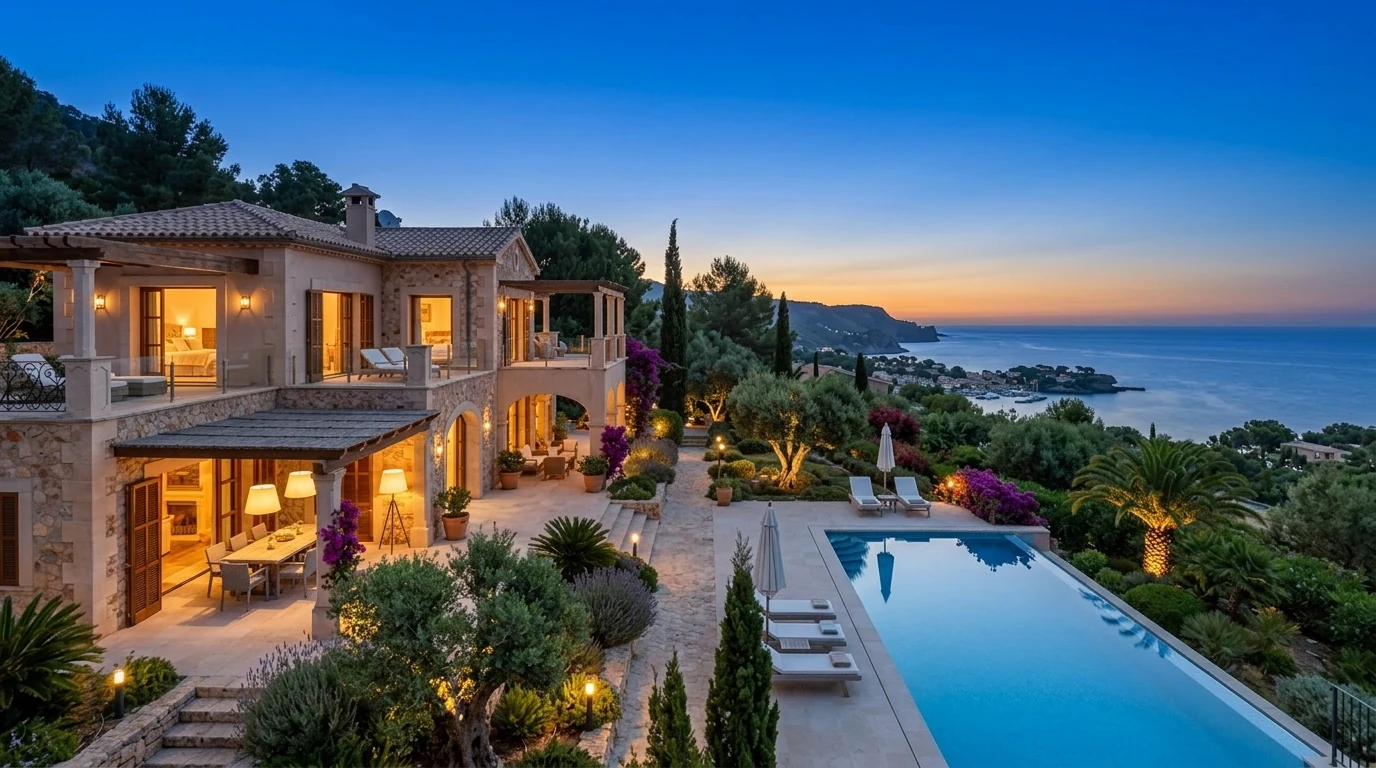
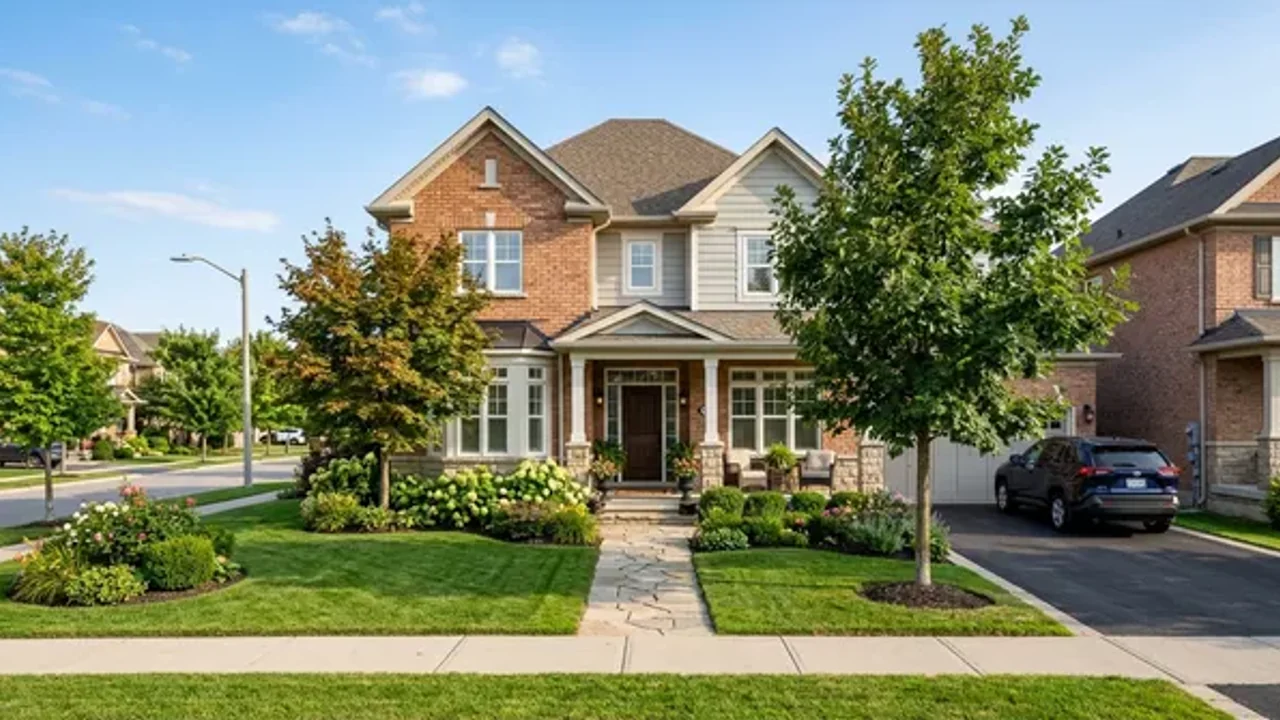
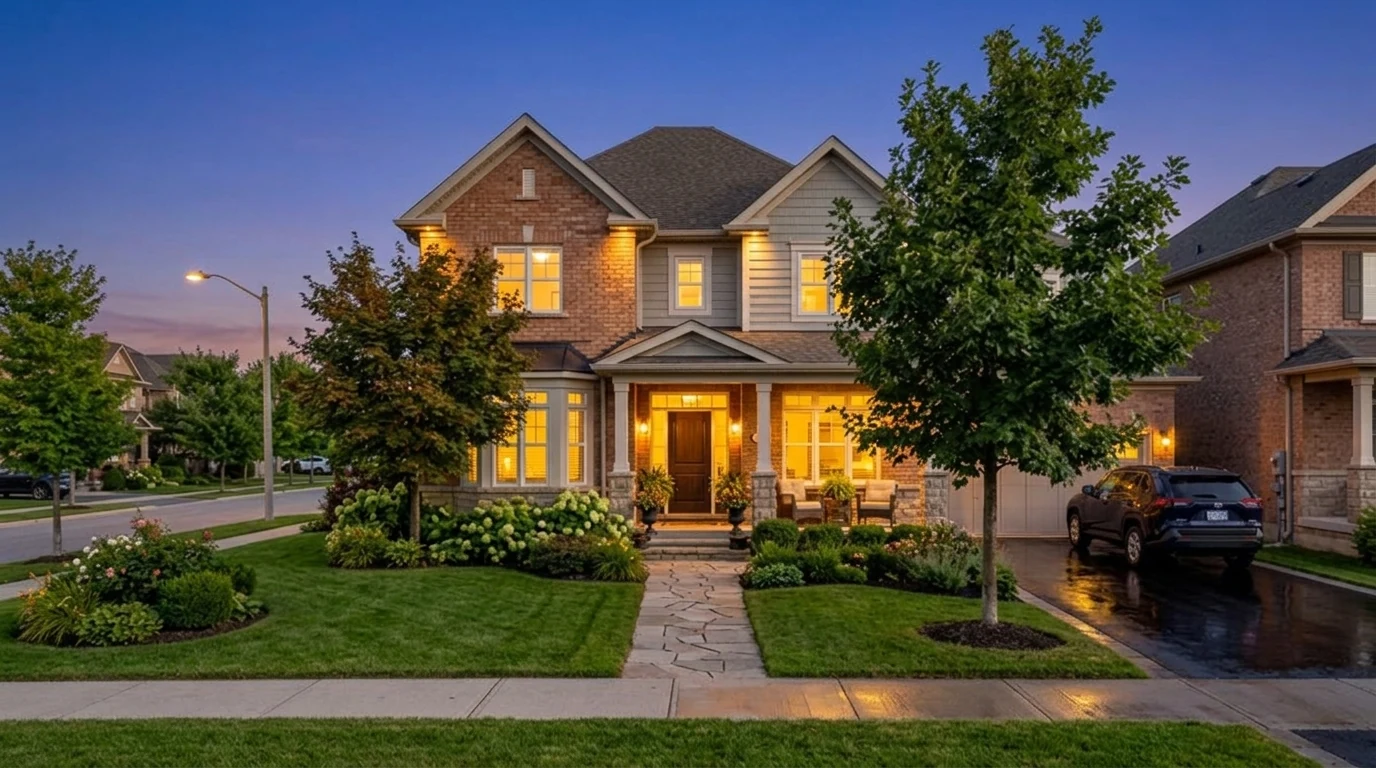
Theory is cheap, so here are the actual transformations, the same three inputs and engine as the timed test above. On the left is a flat, ordinary daytime photo of a house, the kind you could take on a phone in ten seconds. On the right is the AI render of the same house: same roofline, same windows, same porch, now shot as a warm twilight architectural visualization. The only thing that changed is the light, the sky and the polish, and it took about 20 seconds.
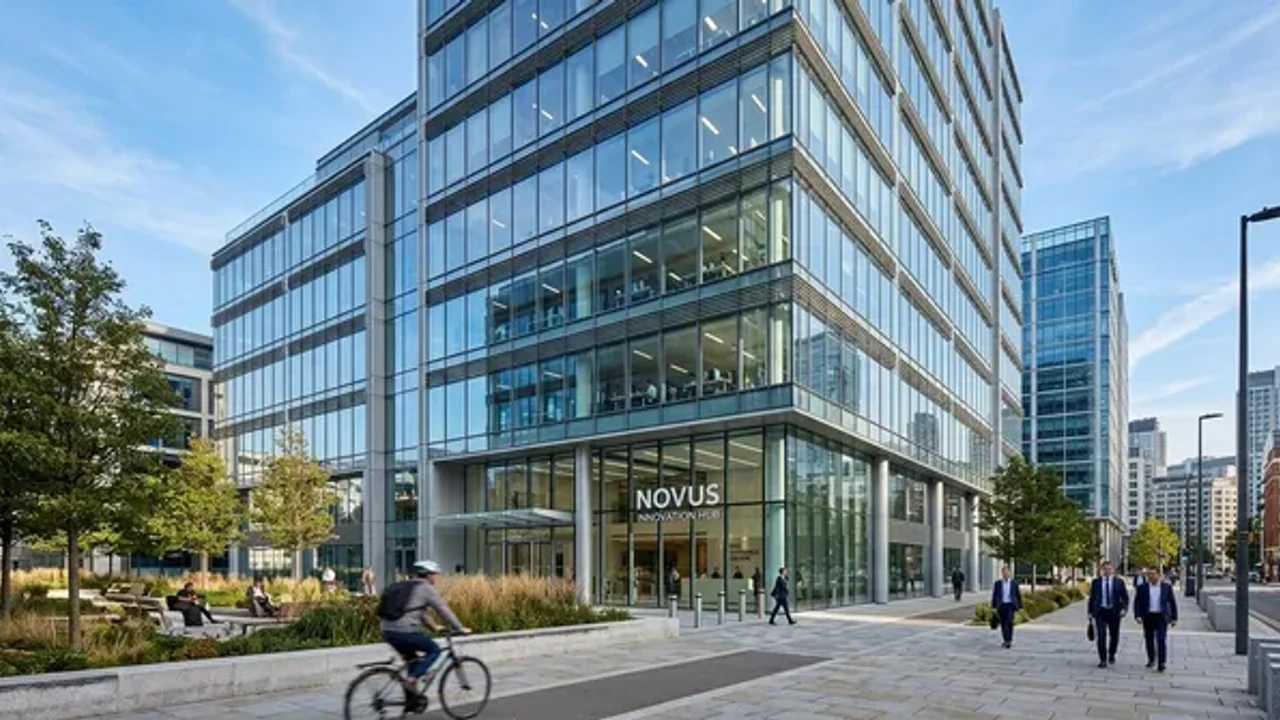
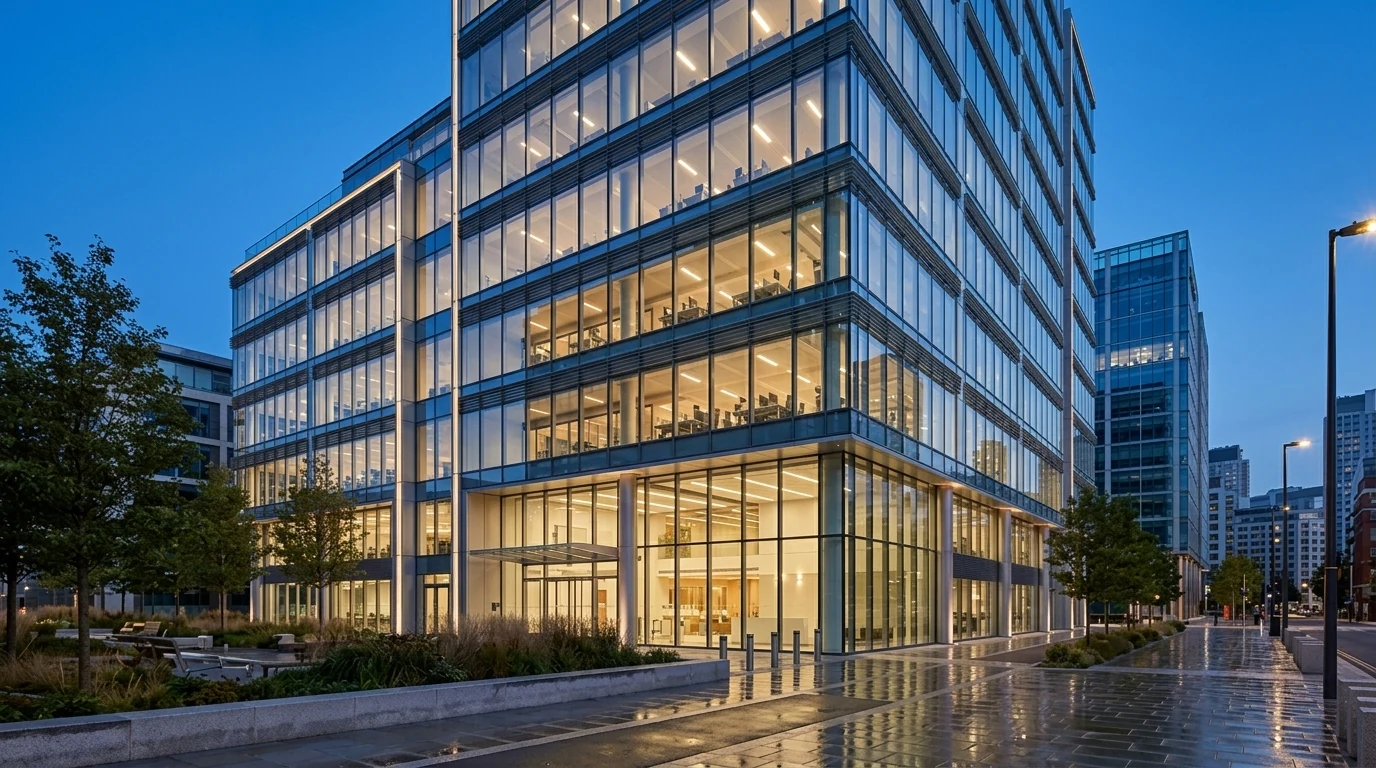
It scales up, too. Feed it a flat daytime shot of a commercial facade and the same one-sentence brief, and it returns the kind of blue-hour visualization a studio would bill four figures for, with the glass, the floor plates and the massing all preserved. The same photo-to-render step powers MeltFlex exterior design, so it handles a house, an office block or a full facade renovation the same way.
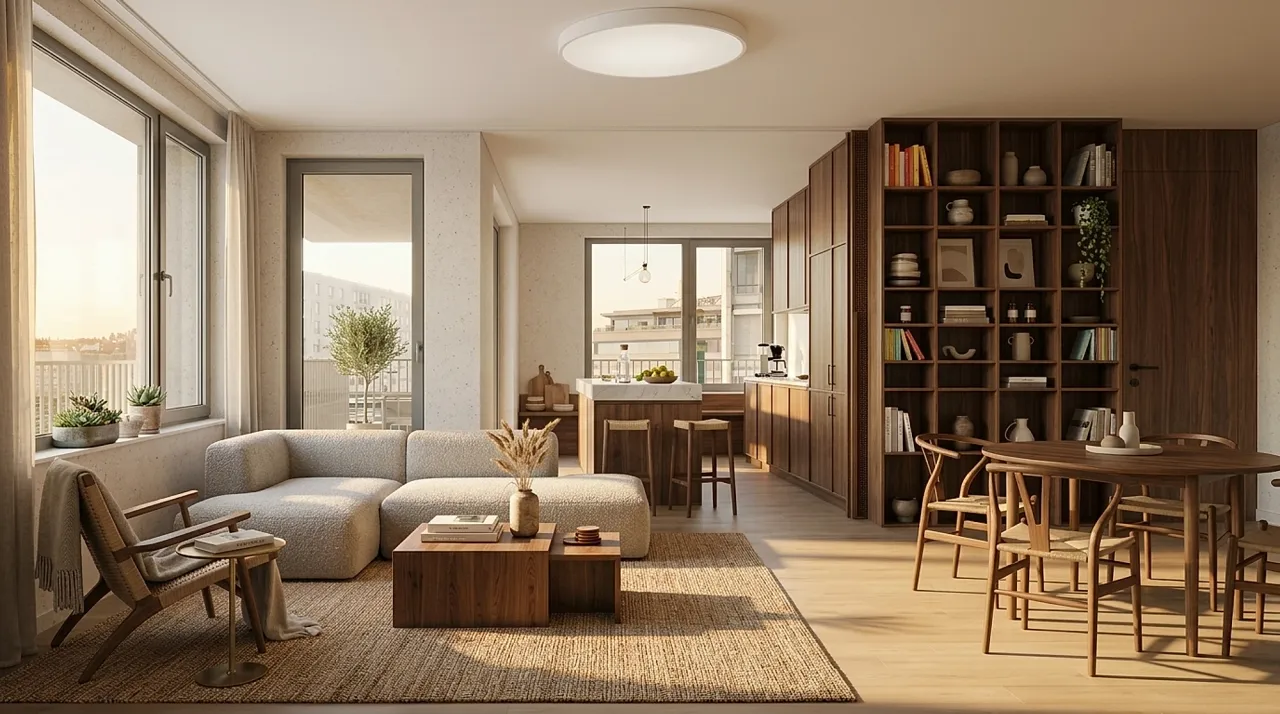
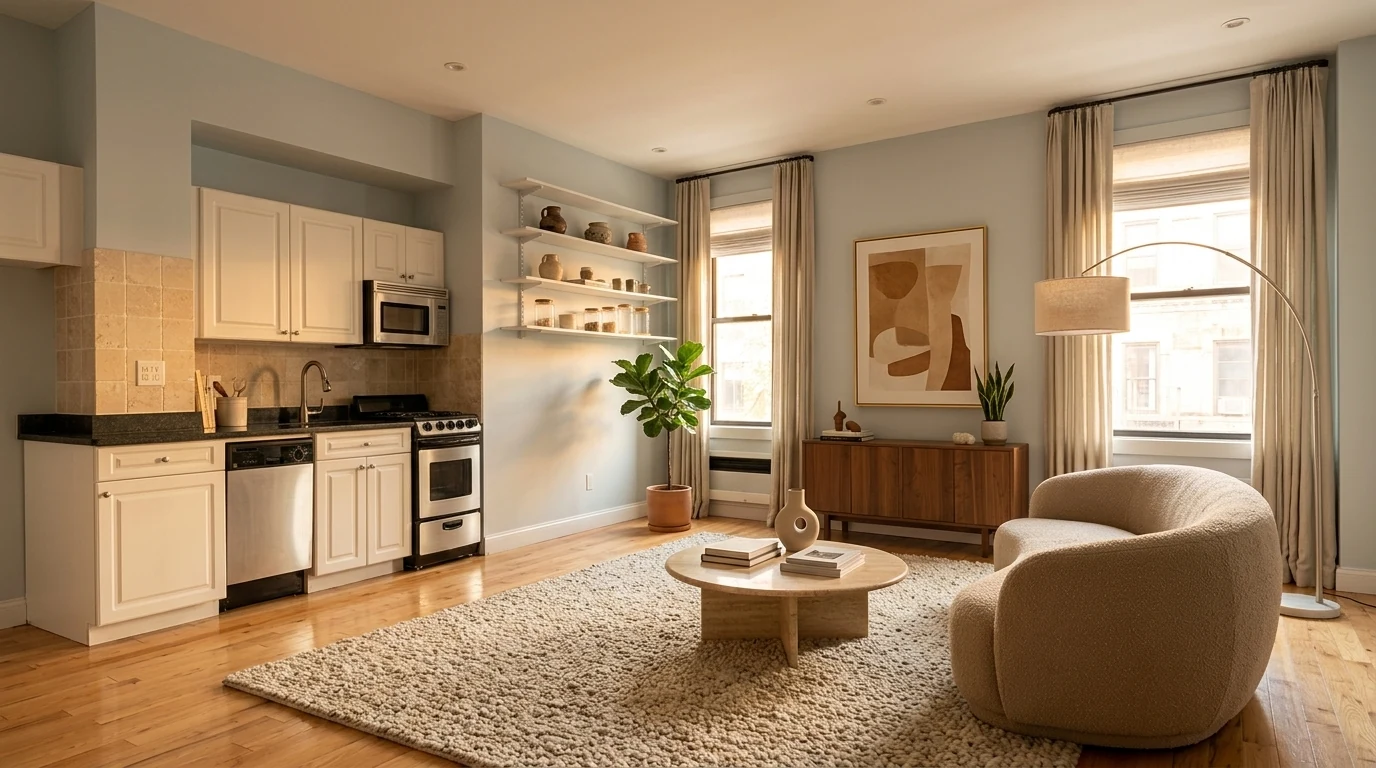
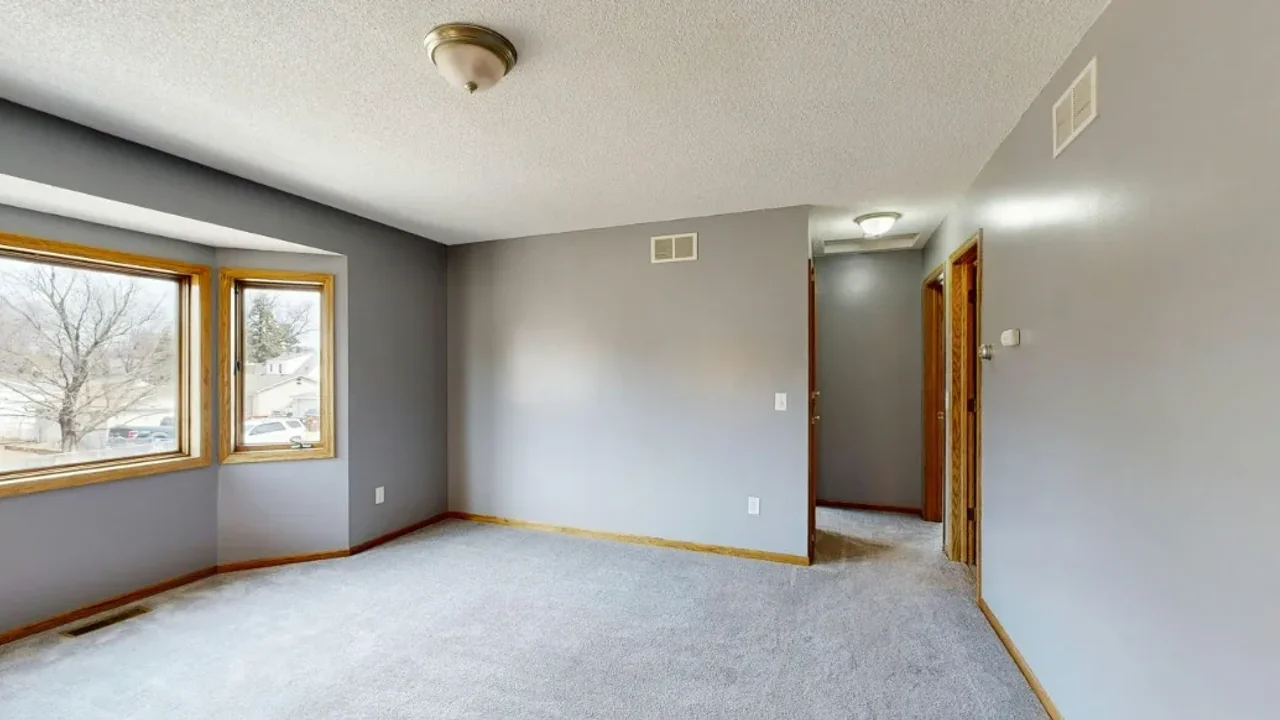
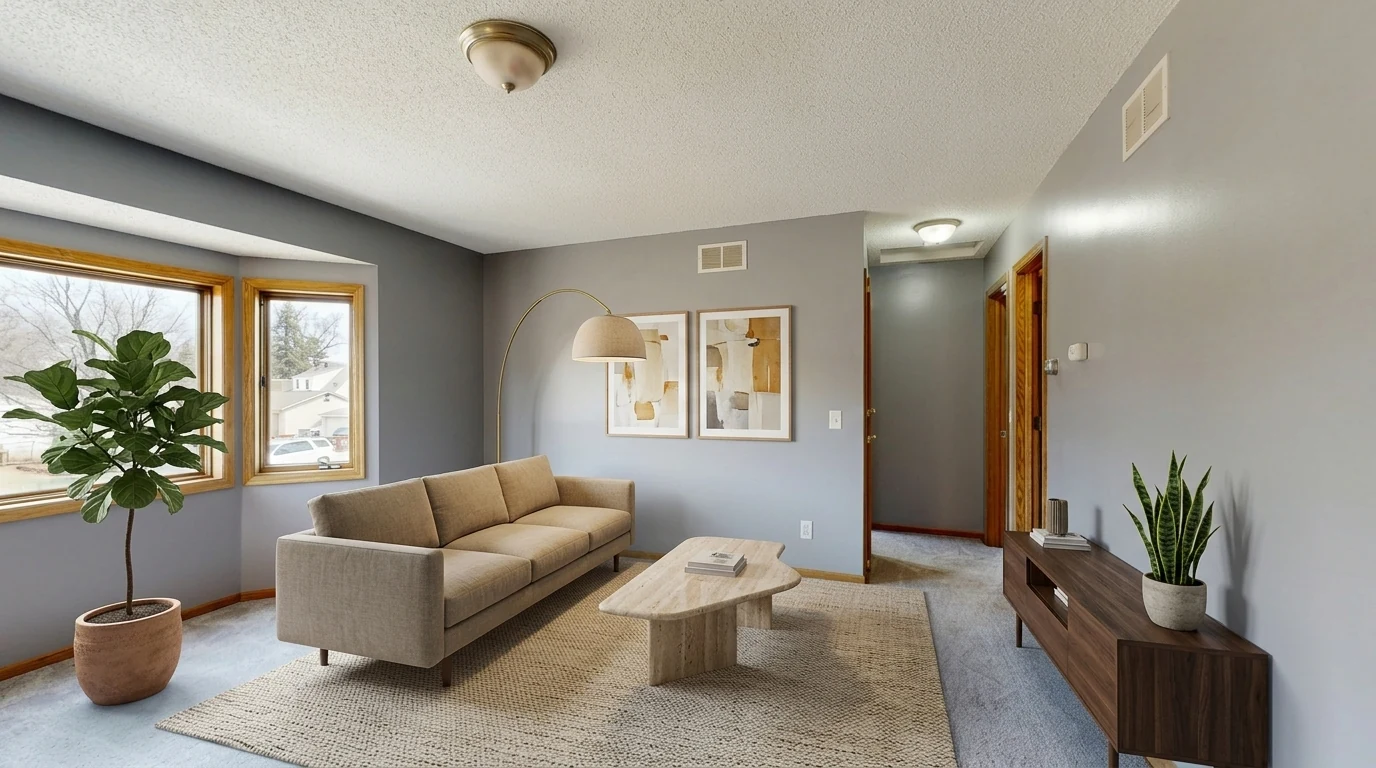
It works exactly the same way inside. Give the AI an empty room and a one-line brief, and it furnishes and renders the space while keeping every wall, window and doorway where it was.
The 4-Lever Render Brief
After running hundreds of these, the briefs that land come down to four levers. Pull all four and you are steering the render; leave one blank and the AI fills it with an average guess, which is where most disappointing results come from. Think of it as the 4-lever render brief:
- Lever 1, subject and style: “a warm minimalist living room”, “a modern concrete-and-glass facade”.
- Lever 2, materials: “wide oak floor, matte lime-plaster walls, brushed brass fixtures”. Materials are what make a render read as real rather than plastic.
- Lever 3, light and time of day: “soft morning light from the left”, “blue-hour dusk with warm interior lights on”. Light direction is the single biggest difference between flat and photographic.
- Lever 4, camera and mood: “editorial interior photography, calm, sharp focus”.
A working example: “Turn this daytime photo into a photorealistic twilight render of the same house, warm lights on inside the windows, deep dusk sky, wet reflective driveway, professional real estate photography, sharp and clean.” That one sentence produced the exterior above. For 40 copy-paste versions of this across interiors, exteriors, materials and lighting, see our full library of AI render prompts or the building-side set in architectural rendering prompts, and if you want to go deeper on steering light specifically, our guide to lighting prompts is the highest-leverage read, because light is what most AI renders get wrong.
Why Render With AI: The Benefits
The 20-second headline is the hook, but speed is only the first of the reasons architects, designers and agents have moved this stage to AI, where rendering is now just one part of a wider stack of AI tools for architects. Here is the honest ledger.
- It is roughly 10,000 times faster. Seconds instead of days. That is not a nicer version of the old workflow, it changes what you do with it: you iterate live in a client meeting instead of promising revisions next week.
- It is a fraction of the cost. Free to about $60 a month, against $250 to $2,500-plus for a single studio image. For a small studio or a solo agent, that is the difference between rendering everything and rendering nothing.
- No 3D model or render engine required. A photo or a sketch is enough. You skip modeling, material assignment, lighting setup and the render farm entirely.
- No specialist skills or hardware. No V-Ray, no GPU, no course. If you can describe a room, you can render one.
- Fast iteration beats slow perfection. Ten looks in ten minutes surfaces the right direction far faster than agonizing over one. Cheap iteration is a creative advantage, not just a time saving.
- It wins the meeting. A photorealistic render of the client’s actual room or building, produced while you talk, closes work that a floor plan or a mood board cannot.
Laid side by side, the gap is stark:
None of this is niche. The 3D rendering market was worth about $4.85 billion in 2025 and is heading past $5.6 billion in 2026 (Grand View Research), and AI is the part growing fastest, precisely because it drops the cost and the wait to near zero. If you want the wider context, we cover what architectural rendering is, the types, and how AI reshaped it.
Can You Do It for Free?
Yes, and you should start there. Most AI rendering tools, MeltFlex included, give you free renders before any payment, so you can turn a photo or sketch into a render at no cost and decide if the quality clears your bar. Free tiers usually cap the number of renders and the resolution; paid plans lift those and add commercial rights. Given that the alternative is hundreds of dollars per image, “try it free on your own project first” is genuinely the right move, not a slogan. You can render a photo or restyle an exterior without spending anything.
The practical read: start on a free tier to learn what the tool does well, move to a paid plan once you are rendering for real work, and keep the studio for the handful of final images that genuinely need millimetre accuracy. Most people never need to leave the first two rows.
Watch: A Sketch Turned Into a Photorealistic Render
If the steps above still sound too good to be true, watch it happen. In this short MeltFlex demo, a plain hand-drawn sketch becomes a photorealistic render with AI, no rendering skills and no render engine involved, which is the same input-to-render move this whole guide is built on.
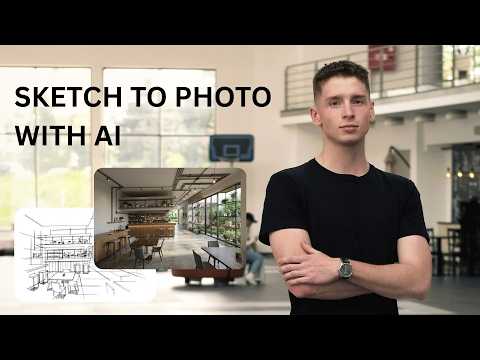
A hand-drawn sketch turned into a photorealistic render, start to finish. Video by MeltFlex AI on YouTube.
Where AI Rendering Still Needs a Human
It would be dishonest to sell this as magic with no edges, so here is where AI rendering stops and craft begins.
- Millimetre accuracy. AI preserves form well, but it is not reading your CAD dimensions. For a render that must match a built model exactly, a CAD-integrated plugin or a physical engine is the safer tool.
- Consistency across many views. Getting the identical material and light across a dozen angles of the same building is still easier in a modeled scene than in prompt-by-prompt AI.
- Realism failures. Left unsteered, AI renders drift toward flat light and plastic materials. Knowing the tells and fixing them is a skill. Our deep dive on the anatomy of a photorealistic render is the reference for that.
- Design judgment. The AI renders what you brief. Deciding what should be in the room, and whether it is any good, is still the architect’s job. AI removes the wait between thinking and seeing; it does not do the thinking.
The right frame is not AI versus the render engine. It is AI for the fast, iterative, concept-to-client stage that used to cost days, and the traditional pipeline for the final construction-accurate deliverable. Most people spend far too long, and far too much, on the first stage. That is the one AI fixes.
Try It on Your Own Project
The fastest way to understand the shift is to render something you already have. Take a photo of a room or a building, write one honest sentence about the look you want, and watch it come back photorealistic in about 20 seconds. Do it once and the old “wait three days and pay $800” workflow stops making sense.