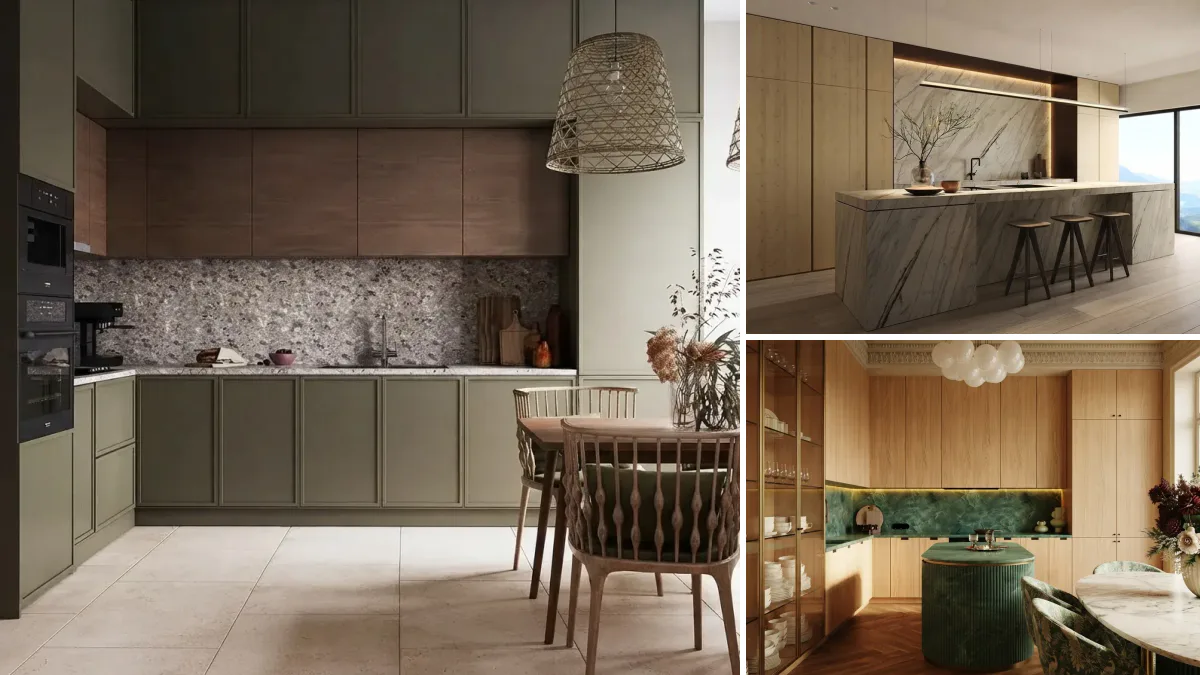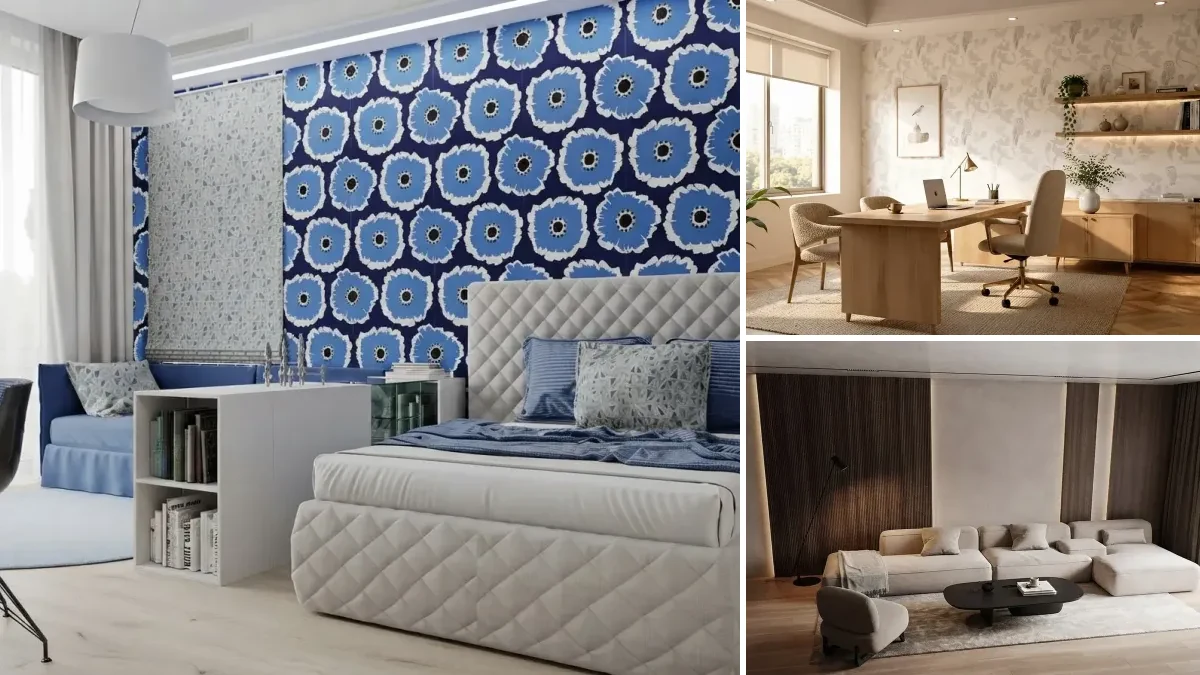
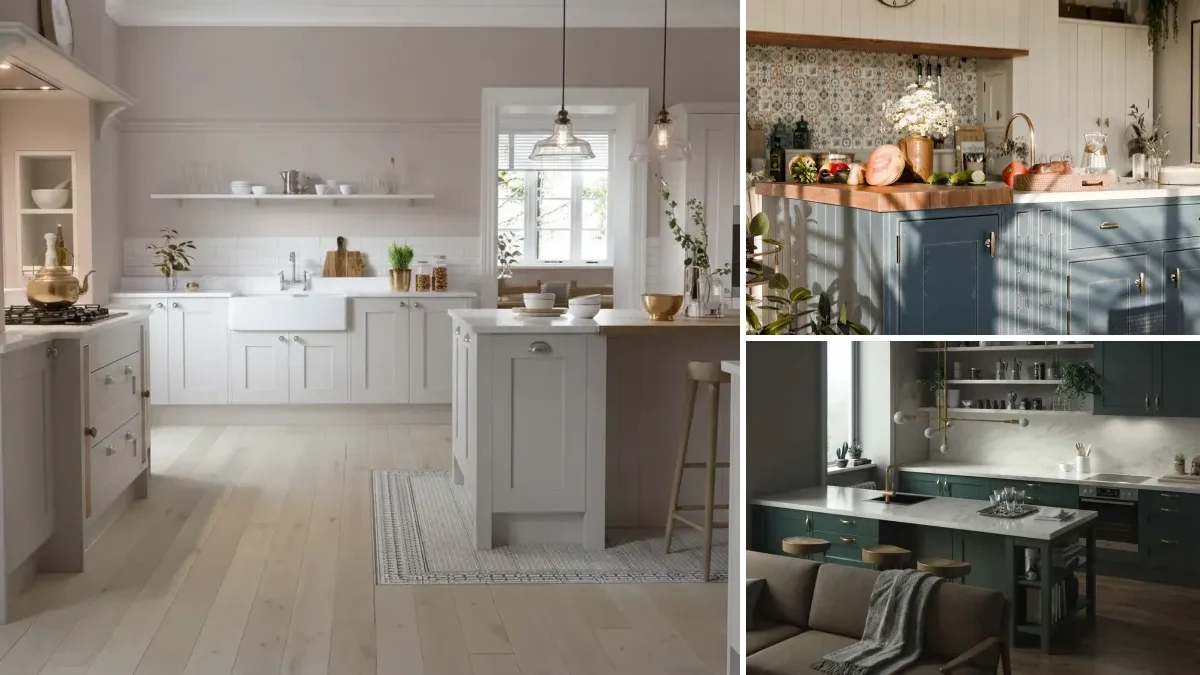
To paint kitchen cabinets, take the doors and drawer fronts off, degrease everything, sand it dull, prime with a primer made for what the cabinets are made of, then apply two thin coats of a cabinet enamel and let it harden for a day or two before you rehang anything. That is the whole method. It takes three to four days of work spread over about a week for an average kitchen, costs around $400 in materials, and the most common reason it fails is not the paint brand. It is grease and gloss that nobody removed.
Our articles are still written by humans!
Get human written articles in your Google feed.
Most guides stop there and assume your cabinets are wood. Many are not. Laminate, MDF and thermofoil each need a different primer, and one of them often should not be painted at all. So this guide starts with a five minute test that tells you what you are painting, then walks through every step with the dry times printed on the actual data sheets, compares the paints and primers people argue about, covers laminate and the no sanding shortcuts honestly, and ends with what a pro would charge and how to pick the color before you open a can.
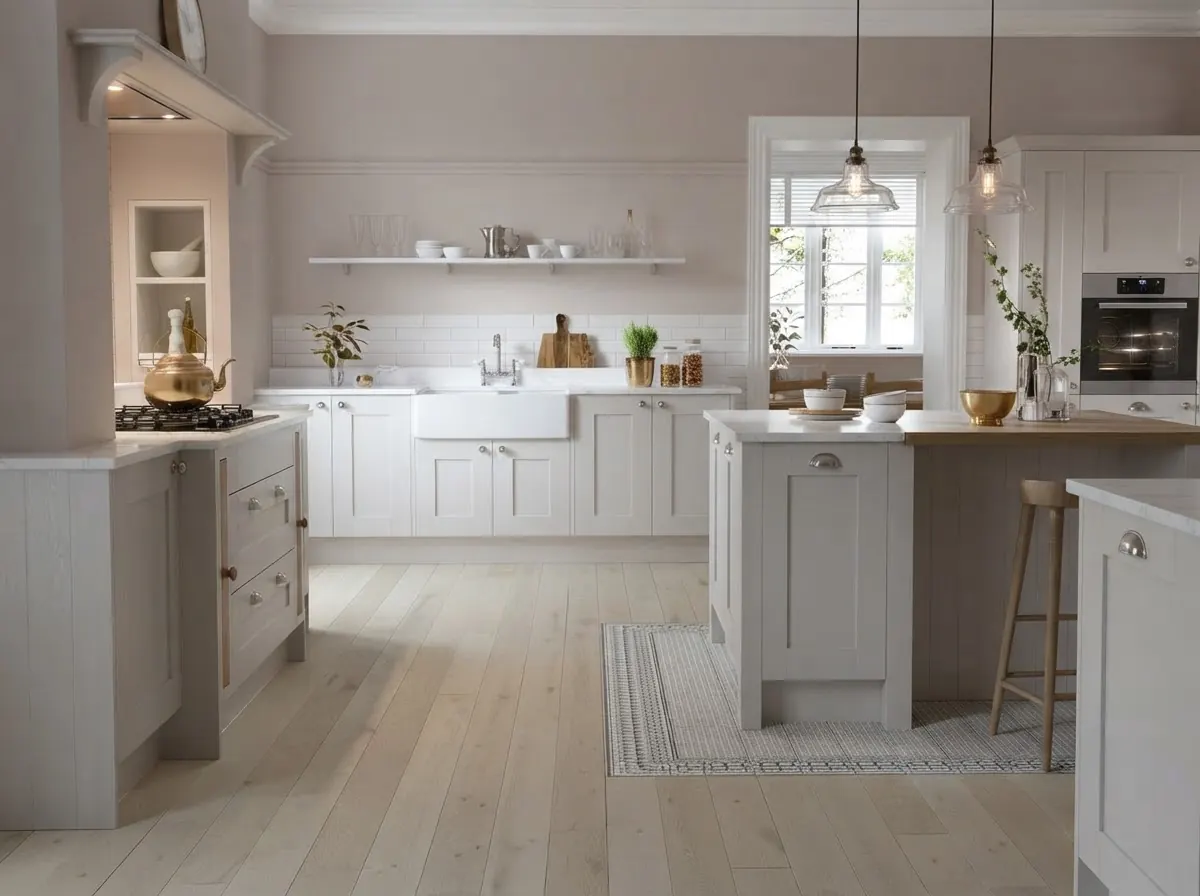
Shaker doors like these are the easiest cabinets to paint well: flat center panels for the roller, one simple profile for the brush. Light colors are also the most forgiving of small brush marks. Render from our gallery.
The short version
- Find out what the doors are made of first. Wood, MDF, laminate and thermofoil take different primers; peeling thermofoil should not be painted.
- Degrease, then dull the surface. Skipping either is the most common reason cabinet paint peels.
- Use a cabinet enamel, not wall paint. Benjamin Moore ADVANCE recoats in 16 hours; Sherwin-Williams Emerald Urethane in 4.
- Thin coats, full recoat times. Two thin coats beat one thick one every time.
- Do not rehang too early. Give doors 24 to 48 hours before they go back up and 5 to 7 days of gentle use.
- A pro averages $4,000 (Fixr, January 2026); DIY materials run around $400.
Can You Paint Your Cabinets? The 5 Minute Surface Test
Open a door, look at its back and its edges, and check one spot where the finish is chipped. What the cabinet is made of decides the primer, and on one material it decides whether to paint at all. Do this before you buy anything.
- Look for wood grain on the back of a door and on the edges. Grain everywhere, including the edges, means solid wood or wood veneer. Oak shows deep, open grain that paint will not hide; maple and cherry are smoother.
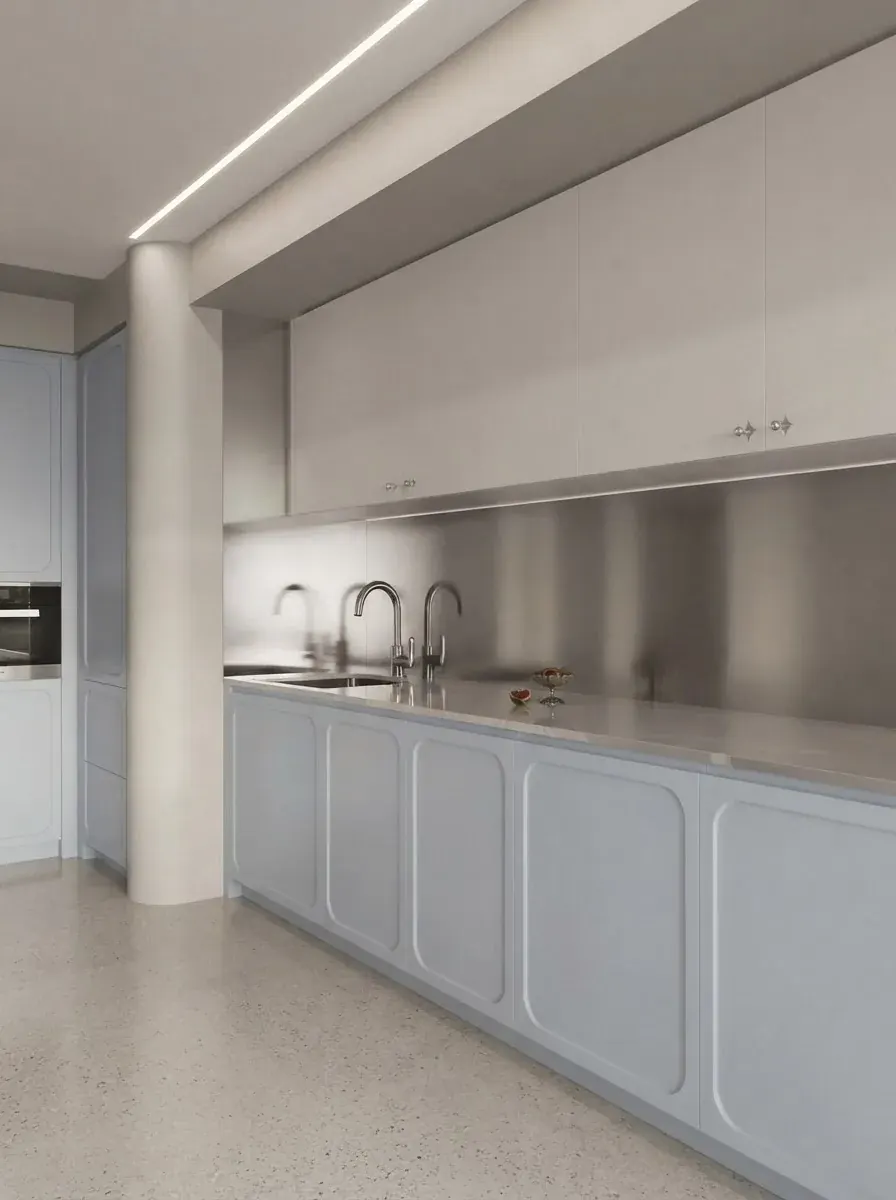
- Look at a chip or the bottom edge of a door. A uniform, fine brown core with no grain is MDF. One piece doors with a routed pattern cut into the face, like the white doors below, are almost always MDF or MDF wrapped in thermofoil.
- Feel the edge. A hard, slick plastic face with a separate thin strip glued along the edge is laminate (often called Formica or melamine). A softer vinyl skin that wraps around the front edge in one piece with no seam is thermofoil.
- Check for damage. Laminate lifting at a corner, or thermofoil that is bubbling or peeling near the range or dishwasher, changes the plan. Paint cannot hold down a surface that is coming loose.
- If the cabinets are already painted, rub a hidden spot with a cotton ball and rubbing alcohol. If color comes off, it is water based paint; if nothing happens, it may be oil based, and Benjamin Moore’s instruction for ADVANCE is to “sand glossy alkyds before applying.”
What You Need: Tools, Materials and Time
Expect to spend around $400 on materials for an average kitchen, which is Fixr’s figure for DIY, and three to four working days. This Old House rates the job “a weekend” at “less than $100, depending on the number of cabinets,” which is fair for a small run of cabinets and optimistic for a whole kitchen.
- Cleaning: a cleaner degreaser (Krud Kutter or a similar cabinet degreaser), sponges, a bucket, lint free rags
- Sanding: sanding sponges or sheets in 120 to 150 grit for the first scuff and 220 grit between coats, a tack cloth, a shop vacuum
- Repairs: wood filler and a putty knife
- Primer and paint: one quart to one gallon of primer and one to two gallons of cabinet enamel for an average kitchen (ADVANCE covers 400 to 500 square feet per gallon, Emerald Urethane 350 to 400)
- Application: a 2 to 2.5 inch angled nylon and polyester brush, a 4 to 6 inch fine foam or 1/4 inch woven roller and tray, or a sprayer
- Setup: painter’s tape, drop cloths, painter’s pyramids or a drying rack, zip bags and a marker for hinges, a drill or screwdriver
Lead paint, if the house was built before 1978. Sanding is the step that matters. The EPA notes that “approximately three-quarters of the homes in the United States built before 1978 still contain some lead-based paint,” and that “projects that create even a small amount of dust can pose health risks to your family.” If your cabinets carry original paint from that era, test it with an EPA recognized kit before sanding, or have it tested. Factory finished cabinets from a later remodel are a different story.
How to Paint Kitchen Cabinets, Step by Step
Nine steps, in this order, with nothing skipped. The times below are the ones printed on the manufacturers’ data sheets at 77°F and 50% humidity. Cooler or more humid rooms take longer, and Benjamin Moore warns that “high humidity or cooler temperatures will prolong dry, recoat and cure times.”
1. Empty, label and take everything apart
Empty the cabinets, then remove every door, drawer front and piece of hardware. Number each door where the hinge will cover the mark (This Old House marks them “behind the hinge location”), and put each door’s hinges and screws in a zip bag with the same number. Doors painted flat on a table level better and do not drip; doors painted on the hinges are how you end up with runs and paint on the frame edges. Tape off the walls, countertop and inside of the cabinet boxes along the face frames.
2. Degrease more than you think you need to
Kitchen cabinets carry a film of cooking grease you cannot see, and paint will not stick to it. Benjamin Moore’s guide says to “use a gentle grease remover and a damp sponge to wipe them clean and let dry thoroughly,” and Sherwin-Williams recommends “a cleaner degreaser” because it “eliminates the grease and oil that naturally builds up over time.” Rust-Oleum’s instructions are the most specific: “Pay special attention to areas around the stove, microwave and sink.” Rinse with clean water afterward, because degreaser residue is its own adhesion problem, and let everything dry fully.
3. Fill holes and dents
Fill dents, gouges and any old hardware holes you will not reuse with wood filler. If you are switching from knobs to pulls (or the reverse), decide now and fill the old holes, because filler shows through paint if it is not sanded perfectly flush.
4. Scuff sand and dust off
You are not removing the old finish, only dulling it so the primer can grip. This Old House’s painter says plainly, “don’t sand to the bare wood.” Benjamin Moore’s own sources do not quite agree on the grit: its how to article suggests 100 to 150 grit, while the ADVANCE data sheet asks for surfaces “roughened by sanding (220 grit or coarser) before priming.” In practice, 120 to 150 grit on a sanding sponge is enough for an old varnish; go finer on laminate. When the whole surface looks evenly dull with no shiny spots, stop. Vacuum, then wipe with a tack cloth.
5. Prime with the right primer
Match the primer to the surface (the primer table below covers which one). Brush the profiles and roll the flats, just as you will with the paint. Let it dry as long as the can says, which is anywhere from under an hour to a day: Benjamin Moore’s guide says its primer “must dry for at least 1 hour,” while Sherwin-Williams says to “let the primer dry for at least 24 hours” before sanding it. One warning from Benjamin Moore worth knowing: “Do not use a lacquer-based primer, as it can impede how Advance adheres to the surface of the cabinets.”
6. Sand the primer lightly
Run 220 grit over every primed surface with light pressure, “making sure not to remove the coat of primer,” in Benjamin Moore’s words. This knocks down raised grain and dust nibs, and it is the difference between a finish that looks sprayed and one that looks homemade. Dust off again.
7. Paint the first thin coat
Paint the backs of the doors first, so that the fronts, the side people see, get painted last and with practice. Brush the inside edges of each panel and the profiles, then roll the flat areas with a fine roller and lay the paint off with light strokes in one direction. Work fast enough to keep a wet edge: the ADVANCE data sheet says to “avoid lap marks by maintaining a wet edge.” Thin is the rule. A coat thick enough to cover in one pass is thick enough to sag, and Sherwin-Williams notes that “drying and recoat times are temperature, humidity, and film thickness dependent.”
8. Wait the full recoat time, then the second coat
ADVANCE needs 16 hours before it can be recoated; Emerald Urethane Trim Enamel needs 4. Sherwin-Williams’ own cabinet guide is more cautious than its data sheet and says to let the first coat dry “for about 24-48 hours, then apply a second coat.” Sand any dust nibs lightly with 220 grit, dust off and apply a second thin coat the same way. Two coats over primer is normal; a dramatic color change from dark wood to white may need a third.
9. Let it harden before you rehang and reload
This is the step people rush. Paint that is dry to the touch is still soft underneath, and doors rehung too early stick to the frames and dent where the hinges and bumpers press. Benjamin Moore says to let the cabinets dry “for at least 24 hours. However, two or three days is even better,” and Sherwin-Williams says to wait another 24 to 48 hours after the second coat before reinstalling hardware. Then go gently: the ADVANCE data sheet asks you not to expose it to “heavy abrasion” for at least 5 to 7 days, and notes it “could take up to 30 days to reach optimum hardness and final sheen.” Put felt bumpers on the doors, and wait on the scouring pads.

By This Old House (November 2021, 7 minutes): painting expert Mauro Henrique takes a set of cabinets from removal through degreasing, scuff sanding, primer and two coats of water based cabinet enamel. Worth watching for the brush and roller technique on a door. Its limits: it gives no dry or recoat times, so use the ones on your can, and it shows wood cabinets only, not laminate or thermofoil.
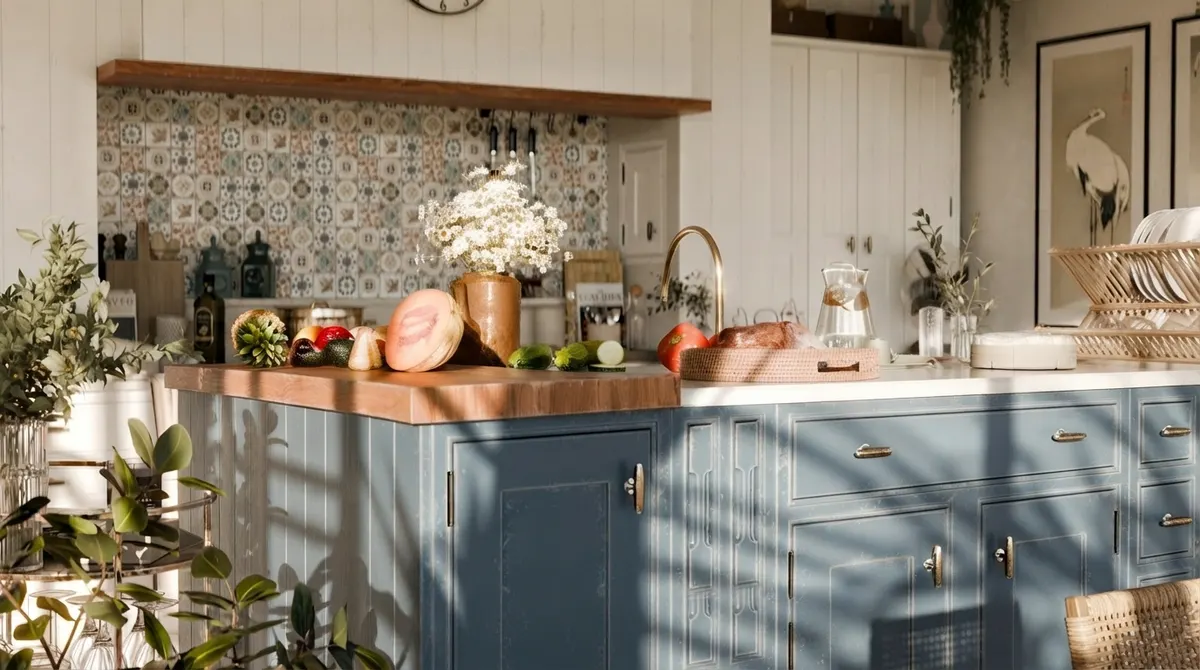
The inside corners of a shaker panel, where the frame meets the flat center, are where paint pools and sags. Brush those first and roll the flat panel second. Note the new brass hardware: decide on it before painting, so old holes get filled. Render from our gallery.
What Is the Best Paint for Kitchen Cabinets?
A cabinet and trim enamel: a waterborne alkyd such as Benjamin Moore ADVANCE or a urethane modified enamel such as Sherwin-Williams Emerald Urethane Trim Enamel. Both are made for doors, trim and cabinets, level out brush marks better than wall paint and dry harder. Sherwin-Williams describes Emerald Urethane as delivering “the smooth, uniform finish of an oil-based enamel with the convenience of a waterbased formula.” Ordinary wall paint, even in semi-gloss, is formulated for walls and is not the product either company recommends for cabinets.
Our honest take: if you brush and roll, ADVANCE is the more forgiving of the two because it keeps leveling for longer, and the 16 hour recoat simply means one coat a day. If you want to finish in a weekend, Emerald Urethane’s 4 hour recoat is the reason to pick it. On sheen, ADVANCE’s product page offers satin, semi-gloss and high gloss, and Sherwin-Williams sells Emerald Urethane in satin, semi-gloss and gloss. Satin hides more surface flaws; semi-gloss wipes cleaner.
Chalk paint is a look, not a shortcut. Annie Sloan’s own instructions are to seal it, “for extra durability, try Chalk Paint Lacquer instead” of wax, and if you wax, to “wax the doors two to three times,” at least a day apart. On cabinets next to a range or a sink, take the lacquer route.
Best Primer for Kitchen Cabinets, by Surface
The primer matters more than the paint, because it is the layer that has to stick to the old surface. Pick it by what you found in the surface test.
Two practical notes. Shellac primer dries in minutes and smells strongly, so ventilate well; it is still the most reliable fix for oak tannin, the yellowish stain that bleeds through white paint on oak cabinets. And open oak grain stays visible through paint and primer alike. If you want perfectly smooth painted oak, that takes a grain filler before priming, which is a separate and fussy job most people decide against once they see a test door.
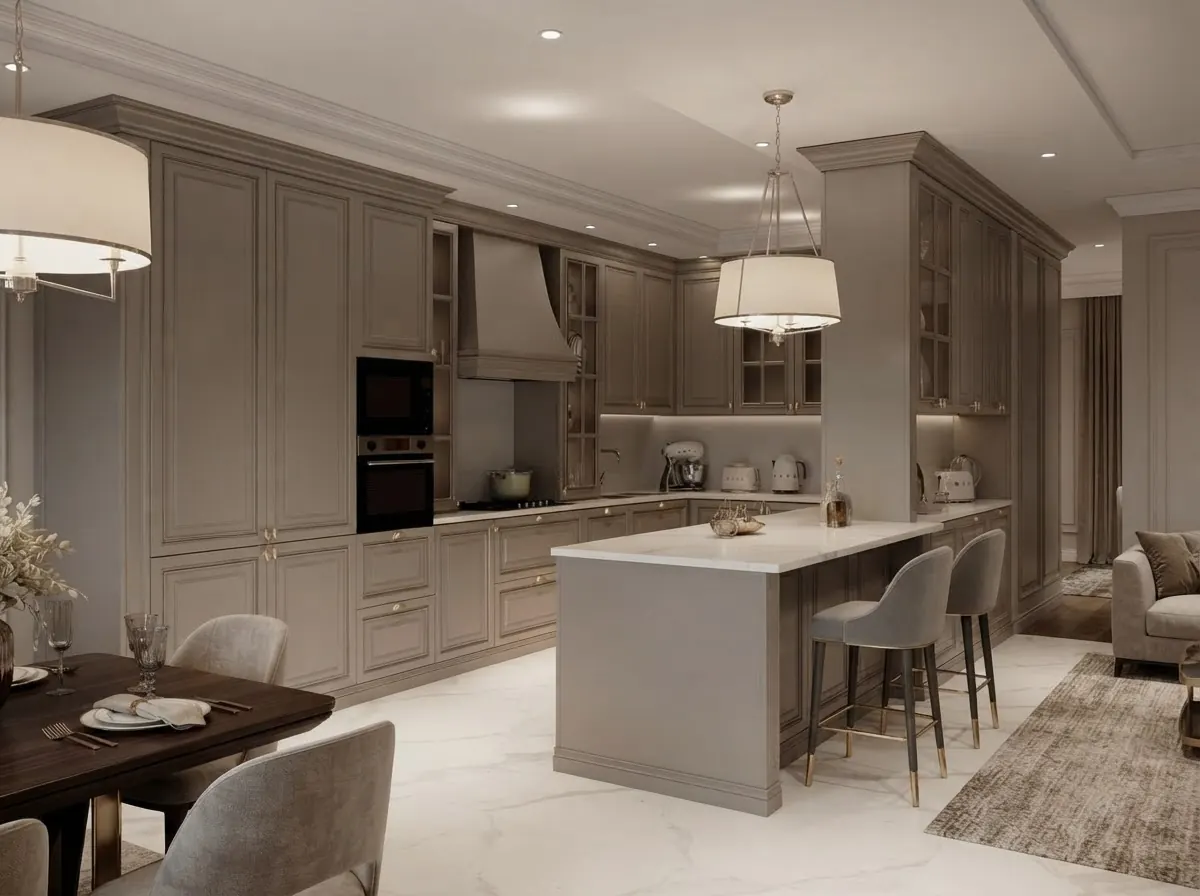
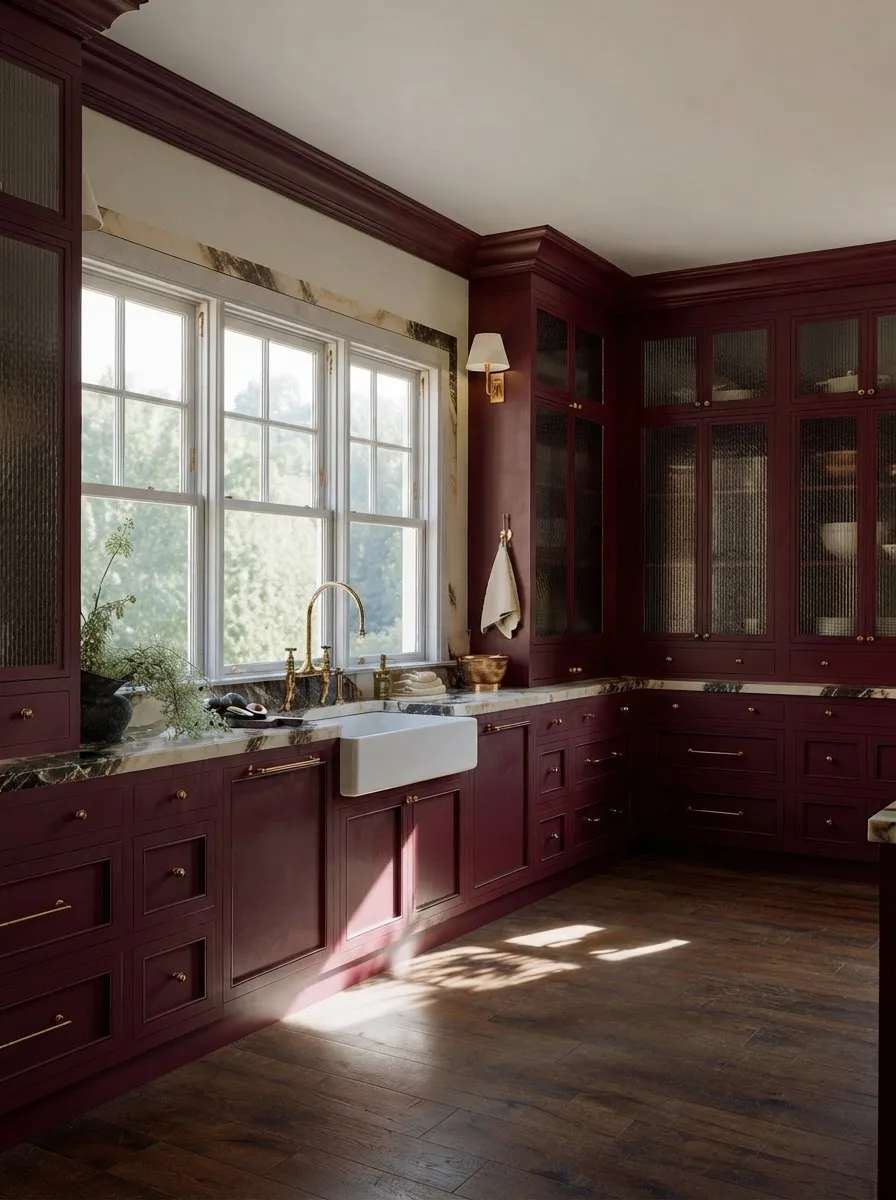
Raised panel doors and crown molding multiply the brushing time: every profile is a place for drips. A kitchen like this is where spraying the doors starts to pay for itself. Render from our gallery.
How to Paint Laminate Cabinets (and Melamine)
Clean the laminate, dull it, use a bonding primer listed for laminate or Formica, and let that primer cure before you put weight on it. Laminate is a slick, nonporous plastic, so the bond comes from the primer, not from the paint. Joel Ruiz, a renovation contractor quoted by Bob Vila, calls thermofoil and laminate “the most challenging,” because “paint won’t adhere well unless the surface is thoroughly scuffed and a strong bonding primer is used.”
- Glue down anything loose first. Laminate lifting at a corner or an edge band coming off has to be reattached with contact cement and clamped before any paint goes on.
- Degrease exactly as in step 2 above. The INSL-X Stix data sheet asks for grease to be removed “with a grease and oil emulsifier.”
- Dull the surface. Scuff with 180 to 220 grit, or use a liquid deglosser. Stix says laminate “should be properly deglossed,” and Sherwin-Williams says Formica “should be scuff sanded or scrubbed with an abrasive cleaner to dull the surface.”
- Apply one coat of bonding primer. Do not thin it; the Stix data sheet says so in as many words. It recoats in 3 to 4 hours.
- Paint two thin coats of cabinet enamel as in steps 7 and 8.
- Wait on the primer’s cure, not just the paint’s dry time. Stix says to “allow Stix to cure for approximately 3 to 4 days to achieve maximum resistance to scrape off.”
Test before you commit the whole kitchen. Prime and paint one door (or the back of one), wait a week, press a strip of painter’s tape firmly onto the finish and rip it off. If paint comes off on the tape, the prep was not enough, and you have found out on one door instead of twenty. The edges of laminate doors are always the first place paint chips, so give them an extra pass with the sanding sponge.
Thermofoil: when not to paint
Thermofoil is a vinyl skin vacuum formed over an MDF door. Benjamin Moore does list thermofoil among the surfaces its Fresh Start primer can cover before ADVANCE, so it is paintable when the foil is perfectly bonded. But a painted finish is only as strong as the glue holding the foil to the door. If the foil is bubbling, lifting or peeling anywhere, do not paint it. The paint will come off with the foil. Your options are to peel the foil off completely and paint the bare MDF (seal its edges well), to reface with new doors, or to replace those doors only.
Can You Paint Kitchen Cabinets Without Sanding?
You can skip the sanding, but not the cleaning, and you are trading a little effort for a little risk. Three product types are sold for it:
- Bonding primers. INSL-X Stix says it can be used “over most glossy surfaces without sanding,” Zinsser B-I-N claims “excellent adhesion to glossy surfaces without scuff sanding,” and Bulls Eye 1-2-3 sticks to laminates “without sanding or deglossing.” Sherwin-Williams says of its Extreme Bond primer that “sanding may not be necessary for most clean, paintable surfaces.”
- Liquid deglossers. Krud Kutter Gloss-Off “cleans and deglosses without sanding,” is “no rinse,” and can be painted over “anytime after 10 minutes.”
- All in one kits. Rust-Oleum Cabinet Transformations is sold as cabinet paint that “requires no stripping, sanding or priming,” with a degreaser, a bond coat and a top coat in the box, for “wood, laminate, metal or melamine surfaces.”
Our take: the claims are real, but read the fine print. The same Stix data sheet that says “without sanding” also says laminate “should be properly deglossed,” and every one of these products still needs a surface free of grease. Benjamin Moore’s ADVANCE data sheet, on the other hand, asks for sanding before priming. A sanding sponge takes about ten minutes per door and removes the most common cause of failure. If you are only skipping it to save time, it is the wrong step to save time on. If you are skipping it because of lead paint risk or a rental, use a deglosser plus a bonding primer, and do the tape test on one door.
Mistakes That Make Painted Cabinets Peel, Chip or Stick
- Not degreasing, or degreasing and not rinsing. The doors next to the range and the edges people grab every day are where it usually shows first.
- Painting over gloss without dulling it. Both Sherwin-Williams (“glossy surfaces should be sanded dull”) and Benjamin Moore say so.
- The wrong primer for the surface, especially a regular primer on laminate, or a lacquer based primer under ADVANCE.
- Thick coats. They sag, they take far longer to harden, and they stay soft where the doors meet the frames.
- Recoating early. Sixteen hours on ADVANCE means sixteen hours, even if it feels dry at six.
- Rehanging too soon and closing the doors. Fresh paint on a door and fresh paint on a face frame stick together, a problem painters call blocking. Add felt bumpers and wait the 24 to 48 hours.
- Painting in a cold garage. ADVANCE wants a surface between 50 and 90°F, and Emerald Urethane above 50°F.
- Painting peeling thermofoil or lifting laminate, which no paint can hold down.
- Thinning the paint to make it flow. Benjamin Moore allows a maximum of 8 fluid ounces of water per gallon in ADVANCE and says to never add other paints or solvents; Stix says not to thin at all.
Brush, Roller or Sprayer?
A brush and a small roller give a very good finish with enamels that level, and they are what This Old House uses. Brush the profiles and edges, roll the flat panels, and lay the paint off lightly. A sprayer gives the factory smooth finish, but the setup and the masking take longer than the painting, and overspray goes everywhere in an occupied kitchen. It starts to make sense on a big kitchen with raised panel doors. If you do spray, the ADVANCE data sheet gives settings: an airless sprayer at 1,500 to 2,500 PSI with a 0.011 to 0.015 tip, or an HVLP at 20 PSI with a 1.8 tip and 4 fluid ounces of water added per gallon.
How Much Does It Cost to Paint Kitchen Cabinets?
A professional job costs $2,500 to $6,500, with a national average of $4,000, according to Fixr’s cabinet painting cost guide (updated January 27, 2026). Small jobs can come in “as low as $1,000” and large or complex kitchens at “more than $10,000.” Fixr says around 85% of the price is labor, which is why doing it yourself costs a tenth as much.
To estimate your own quote, count the doors and drawer fronts and multiply by the per piece prices, or measure the linear feet of cabinet run. A kitchen with 20 doors and 8 drawer fronts comes to roughly $1,600 to $3,400 on those per piece prices alone, before the face frames and end panels, which is why whole kitchen quotes land higher. Painting is the cheapest way to change a kitchen’s look; our kitchen remodel cost breakdown shows what the other tiers cost, and cabinets are about 30% of any remodel budget.
Best Colors to Paint Kitchen Cabinets, and How to Choose Yours
The safest choices are warm whites and soft greiges; the colors that make a kitchen look intentional are sage, deep green, navy and the darker reds. The bigger risk is not the color itself but how it reads next to your countertop, floor and light, which a paint chip in the store cannot show. A few rules that hold up:
- Whites and greiges: pick a white with a little warmth so it does not look blue next to a white countertop. Popular cabinet whites and grays are covered in our guides to Sherwin-Williams Alabaster and Agreeable Gray, including what not to pair them with.
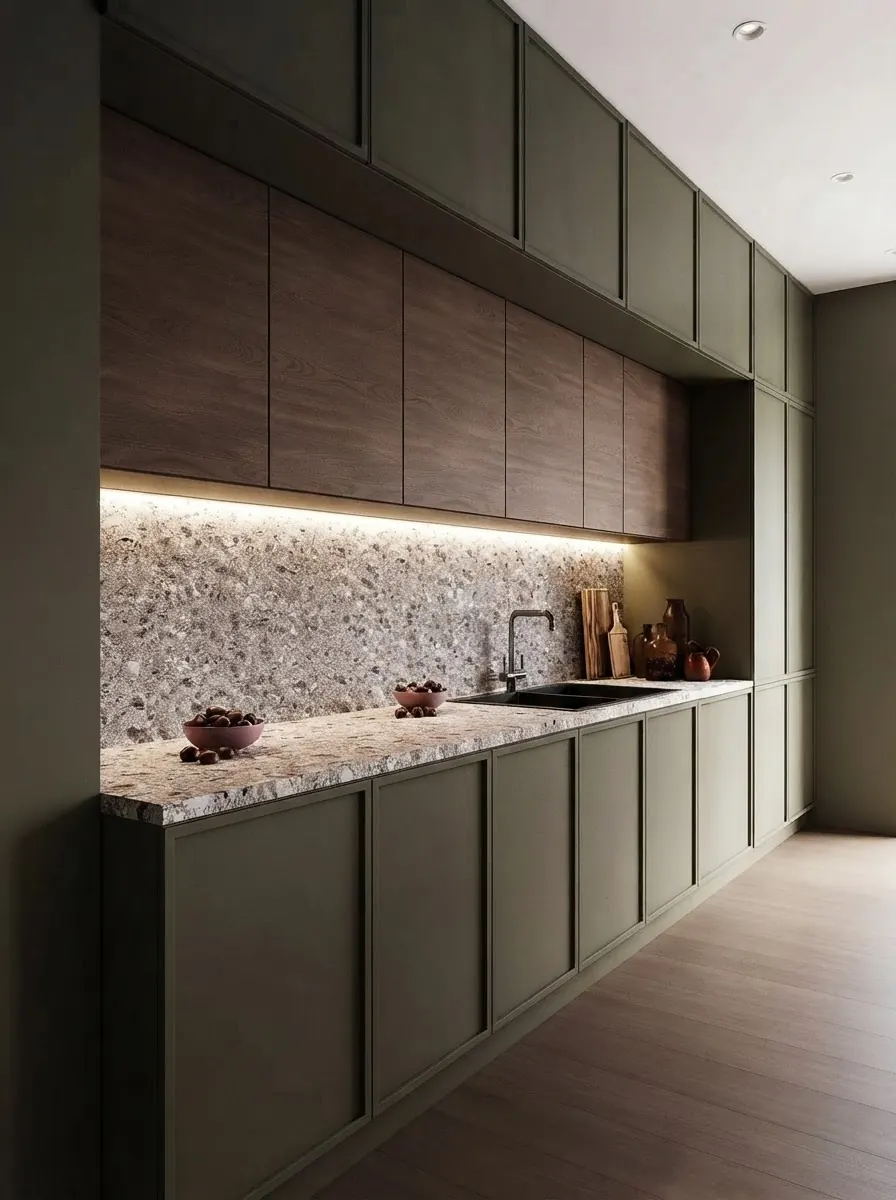
- Greens: sage on shaker doors is the popular, soft choice; deep forest green reads more classic and hides wear better.
- Navy and blue gray: excellent on an island against a white or wood perimeter.
- Two tone: dark bases with light uppers (or wood uppers) keeps a small kitchen from feeling closed in, and you only paint half.
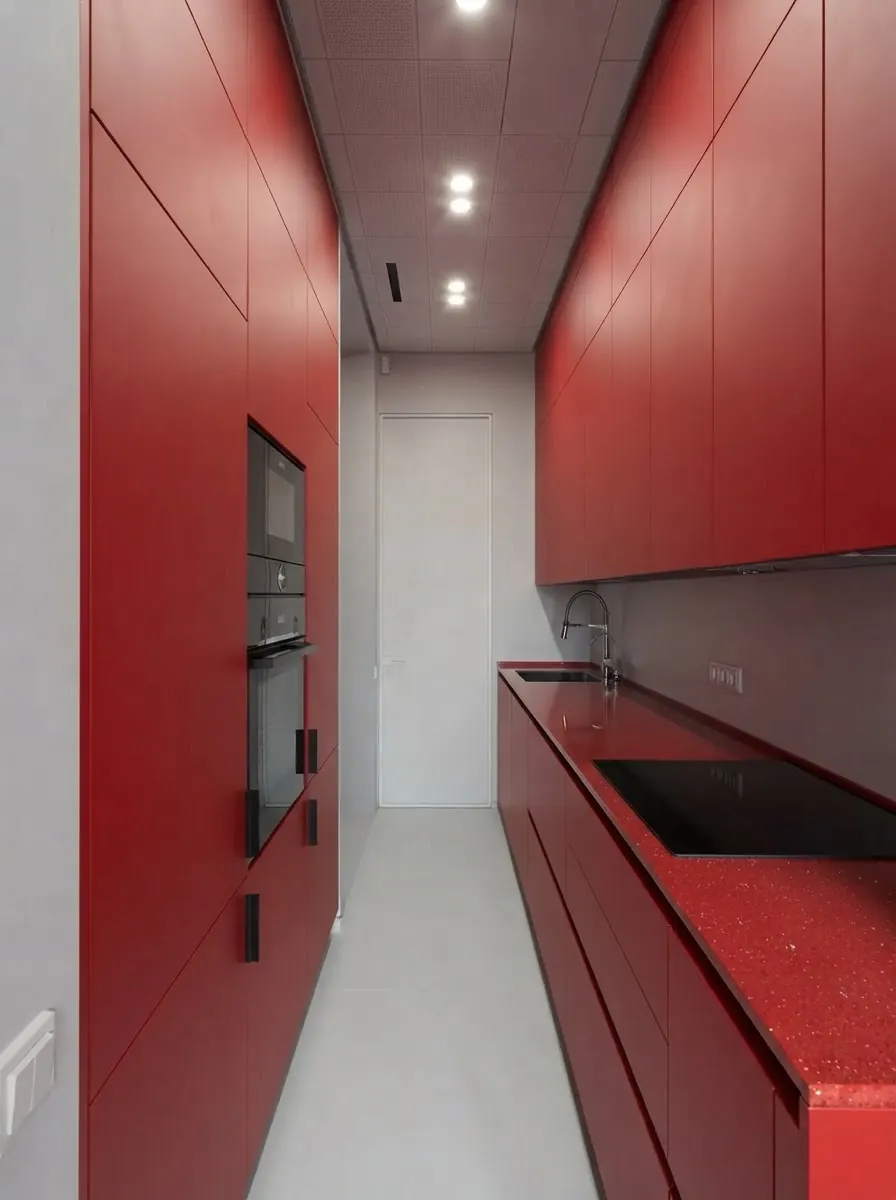
- Dark reds and burgundy: beautiful and unforgiving. They need a tinted primer and careful brushing, and they show dust in the finish.
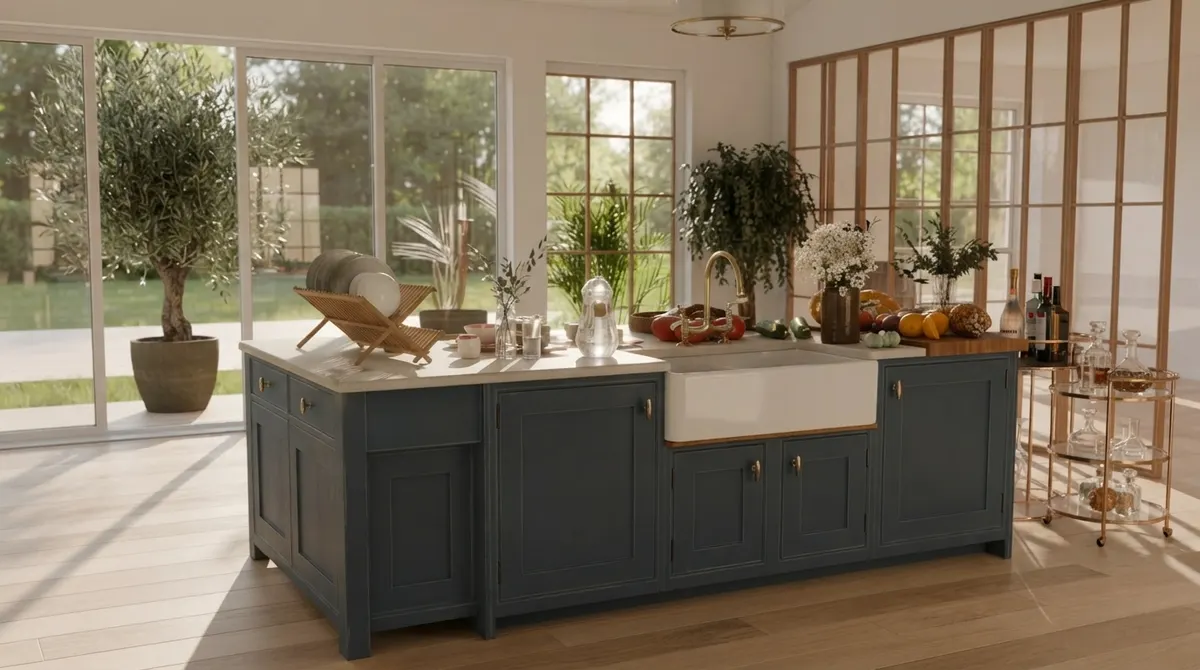
Painting only the island is the lowest commitment version: one piece of furniture, one weekend, and a deep color that would feel heavy on every cabinet in the room. Render from our gallery.
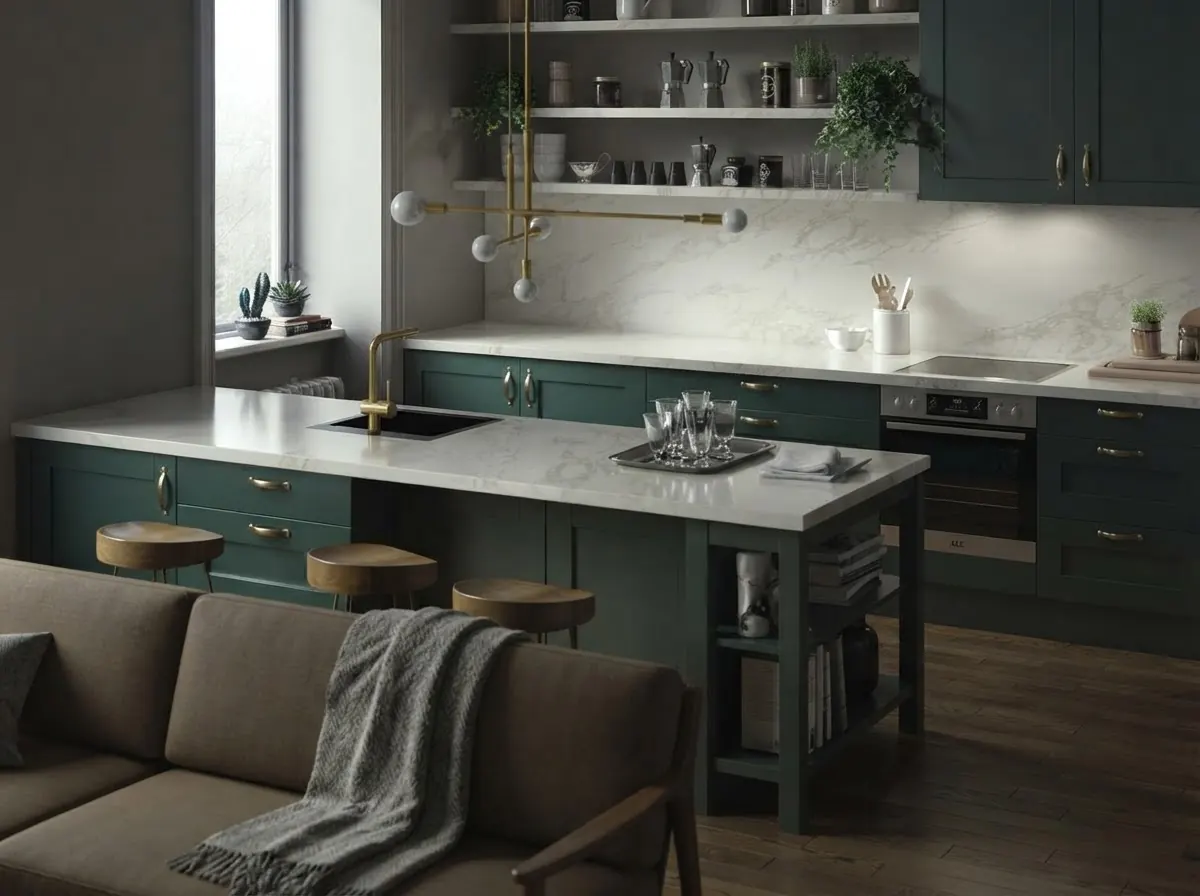
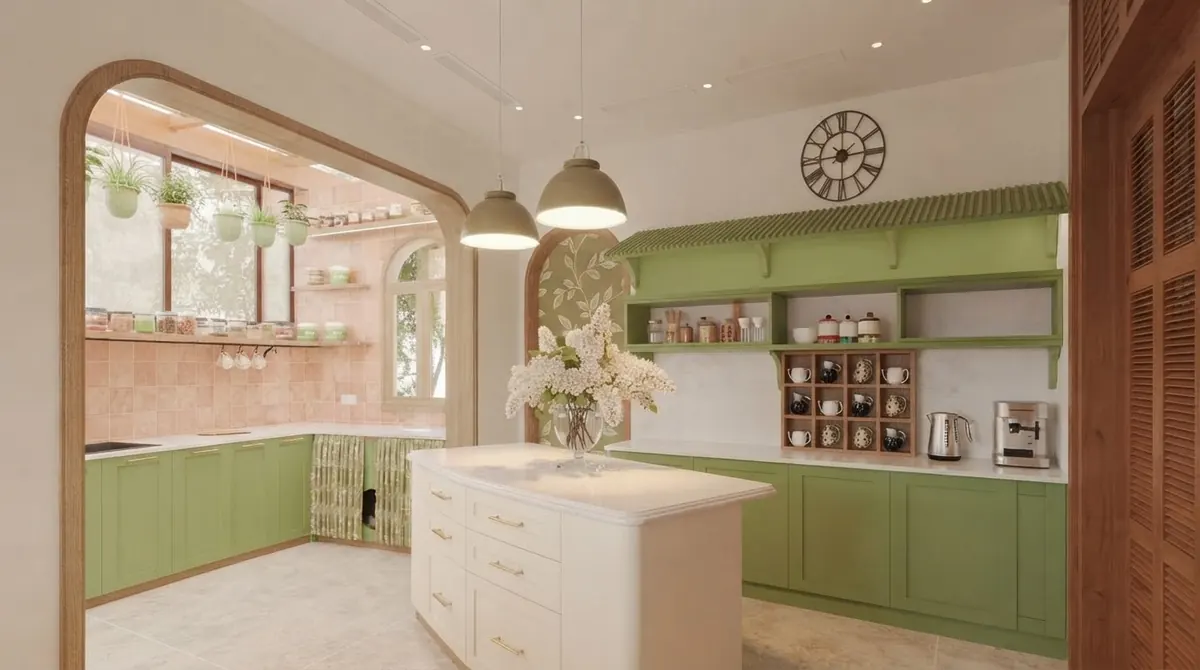
See the color on your own cabinets before you buy a gallon. Take a photo of your kitchen and try cabinet colors with the AI kitchen design tool, which repaints the cabinet fronts in your photo (sage, navy, cream, greige, burgundy, matte black and more) and keeps the layout, window and light as they are. It gives you the color direction, not a specific brand chip, so use the paint color finder to match that direction to real paint colors. The same idea for walls is in our guide to how to change wall color in a photo, our tests of the best paint color visualizer apps cover the brands’ own tools, and if you would rather type what you want, our AI kitchen design prompts work in ChatGPT and Gemini too.
If painting is one part of a bigger refresh, it pays to plan the rest at the same time: our guides to kitchen layout design, an AI kitchen remodel from a photo, and the AI kitchen design tools we tested cover it. Still choosing the color? Our guide to kitchen trends 2027 covers the 2027 cabinet colors, from Sherwin-Williams Celery to wood lowers. Painting the walls too? The 2026 colors of the year and whole room color drenching are worth a look, and if there is old wallpaper in the way, start with how to remove wallpaper. For the general case for seeing it first, see how to visualize a renovation before you start.
How We Wrote This Guide
We are not professional painters, and we did not paint a kitchen for this article. We build MeltFlex, an AI interior design tool, so the part we know first hand is choosing the color: seeing what a painted kitchen will look like in a real photo before the work starts. The method comes from primary sources we read ourselves on October 5, 2026: the Benjamin Moore ADVANCE technical data sheet (revised April 2023), its product page and Benjamin Moore’s cabinet painting guide; the Sherwin-Williams Emerald Urethane Trim Enamel data sheets (satin, March 2026; gloss, July 2025), its Extreme Bond Primer data sheet and its cabinet painting guide; the INSL-X Stix, Zinsser B-I-N and Zinsser Bulls Eye 1-2-3 data sheets; Rust-Oleum’s Cabinet Transformations and Krud Kutter Gloss-Off pages; Annie Sloan’s kitchen cabinet guide; Fixr’s cost guide; the EPA’s lead page; and the This Old House video and its description. The laminate quote is from Bob Vila. Quotes are verbatim.
Where sources disagree, we said so: Benjamin Moore’s article and data sheet name different sanding grits, and Sherwin-Williams’ guide recommends longer waits than its own data sheet. What we left out on purpose: a full cure time for Emerald Urethane, because Sherwin-Williams does not publish one; claims about oven heat damaging thermofoil, because the only source we found would not load for us to check; and cost figures from Angi and HomeGuide, for the same reason. The surface test, the order of steps and the verdicts are our own synthesis. The images are renders from our gallery, chosen to show door styles and colors this guide talks about; they are not photographs of real painting jobs.
How to Paint Kitchen Cabinets: FAQ
What is the best way to paint kitchen cabinets?
Take the doors and drawer fronts off, degrease every surface, scuff sand it dull, prime with a primer made for that surface, then apply two thin coats of a cabinet enamel and let it harden before you rehang anything. Brush the edges and profiles and roll the flat panels with a fine roller, or spray if you have the equipment. The prep, not the paint brand, decides whether the finish lasts: paint on greasy or glossy doors is what peels.
What is the best paint for kitchen cabinets?
A cabinet and trim enamel, not wall paint. The two most recommended are waterborne alkyds such as Benjamin Moore ADVANCE and urethane modified enamels such as Sherwin-Williams Emerald Urethane Trim Enamel. Both level out brush marks and dry harder than wall latex. ADVANCE is slower (16 hours between coats) and levels very smoothly; Emerald Urethane can be recoated in 4 hours. Chalk paint works only if you seal it with wax or lacquer, and oil based enamel is durable but slow, smelly and prone to yellowing.
Can you paint kitchen cabinets without sanding?
You can skip the sander, but not the prep. Bonding primers such as INSL-X Stix, Zinsser B-I-N and Bulls Eye 1-2-3 are sold for glossy surfaces without sanding, a liquid deglosser such as Krud Kutter Gloss-Off dulls the surface chemically, and Rust-Oleum's Cabinet Transformations kit is sold as needing no sanding or priming. All of them still require a thoroughly degreased surface. Ten minutes per door with a sanding sponge is cheap insurance, and Benjamin Moore's data sheet for ADVANCE asks for sanding before priming.
How much does it cost to paint kitchen cabinets?
Hiring a pro costs $2,500 to $6,500, with a national average of $4,000, according to Fixr's cost guide updated January 27, 2026. That works out to $30 to $70 per linear foot of cabinetry, or $70 to $125 per door. Labor is about 85 percent of the price. Doing it yourself costs around $400 in materials by the same guide. For comparison, Fixr puts refacing at $8,250 and replacing the cabinets at $8,000 on average.
Can you paint laminate kitchen cabinets?
Yes, if the laminate is intact. Clean it, dull it with fine sandpaper or a deglosser, and use a bonding primer listed for laminate or Formica, such as INSL-X Stix or Sherwin-Williams Extreme Bond. Let the primer cure before you load it: the Stix data sheet says to allow 3 to 4 days for maximum resistance to scrape off. Laminate that is lifting at the edges has to be glued down first, because paint cannot hold a loose surface down.
Can you paint thermofoil cabinets?
Technically yes, practically only if the foil is perfectly intact. Benjamin Moore lists thermofoil among the surfaces its Fresh Start primer can go over before ADVANCE. But thermofoil is a vinyl skin glued over MDF, and paint is only as strong as that glue. If the foil is already bubbling or peeling anywhere, paint will not save it: peel and repaint the bare MDF, reface, or replace the doors.
How long does it take to paint kitchen cabinets?
Plan on three to four days of work spread over about a week for an average kitchen. Day one is removing, cleaning, sanding and priming; the following days are two coats of paint with the waiting time between them (ADVANCE needs 16 hours before recoating). Then the doors need 24 to 48 hours before they go back up, and gentle use for 5 to 7 days. This Old House rates the job as a weekend, which is realistic for a few cabinets, not a full kitchen.
Should you paint the inside of kitchen cabinets?
Usually not. The insides take far more time than they are worth, plates and pans scratch fresh paint, and many cabinet boxes have a factory melamine or varnished interior that is fine as it is. Paint the face frames, the door and drawer fronts on both sides, and the exposed end panels. The one exception is open shelving or glass fronted cabinets, where the inside is on show.
The summary, if you read nothing else: check what the doors are made of, degrease and dull every surface, prime with the primer that matches it, paint two thin coats of cabinet enamel with the full recoat time between them, and leave the doors alone for a day or two before rehanging. Peeling thermofoil is the one surface not to paint.
Before you buy the paint, photograph your kitchen and try the color with the AI kitchen tool. It is quicker than painting three sample doors.