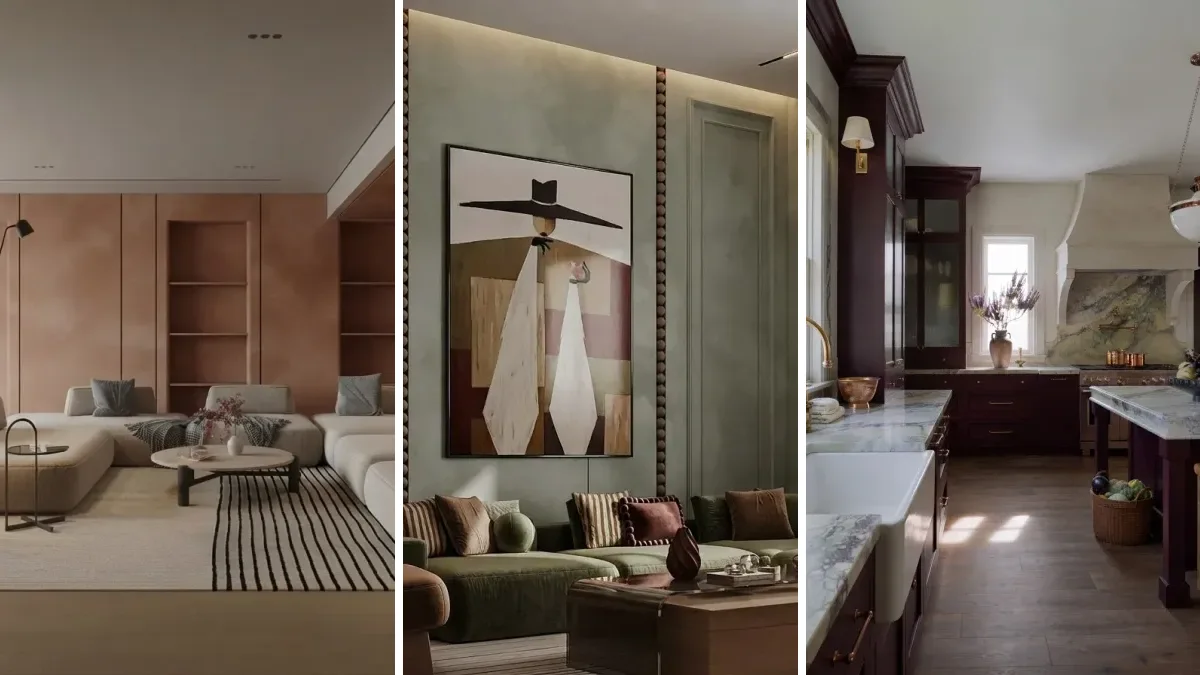
To remove wallpaper, first find out what type it is, then use the method that type needs. Lift a corner and pull. If the whole sheet comes off dry, you are done in an afternoon with no water at all. If only the top layer peels, peel it and soak the backing left behind. If nothing peels, score the surface lightly, soak it with hot water and vinegar or a wallpaper stripper, wait about 15 minutes and scrape. Steam is for plaster walls and stubborn layers, not for drywall.
Our articles are still written by humans!
Get human written articles in your Google feed.
The reason most removal jobs go badly is not the wrong product. It is using a wet, aggressive method on paper that would have peeled off dry, or on drywall that was never primed, where water softens the wall’s own paper face along with the paste. Below is the two minute test that tells you which situation you are in, a side by side of every method with what it costs and what it risks, how to get the glue off so new paint does not crack, how to repair torn drywall, and what to put on the wall afterward.
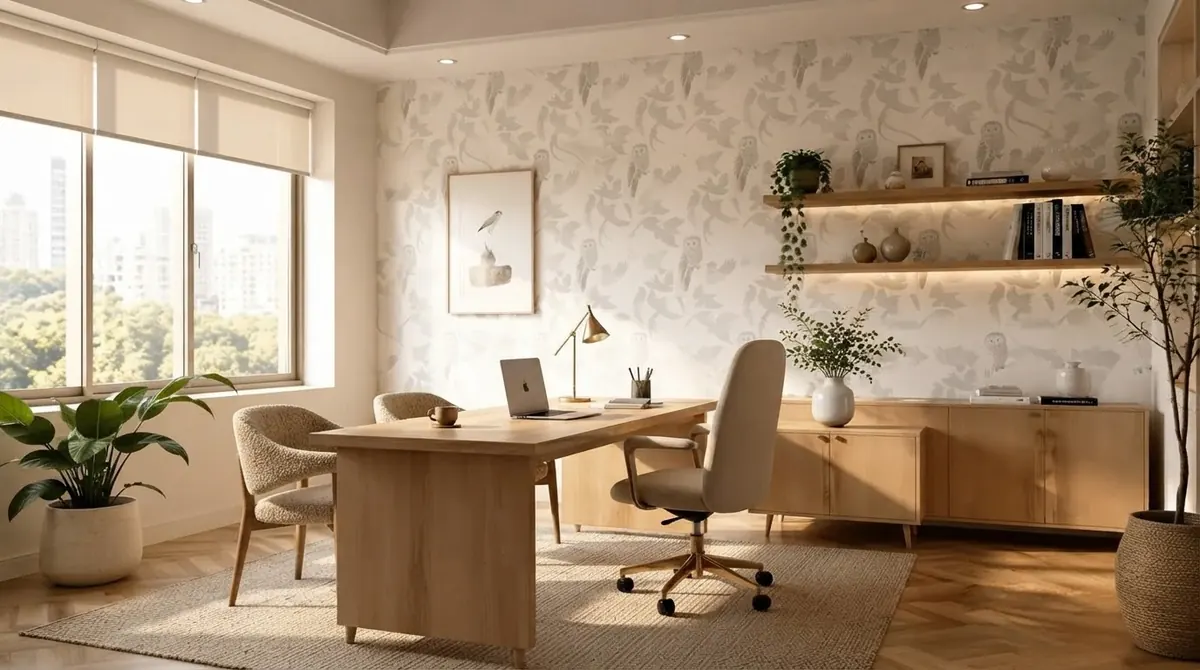
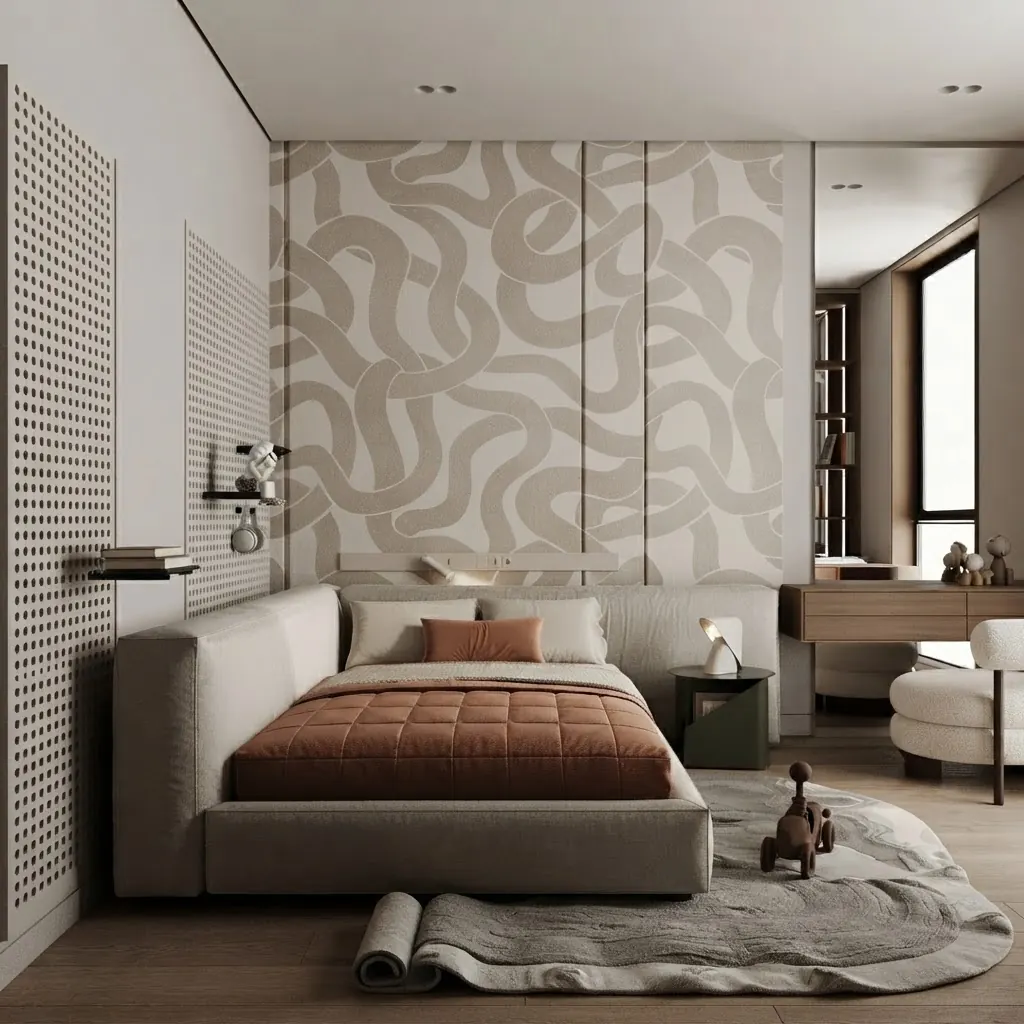
A whole room papered in one pattern is a full day job, not an afternoon. Notice the floating shelves: they are screwed through the paper, so they come down first, and the paper around each bracket hole is where tears start. Render from our gallery.
The short version
- Test before you buy anything. A corner peel and a splash of water tell you whether you have strippable, peelable, traditional, vinyl or painted paper.
- Dry first, wet second, steam last. Each step up removes more and risks more wall damage.
- Hot water does most of the work. Vinegar, fabric softener and enzyme strippers help it soak in and loosen paste; none of them works on vinyl until you score it.
- Unprimed drywall is the trap. Use little water, small sections, no steamer, and seal any torn paper before patching.
- Get every trace of paste off, or seal it. Paste under latex paint is a common cause of cracking.
- Hiring it out averaged $740 for a 10 by 8 foot room in Fixr’s cost guide; doing it yourself costs under $50.

What Type of Wallpaper Do You Have? The 2 Minute Corner Test
Pick a corner behind a piece of furniture, lift the paper with a putty knife and pull slowly, close to parallel with the wall. What happens next tells you the type, and the type decides the method. Do it before you buy a stripper, rent a steamer or score anything, because a strippable paper scored by mistake turns a 2 hour job into a 2 day one.
- The whole sheet comes off in one piece and the wall underneath is clean or only lightly dusty. Strippable paper, or peel and stick if the back is sticky like a decal. Keep peeling, dry. You will barely need water except to wash the wall.
- A thin top layer peels off but leaves a layer of plain paper stuck to the wall. Peelable (sometimes called duplex) paper: a vinyl face on a paper backing. Peel all the faces dry first, then soak the backing, which takes water easily.
- It tears into small strips and nothing comes off cleanly. Spray a square foot with hot water and watch for a minute.
- The paper darkens and soaks it up: traditional paper. Soak and scrape, no scoring needed.
- The water beads and runs off: vinyl, or paper that was painted over. Score it first so the liquid can get behind the face, then soak or steam.
- Look at the wall wherever a patch comes clean. Brown or gray paper with a fuzzy surface is drywall, and if the paper tears with the wallpaper, the drywall was probably never primed: switch to the drywall method below. A hard, smooth, cold surface that sounds solid when you knock is plaster, which tolerates water and steam far better.
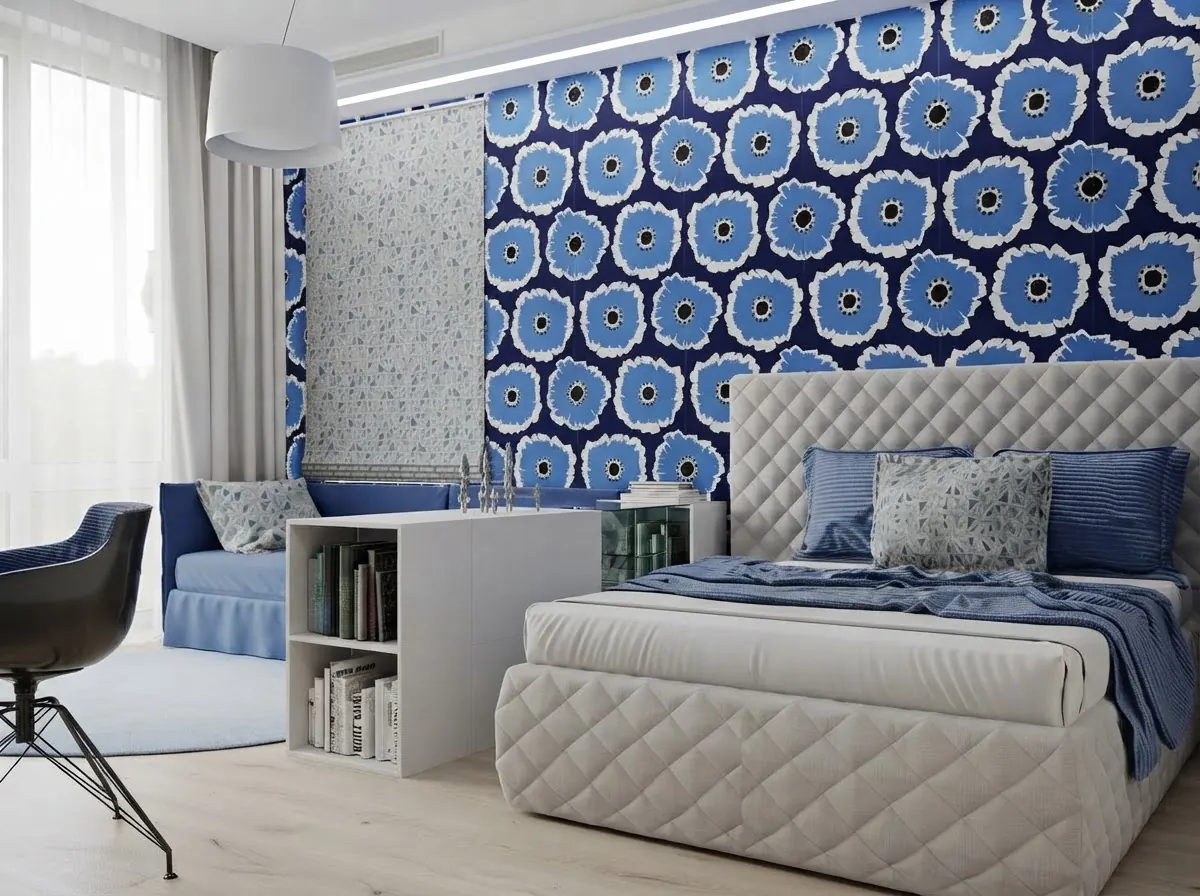
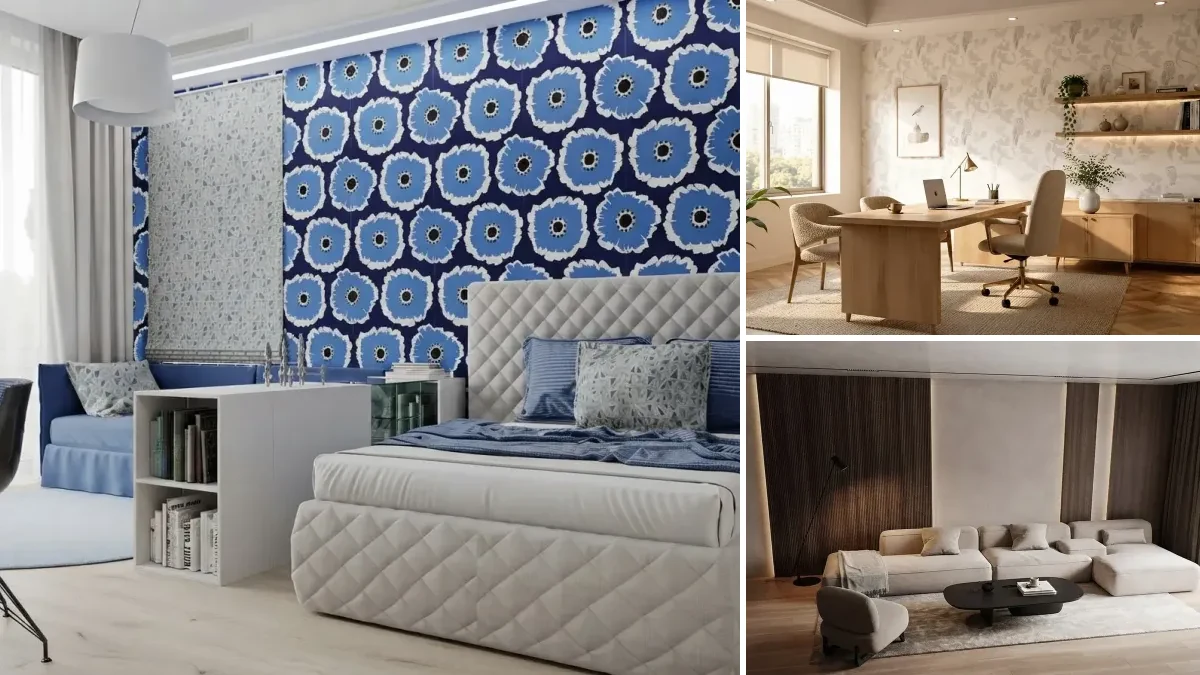
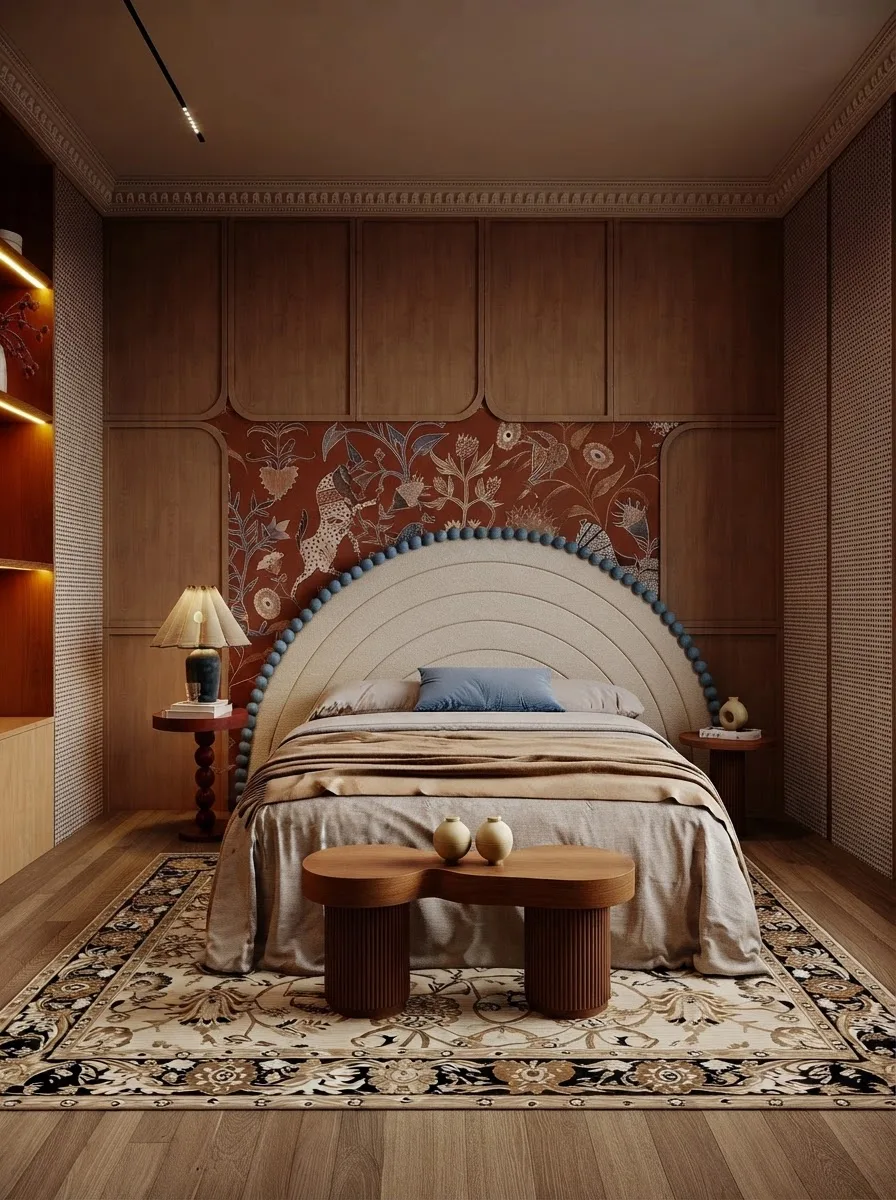
Two different papers on one wall, a common setup in kids’ and teen rooms. Test each one separately: a bold feature paper and a small print bought years apart are often different types and need different methods. Render from our gallery.
Before You Start: Tools, Prep and Two Safety Checks
Clear the wall, protect the floor, cut the power to that wall and check the age of the house. Prep takes about half an hour and prevents the two outcomes that cost real money: water in an outlet and a ruined floor.
What you need for a typical room:
- A 3 or 4 inch putty knife and a broad scraper with a slightly flexible blade (rounded corners gouge less)
- A scoring tool such as Zinsser’s Paper Tiger, only if the test showed vinyl or painted paper
- A pump garden sprayer or a large spray bottle, a bucket, sponges and old towels
- White vinegar or a wallpaper stripper concentrate
- Plastic drop cloth, painter’s tape, gloves and safety glasses
- Optional: a wallpaper steamer, for plaster walls or several layers
Electrical. Take the cover plates off every outlet and switch on the wall, tape over the openings and turn off the breaker for any circuit you are going to wet. Wagner’s steamer manual puts it plainly: “DO NOT allow water or steam to enter light switches or sockets.” Work by daylight or a battery lamp while the power is off.
Floors. Tape plastic along the baseboard and lay old towels on top of it. Stripper and paste slurry runs down the wall, and the towels catch it before it reaches a wood floor or carpet. Zinsser’s data sheet asks for “a solvent resistant drop cloth covered with newspapers around the work area in case of drips and spills.”
Lead paint, if the house was built before 1978. The wallpaper itself is rarely the problem; the paint under it can be. Scraping hard enough to dig into old paint makes dust, and lead dust is the hazard. The EPA’s rule for contractors does not bind you in your own home (“In general, the RRP Rule does not apply to homeowners doing RRP projects in their own pre-1978 homes”), but its advice to homeowners is to assume older paint contains lead or have it tested and to follow its DIY lead-safe work practices. In practice: keep everything wet, never sand old paint, and clean up with wet wipes rather than a broom.
Asbestos, if it is old vinyl. Bob Vila states that “wallpaper and wallpaper adhesives manufactured prior to 1980 may contain asbestos, especially if the wallpaper has a vinyl finish.” We could not find a federal source that says how common it was, so treat that as a reason to have a sample tested if you are stripping decades old vinyl, not as a reason to panic about every room.
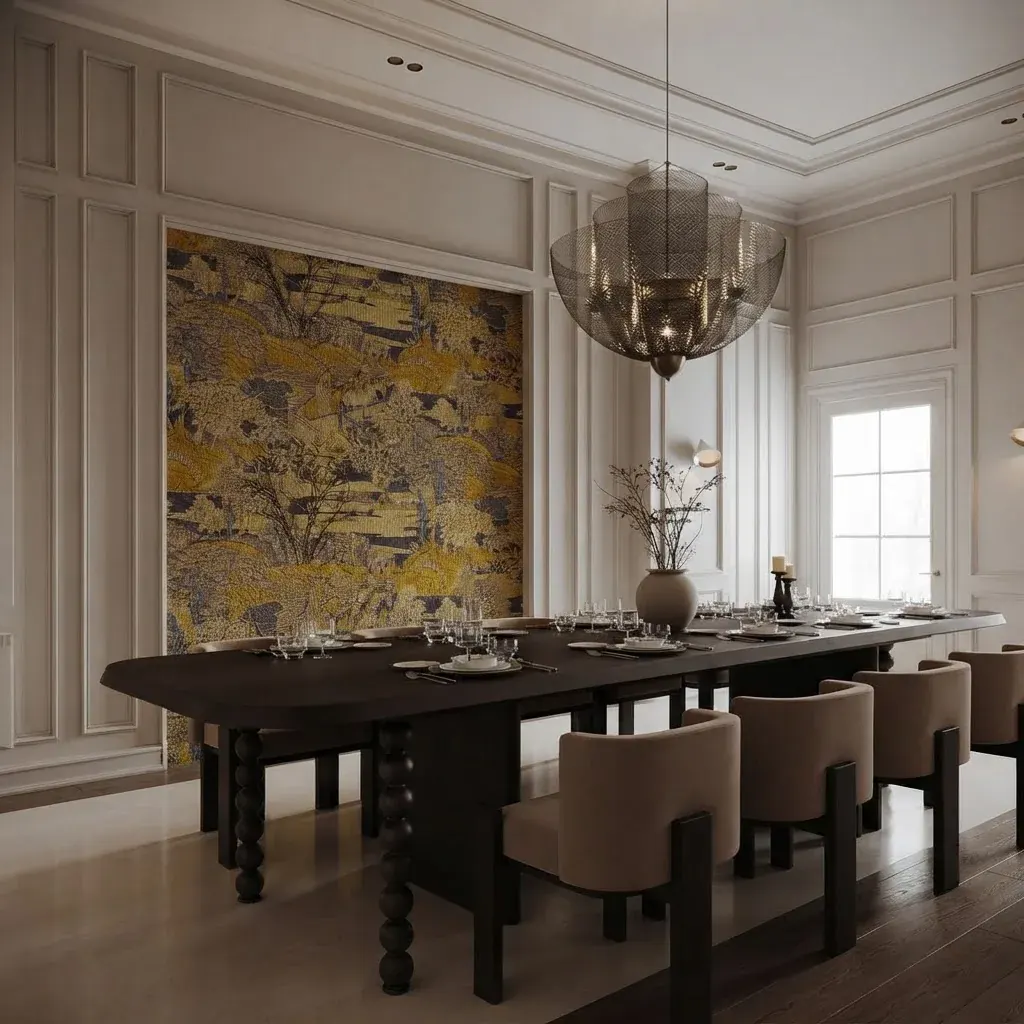
The Best Way to Remove Wallpaper: Every Method Compared
The best method is the gentlest one that works on your paper. Dry peeling first, hot water with vinegar or a stripper second, steam last. Every step up removes more stubborn paper and puts more water or heat into the wall, which is what damages drywall.
Hot water and vinegar
This is the method This Old House’s paint expert Mauro Henrique uses in the video below: a 1:1 mix of hot water and white vinegar in a spray bottle, left for 10 to 15 minutes before scraping from the top corner down. Their explanation is that “the hot water helps to loosen up the adhesive and the acid from the vinegar helps to dissolve it.” Hot is the important word. Refill with hot water often, because a cool mix soaks in far more slowly.
Does fabric softener work?
Sometimes, on paper that already takes water. It is a household trick that spread through forums and DIY blogs, and no manufacturer publishes a ratio for it. The recipes online disagree with each other, which tells you the softener is not the active part. Most of the work is the hot water soaking through and softening the paste. On vinyl or painted paper it does nothing until you score the surface. If you already have it, try it on the test patch; do not buy it specially.
Wallpaper stripper
A stripper is what to reach for when water alone leaves the paper stuck. Zinsser’s technical data sheet for DIF concentrate is the clearest set of instructions we found: mix the 22 oz bottle into 2 gallons of warm water, apply with a garden sprayer, sponge or roller (“Do not use a fine mist sprayer”), “Wait 15 minutes. Repeat the application,” then “Rewet a small section and scrape off loose wallpaper.” It also asks for good cross ventilation, chemical resistant gloves, safety goggles and “a NIOSH approved respirator when spraying.” Take that last line seriously in a small bathroom.
Steamer
A steamer is the strongest tool and the riskiest on drywall. Wagner’s manual for its 715 Power Steamer says it takes “about 12-15 minutes to produce steam,” a full tank runs “about 70 minutes,” and you hold the plate “flat against the scored wallpaper for about 10 seconds” before moving on and scraping the section you just steamed. Holding it longer is how people blister drywall. It is the right tool for plaster in an older house with three layers of paper on it; it is overkill for a single layer of traditional paper.
How to Remove Wallpaper Step by Step
This is the wet method for traditional, vinyl and painted paper, the kind that did not peel in the test. For a typical bedroom, set aside a full day; This Old House rates the job “Time: 1 day” and “Cost: Under $50.”
- Peel anything that will come off dry. Even on traditional paper, loose seams and the vinyl face of peelable paper come away by hand. Every square foot you peel dry is a square foot you do not have to soak.
- Score only if you have to. If water beads off, run a scoring tool over the surface in light circles. Zinsser’s instruction is that “the more holes, the better the penetration,” which is true, but on drywall heavy pressure punches through to the drywall paper. Light pressure, many passes.
- Soak a section about 3 feet wide, floor to ceiling. Spray or sponge on the hot vinegar mix or stripper until the paper is wet through, not just damp on the surface.
- Wait 15 minutes, then soak it again. The second coat is the one most people skip and the one that makes the paper slide off. Start soaking the next section while you wait.
- Scrape from the bottom up with the blade almost flat against the wall. If a patch resists, rewet it and move on; come back in 5 minutes rather than digging.
- Wash off the paste before it dries (see the glue section below), then rinse with clean water.
- Let the wall dry for a full day before you judge the surface, repair it or prime it. Drywall that looks fine wet can show bubbles once it dries.

By This Old House (January 2023, 6 minutes): paint expert Mauro Henrique removes removable, strippable and vinyl paper on camera. Worth watching for the technique, especially the low angle on removable paper. Two limits: a 6 minute demo cannot show what a 1970s bathroom with decades old paste is like, and the description links the tools through Amazon affiliate links.
How to Remove Peel and Stick and Strippable Wallpaper
Start at a corner and pull the panel slowly at a low angle, close to parallel with the wall. Pulling straight out toward you is what lifts paint. If a panel fights back, warm the adhesive with a hair dryer on a low or medium setting for half a minute and keep going. Wash any sticky residue off with warm soapy water once all the panels are down.
Tempaper, one of the larger peel and stick brands, gives the same instruction in its install guide: “Starting with any corner, firmly peel up or down slowly, parallel to the surface.” Whether paint comes off with it depends mostly on the wall it went onto. Tempaper recommends its paper only for walls “primed and painted with a satin or semi-gloss finish,” advises against matte and flat paint, and asks that fresh paint “fully cure” first. Paper that went onto flat paint, or onto a wall painted the weekend before, is the paper that takes paint with it. If you rent, that is worth knowing before move out day: go slower and use more heat rather than pulling harder.
Strippable paper behaves the same way without the stickiness: it is designed to release in whole sheets and leave little behind. If yours tears instead of releasing, it was either hung with the wrong paste or it is older than you think. Switch to the wet method for the stubborn parts rather than forcing it.
How to Remove Vinyl and Painted Over Wallpaper
Get the liquid behind the face, then soak as usual. Vinyl is made to shed water, which is why it is popular in bathrooms, kitchens and mudrooms, and paint does the same thing to paper it covers. Spraying either one directly does almost nothing.
- Try to peel the vinyl face first. A lot of vinyl is peelable: the face comes off dry and the backing soaks easily. That alone can save hours.
- Score what will not peel, lightly, then use a stripper rather than plain water, and give it the full two applications.
- Painted over paper usually needs scoring plus a stripper, and on plaster a steamer is often faster. On drywall, if the paint is thick and the paper is well stuck, skimming over it with joint compound can be less damaging than removing it. That is a judgment call, not a failure.
How to Remove Wallpaper From Drywall Without Damaging It
Use as little water as you can, work in small sections and skip the steamer. Drywall is gypsum wrapped in paper. When wallpaper was hung on drywall that was never primed, the paste bonds straight to that paper face, and the water that softens the paste softens the face too. Push hard and the brown drywall paper tears off with the wallpaper.
- Peel every dry layer you can, including the face of peelable paper.
- Wet a section no wider than 2 feet, wait, and scrape with a plastic or flexible broad blade held low. Do not let water sit on the wall for long periods.
- Stop the moment you see brown paper coming off with the wallpaper. Let that area dry completely before you touch it again.
- Seal torn paper before patching. If you spread joint compound straight onto torn drywall paper, the water in the compound makes the paper bubble. A problem surface sealer stops that: Rust-Oleum describes Zinsser Gardz as a product that “repairs torn paper on damaged drywall and prevents drywall blistering/bubbling.”
- Skim, sand and prime. Once the sealer is dry, skim the damaged areas with a thin coat of joint compound, sand smooth and prime the whole wall before paint.
A small amount of damage is normal on drywall and easy to fix this way. Large areas of torn paper are a sign to stop removing and switch to skimming the whole wall, or to call a drywall finisher, rather than keep tearing.
How to Remove Wallpaper Glue From Walls
Rewet the paste, wipe it off and rinse. Zinsser’s instruction is: “To remove residual adhesive, reapply DIF, wait 15 minutes, scrape or sponge off. Rinse with clean water.” On light residue, a rag dipped in the hot water and vinegar mix does the same job, which is how This Old House finishes its demo wall. Change the rinse water often; wiping with dirty water just spreads the paste thinner.
How to tell when it is all gone: wait until the wall is fully dry, then run a flat hand across it. Tacky, slick or shiny patches are paste. Some people also wipe a damp dark cloth across the wall: a cloudy residue on the cloth means more washing.
Why it matters: painters will tell you leftover paste is a common reason fresh latex paint cracks or wrinkles, because the water in the paint rewets it. If some residue simply will not wash off, seal it instead of fighting it: Rust-Oleum lists Gardz as a product that “seals in old wallpaper adhesive and paste.” Then prime and paint as normal.
How to Remove a Wallpaper Border
Expect a border to be harder than the paper around it. Borders were often hung over existing wallpaper or paint with a stronger, vinyl to vinyl adhesive, and Zinsser warns that “borders that are difficult to remove may have been hung with a non-water soluble adhesive and may require prolonged soaking and scraping.” Score it, soak it with a stripper, give it two or three applications rather than one, and scrape gently: a border usually sits on a painted wall you want to keep. If it was hung over wallpaper, remove both together.
How Much Does Wallpaper Removal Cost?
Hiring a pro averaged $740 for one 10 by 8 foot room with 8 foot ceilings on plaster walls, with most jobs between $650 and $950, according to Fixr’s wallpaper removal cost guide (last updated January 31, 2025, so treat it as a baseline rather than this year’s quote). Doing it yourself with a scoring tool, a sprayer and vinegar costs under $50, by This Old House’s estimate.
Pros price by wall area, not floor area. To estimate yours, multiply the length of each papered wall by its height and subtract doors and windows; our guide to how to calculate the square footage of a room walks through the arithmetic. A single accent wall of about 12 by 8 feet is under 100 square feet, which is why one feature wall is a very reasonable first DIY project.
What to Do After Removing Wallpaper
Let the wall dry, check it with a raking light, repair, prime and then decide what goes on it. Hold a flashlight flat against the wall in a dark room: every ridge, gouge and bubble shows up as a shadow. Fix those before primer, because paint shows a damaged wall more than wallpaper did.
Then the fun part. A wall that has been under the same pattern for 20 years is a good moment to try something you would not have risked on a fresh wall:
- Paint. The obvious choice and the cheapest. Warm neutrals such as Agreeable Gray or Alabaster are safe; whole room color drenching is the braver version.
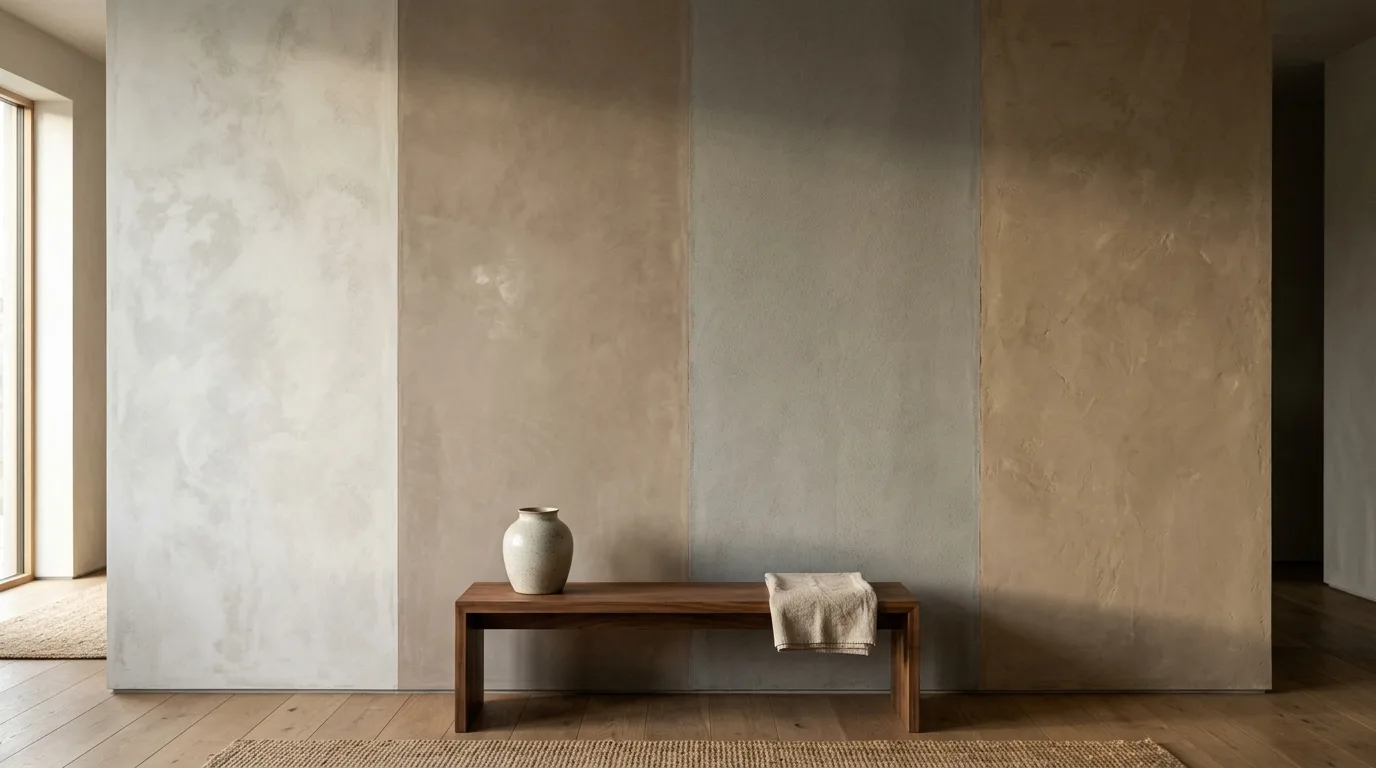
- Limewash or plaster. Soft, mottled walls hide minor imperfections that flat paint exaggerates. See limewash walls and the trade offs in limewash vs Venetian plaster.
- Paneling. A board and batten wall covers a lower wall that took the worst damage.
- New wallpaper. If you liked the idea and hated the pattern, the current wallpaper trends lean toward large scale murals and textured grasscloth. Prime with a wallpaper primer this time, so the next person can strip it in an afternoon.
- A single accent wall instead of four papered ones; more options in our accent wall ideas.
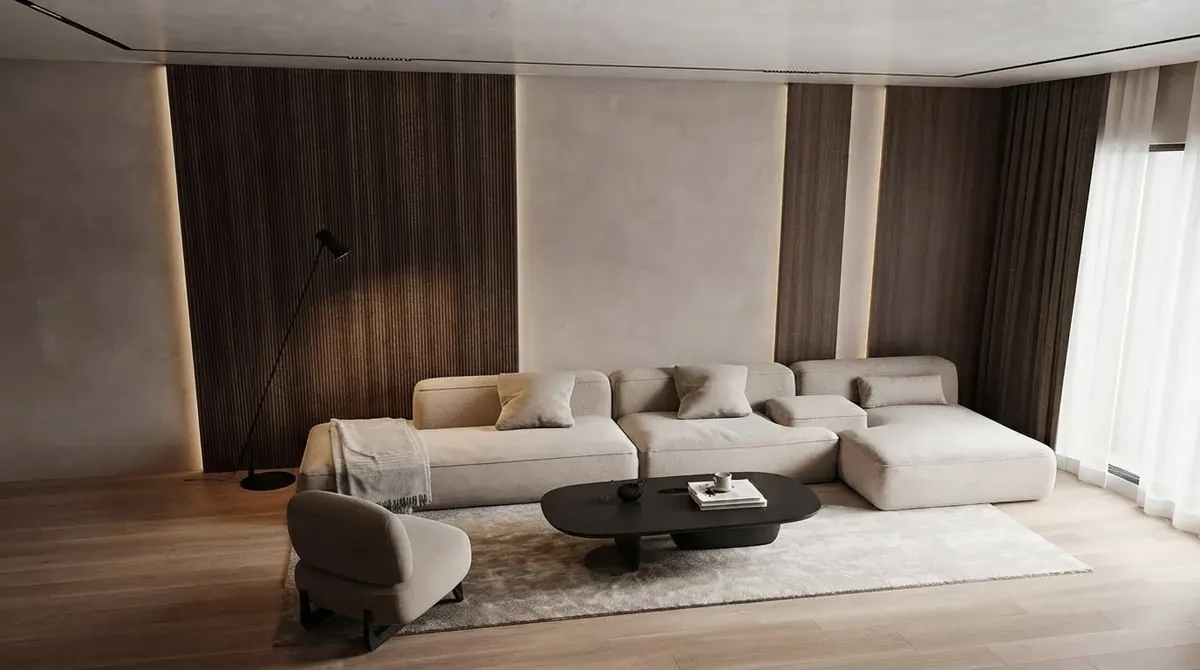
A plaster finish forgives a wall that came out of wallpaper removal slightly uneven, where flat paint would show every repair under a raking light. Render from our gallery.
See it before you buy paint. Take a photo of the bare wall and try colors and finishes on it with the AI wall texture and paint tool, which repaints the walls in your own photo and leaves the furniture, floor and windows as they are. The paint color finder matches real paint brands, and our tests of the best paint color visualizer apps and other AI wall color tools cover the brand apps. If you prefer to type what you want, the AI paint color prompts work in ChatGPT and Gemini too. And when the walls are done, our wall art size guide covers what to hang back up and how big.
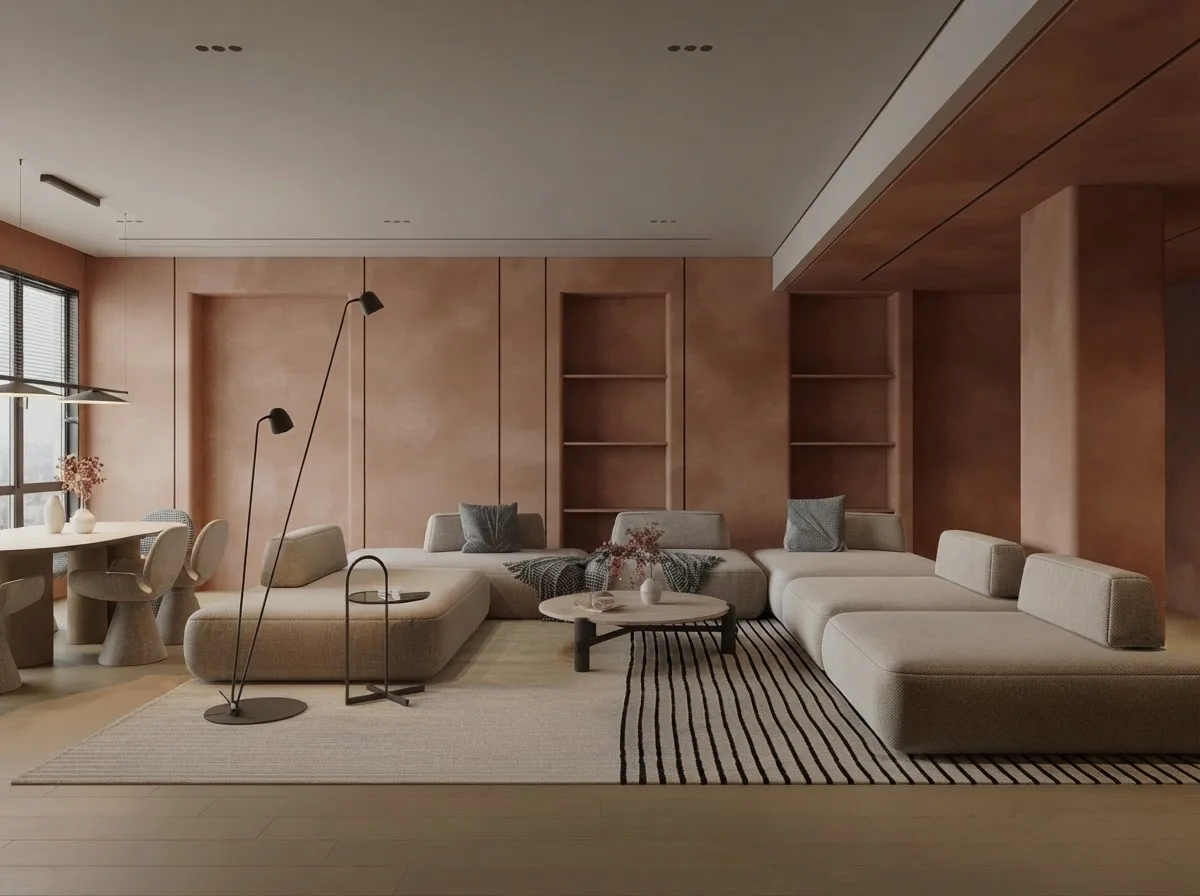
The color drenched version: walls and built ins in one warm terracotta finish. A choice like this is easier to commit to once you have seen it on a photo of your own room. Render from our gallery.
How We Wrote This Guide
We are not painters or drywall finishers, and we did not strip a wall for this article. We build MeltFlex, an AI interior design tool, so the part we know first hand is the after: what a bare wall can become and how to see it before committing. The removal instructions come from primary sources we read ourselves on October 5, 2026: Zinsser’s technical data sheet for DIF Liquid Concentrate (Rust-Oleum, revised January 2022), the Wagner 715 Power Steamer manual, Rust-Oleum’s Gardz product page, the EPA’s Renovation, Repair and Painting pages, Fixr’s cost guide and the This Old House video and its description. The peel and stick advice is from Tempaper’s install guide and the asbestos warning from Bob Vila, the one secondary source here. Quotes are verbatim.
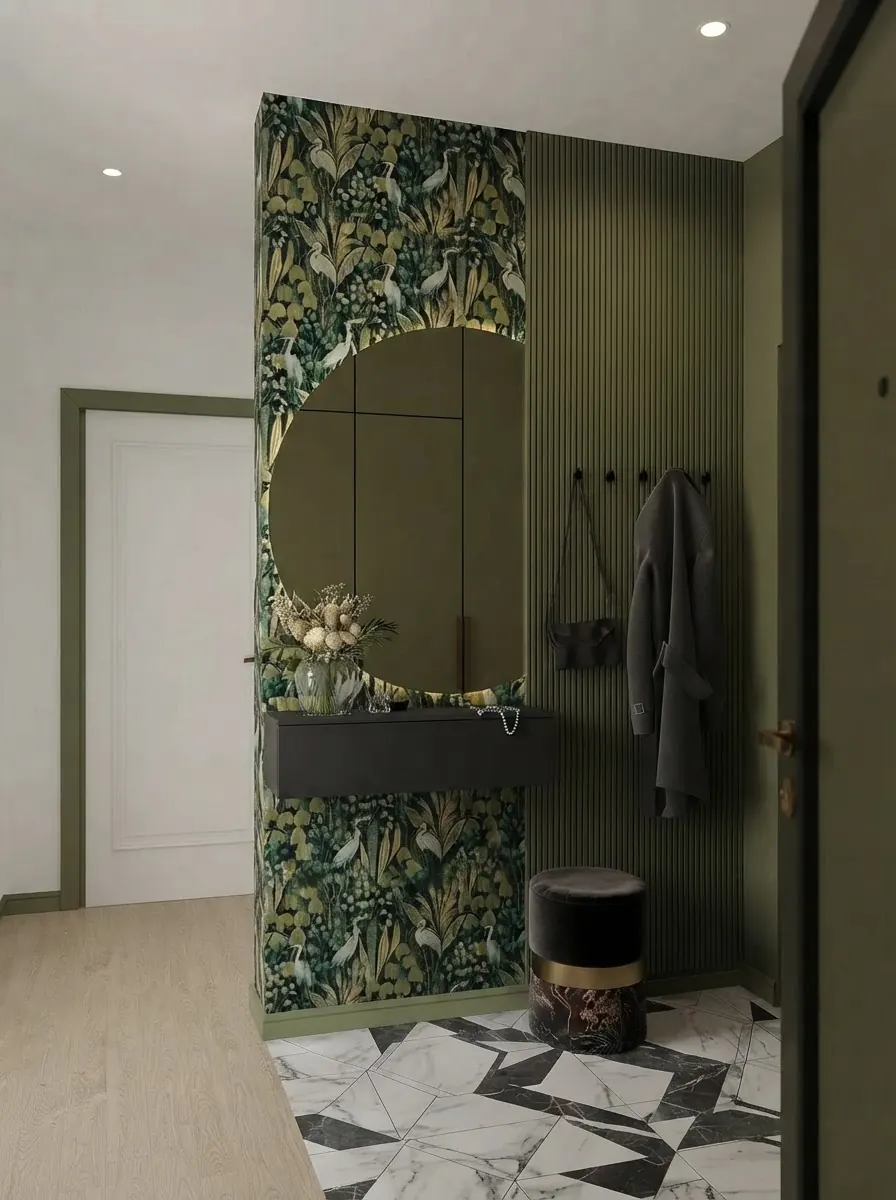
What we left out on purpose: a fabric softener ratio, because no manufacturer or test backs any of the ones in circulation; an asbestos prevalence figure, because we could not find a federal source for one; and Angi and HomeAdvisor cost figures, because their pages would not load for us to check. The decision table and the order of methods are our own synthesis of those sources. The images are renders from our gallery, chosen to show the room types and wall setups this guide talks about. They are not photographs of real removal jobs.
How to Remove Wallpaper: FAQ
What is the best way to remove wallpaper?
Find out what type you have first, then match the method to it. Lift a corner and pull: if the whole sheet comes away dry, it is strippable and you need no water at all. If only the top layer peels, peel it dry and soak the paper backing left behind. If nothing peels, score the surface lightly, soak it with hot water or a wallpaper stripper, wait about 15 minutes and scrape. Use a steamer only on plaster walls or for several stubborn layers.
What is the easiest way to remove wallpaper?
Dry peeling, when the paper allows it. Modern strippable and peel and stick papers are made to come off in whole sheets without water. For traditional paper, the easiest wet method is a 1:1 mix of hot water and white vinegar in a spray bottle, left on for 10 to 15 minutes before scraping, which is what This Old House demonstrates on strippable and vinyl paper. Patience does more than force: rewetting a section that resists is faster than scraping it.
How do you remove wallpaper glue from walls?
Rewet it and wipe it off, then rinse. Zinsser's instructions for its DIF stripper are to reapply the solution, wait 15 minutes, scrape or sponge the residue off and rinse with clean water. A rag dipped in hot water and vinegar does the same job on light residue. Run a hand over the dry wall afterward: if it feels tacky or slick, there is paste left. Paste left under latex paint can crack it, so either wash it off completely or seal it with a product made for that, such as Zinsser Gardz, before painting.
How do you remove wallpaper from drywall without damaging it?
Use as little water as possible and never let it soak in for long. Wallpaper hung on drywall that was never primed bonds to the drywall's paper face, and water softens that face along with the paste. Peel the top layer dry where you can, score lightly, wet one small section at a time and scrape with a flexible plastic or broad blade held low. Skip the steamer on drywall unless nothing else works. If the brown paper of the drywall tears, stop, let it dry, seal it with a sealer such as Gardz and skim it with joint compound.
Does fabric softener remove wallpaper?
It can help on paper that already takes water, but it is a household trick, not a tested product. No manufacturer publishes a ratio, and the recipes online vary widely. Most of the work is done by the hot water soaking through the paper and softening the paste. It does nothing on vinyl or painted paper until you score the surface so the liquid can get behind it. A commercial enzyme stripper or the vinegar mix is a more predictable choice.
How do you remove peel and stick wallpaper?
Start at a corner and pull the panel slowly at a low angle, close to parallel with the wall, rather than straight out. If it resists or starts to lift paint, warm the adhesive with a hair dryer on a low or medium setting and keep going. Clean any sticky residue with warm soapy water. Tempaper, one of the bigger peel and stick brands, recommends its paper only on walls primed and painted in satin or semi-gloss, not matte or flat, and only after fresh paint has fully cured. If yours went up on flat paint or a freshly painted wall, expect some paint to come off with it.
How much does it cost to remove wallpaper?
Hiring it out averaged $740 for a 10 by 8 foot room with 8 foot ceilings on plaster walls, with most jobs between $650 and $950, according to Fixr's cost guide (updated January 31, 2025). By the square foot, strippable paper ran $0.75 to $1.50, traditional paper $1 to $2 and vinyl $1.50 to $2.50. Doing it yourself with a scoring tool, a spray bottle and vinegar costs under $50, by This Old House's estimate.
Can you paint over wallpaper instead of removing it?
You can, but it is a compromise. Paint can make wallpaper seams show more, and the water in latex paint can loosen old paste so the paper bubbles. If the paper is well stuck, smooth and you accept the risk, seal it with an oil or shellac based primer first, never straight latex. It also makes the paper much harder to remove later, because paint blocks the water any future stripper needs. Removing it is more work now and less trouble afterward.
The summary, if you read nothing else: peel a corner first. Dry peel what releases, soak what absorbs, score what sheds water, and keep steam for plaster. Wash every trace of paste off or seal it, repair torn drywall with a sealer before compound, and prime before anything new goes on.
Before you pick the paint, photograph the bare wall and try the color on it with the wall texture tool. It is quicker than three sample pots.



%2C%20Method%20by%20Type)