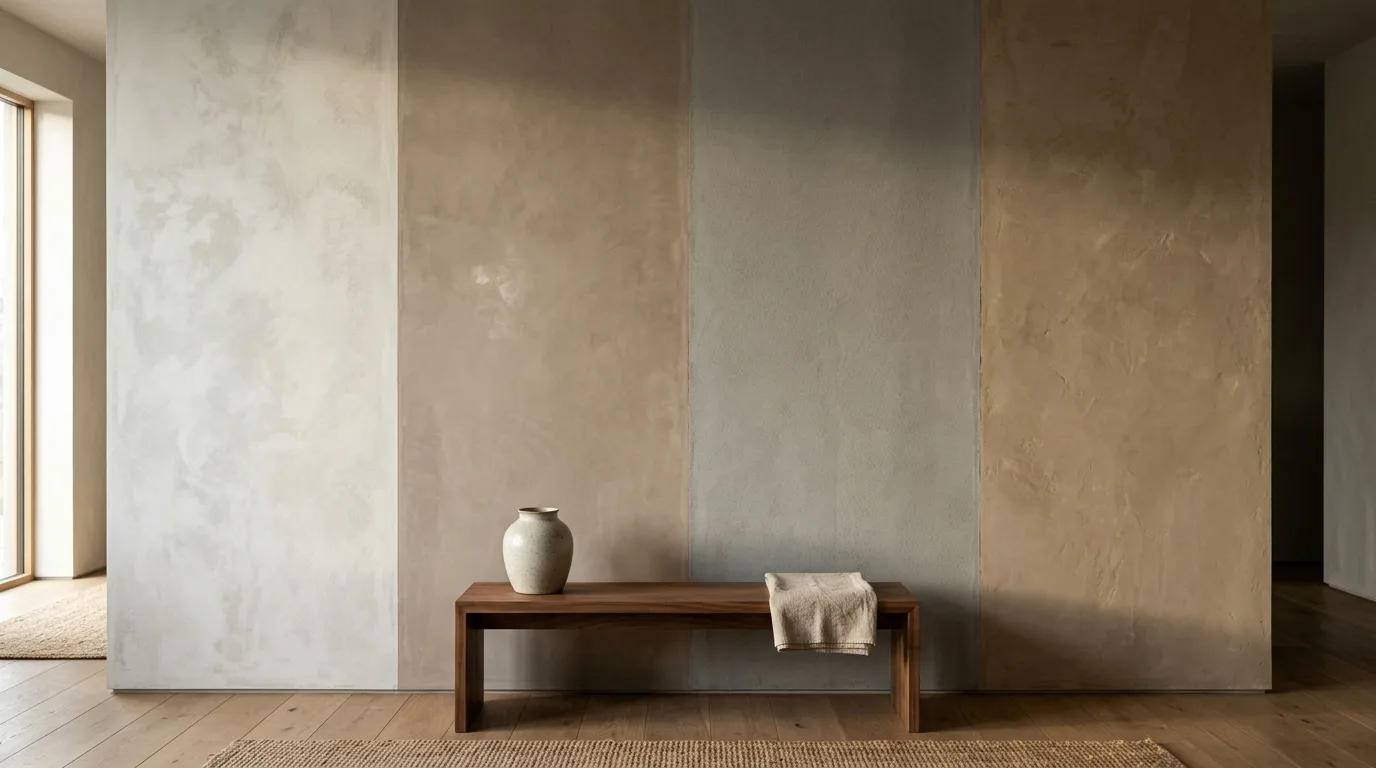

Microcement is a polymer modified cement coating troweled on in several thin layers, about 2 to 3 millimeters (1/8 inch) in total, that bonds to tile, drywall and concrete and dries into one continuous surface with no grout lines. Sealed with a polyurethane varnish it works on bathroom walls, shower floors, kitchen floors and countertops. Installed by a professional in the US it costs about $14 to $30 per square foot for a floor or wall and $80 to $120 for a shower, according to New York installer Duraamen, and the material alone for a DIY bathroom runs a few hundred dollars.
Our articles are still written by humans!
Get human written articles in your Google feed.
That is the whole pitch in one paragraph, and it is also where every page in the search results stops being useful, because every one of them is written by a company that sells microcement or applies it. We do neither. MeltFlex is an AI design tool, and our interest in the material is narrower and more honest: people keep asking it to put microcement into their bathroom photos, so we built a microcement preset into the bathroom design tool and the floor restyle tool, and we learned a few things about how the finish reads in a real room that the brochures leave out. This guide covers what microcement is, what a bathroom, a shower and a floor in it actually cost in 2026, what the DIY kits really involve, and the problems that show up after a year, each one tied to the source it came from.
The short version
- It is a system, not a paint: primer, mesh where the base might move, two base coats, two finish coats, two sealer coats. Skipping one is how it fails.
- Waterproof only through the sealer, and in a shower only with a membrane underneath. The field is tough; the corners, drain and niche edges are where water gets in.
- US installed cost: $14 to $30 per sq ft on floors and walls, $80 to $120 in showers and tight bathrooms, with job minimums of several thousand dollars. Europe: 60 to 100 euros per m².
- Over tile is the real reason to choose it: no demolition, 1/8 inch of build, but every grout line must be filled or it shows through.
- DIY a wall or a dry floor, hire out the shower. The people who did it themselves report three months, 22 sheets of sandpaper and visible batch lines.


What is microcement?
Microcement is a cement based coating modified with acrylic or latex polymers, fine aggregates and pigment, applied by hand with a trowel in layers about 1 millimeter thick and finished with a polyurethane sealer. The Spanish manufacturer Topciment, one of the largest in the category, describes it as transferring “only 3 millimeters of thickness” to the surface and lists its substrates as “tiles, ceramics, slabs, cement, plasterboard, plaster, marble, concrete” in its own pros and cons page. The polymer is the point. Plain cement at 3 millimeters would crack and let go; the resin makes the layer flexible enough to ride a sound substrate and sticky enough to hold onto glazed tile once it has been primed.
Three things it is not. It is not polished concrete, which is a slab ground and sealed in place and needs structure to carry it. It is not a lime finish like limewash, Roman clay or Venetian plaster, which are breathable mineral coatings for dry walls and have no business in a shower; the differences are laid out in our limewash vs Venetian plaster vs Roman clay comparison, where microcement is the fourth finish on the same wall. And it is not a single product: Topciment, SEMCO, Duraamen, EPODEX, Festfloor, Ideal Work and a dozen others each sell a system whose primer, mesh, coats and sealer are designed to work together, which is why mixing brands is the first thing every installer tells you not to do.
Microcement bathrooms, floors and walls in real renders
Before the numbers, the look, because most people arrive here from a photo. Every image in this guide is a render from our gallery, built from reference projects by working designers, and none of them is a stock photo of a show home. What they have in common is the thing microcement is bought for: there is no grid. The eye reads a tiled bathroom as a pattern; it reads a microcement bathroom as a volume.

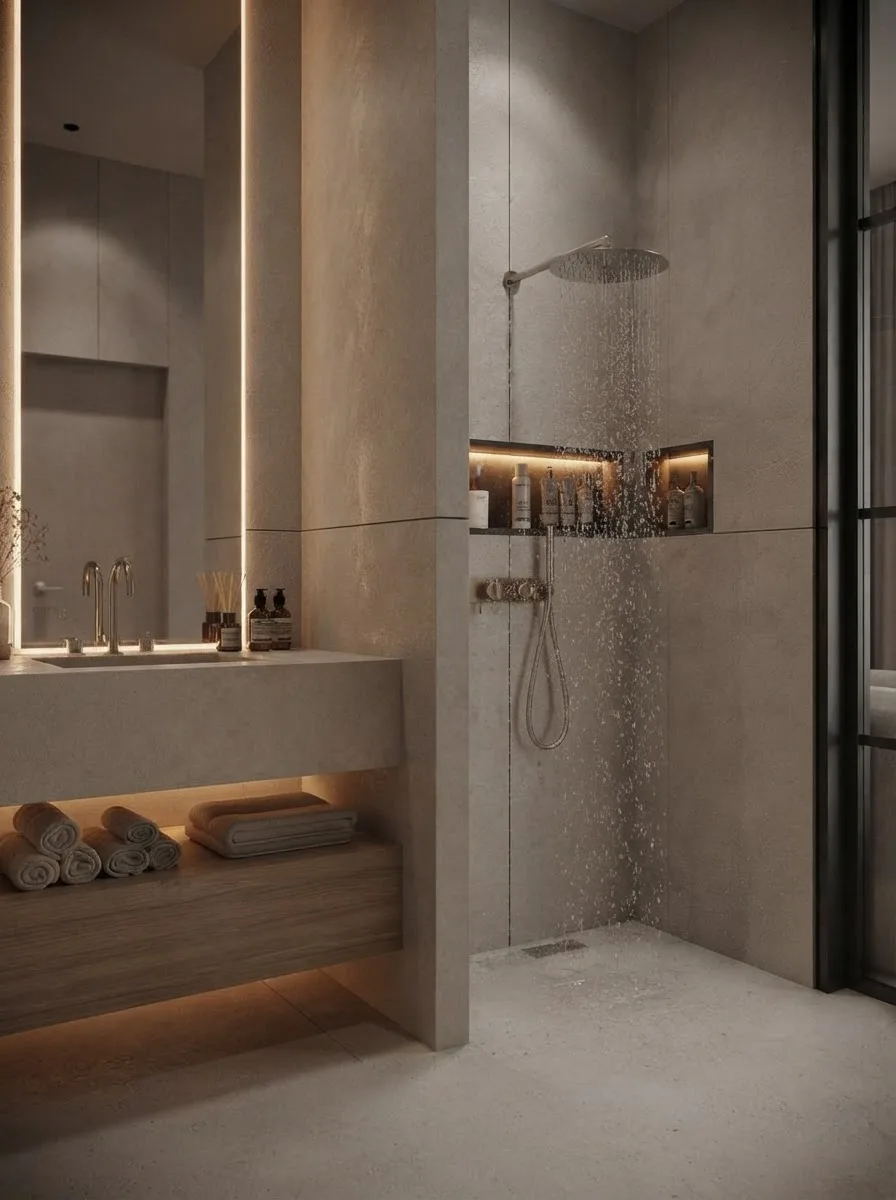
Walls and shower in one warm greige microcement, oak against it, over a large format tile floor. Look at the walls: the shower is not a box inside the room, it is the room continuing. Render from our gallery.
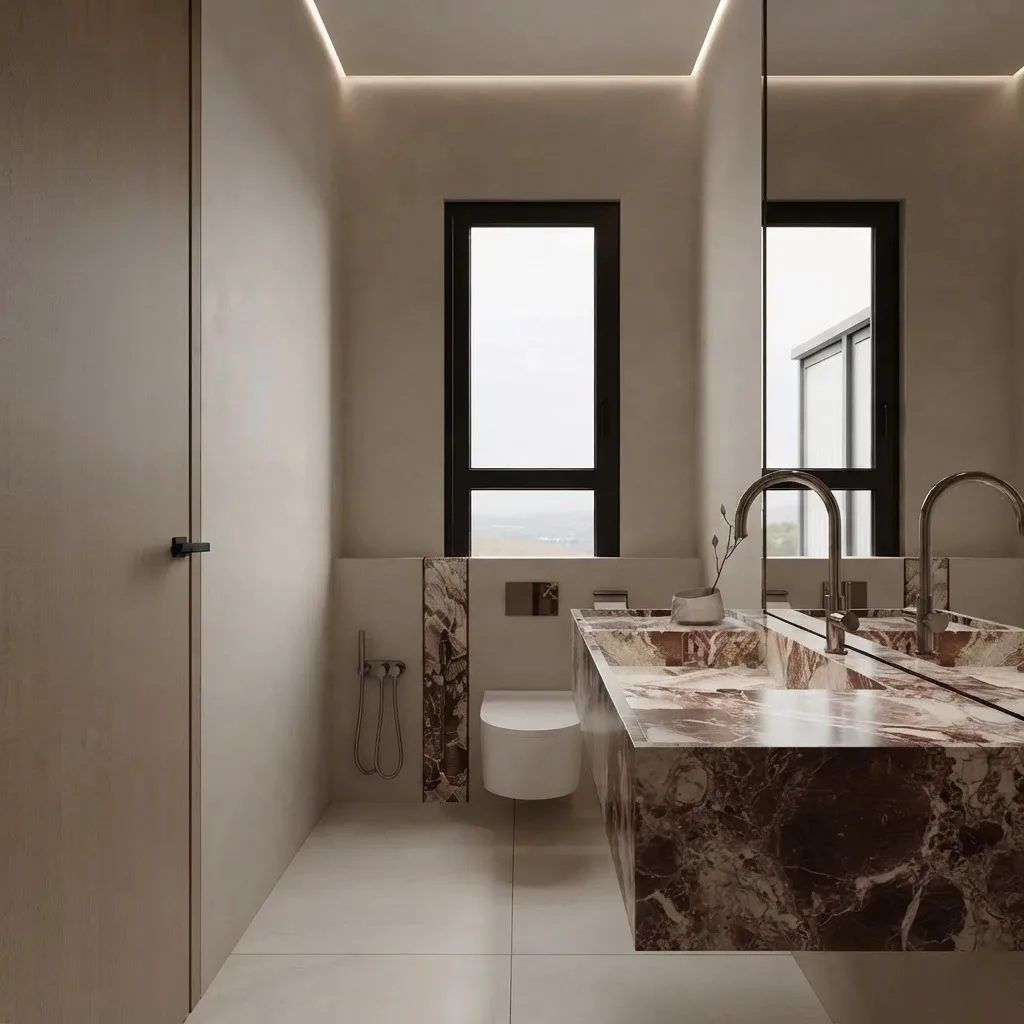
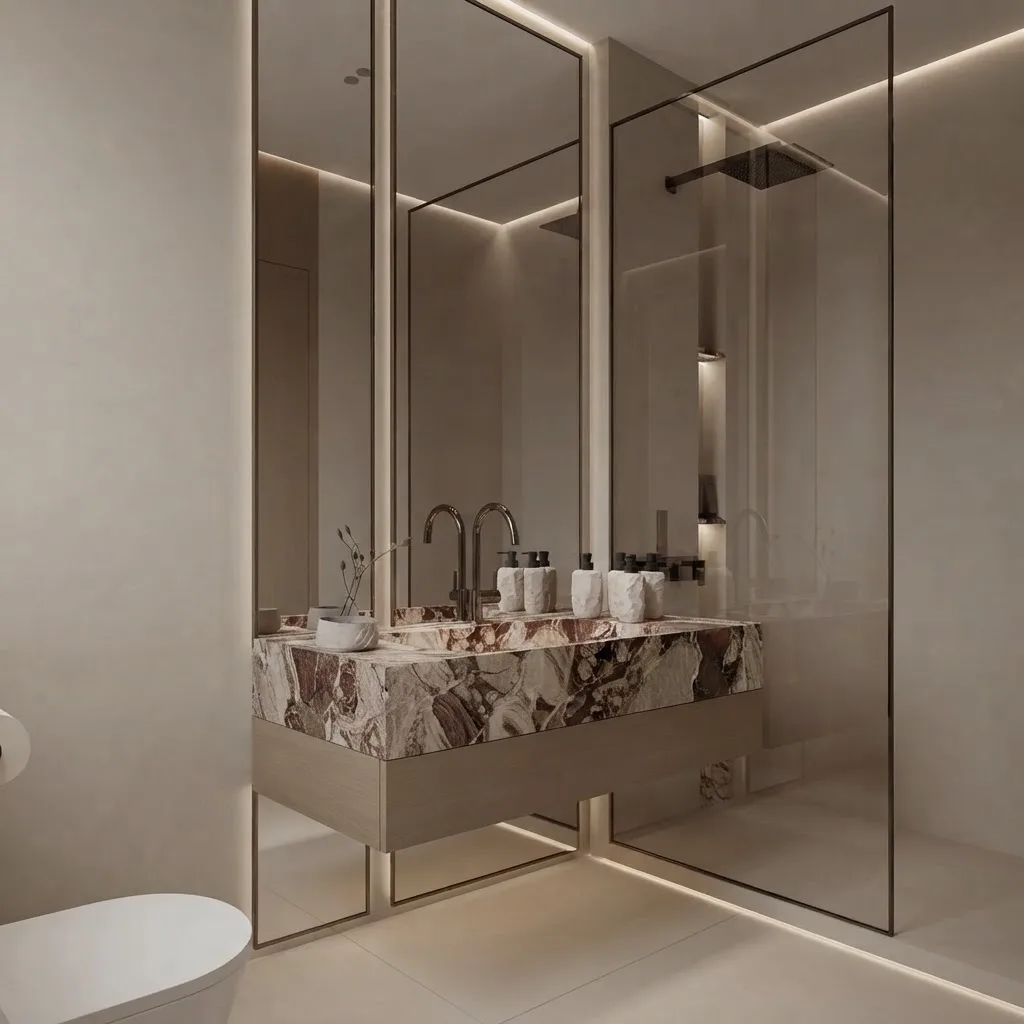
What we learned rendering it, because it matters when you plan the lighting: microcement with flat overhead light looks like unpainted drywall. The trowel movement only appears with light raking across the wall, from a window, a backlit mirror or a cove, which is why every photograph of the finish you have ever liked has a strong side light in it. If your bathroom has one center fixture and no window, budget for a lit mirror or a strip under the vanity before you budget for the plaster.
Microcement bathroom: walls, shower and floor as one surface
A microcement bathroom works because the coating runs unbroken from wall to floor and into the shower, but that is only safe when a waterproofing membrane sits under it and the sealer on top is one rated for permanent water contact. Topciment is blunt about the first half: a microcement surface is waterproof “if a sealer is used that gives it this capacity,” and the sealer must match the system, because getting it wrong “can be fatal.” SEMCO Surfaces, the Las Vegas manufacturer whose X-Bond is one of the most installed US systems, describes its shower build as a liquid waterproofing membrane, two hand troweled microcement layers and “a final sealant ... applied to make the surface completely impermeable,” and says that as part of that system it “performs well in showers and steam environments” in its microcement bathrooms Q&A.
The shower is where the detail work lives. Duraamen’s own application guide has the membrane carried “at least 12 inches up the walls,” the wall to pan corners bridged with fiberglass mesh the same 12 inches up and into the pan, a flange type Kerdi drain, and the pan built up with a fiber reinforced overlay sloped to the drain before a single coat of microcement goes on. None of that is visible when the job is done, which is exactly why cheap quotes leave it out and why a microcement shower that fails almost always fails in year one, at the drain, in a corner or along the edge of a niche, never in the middle of a wall.
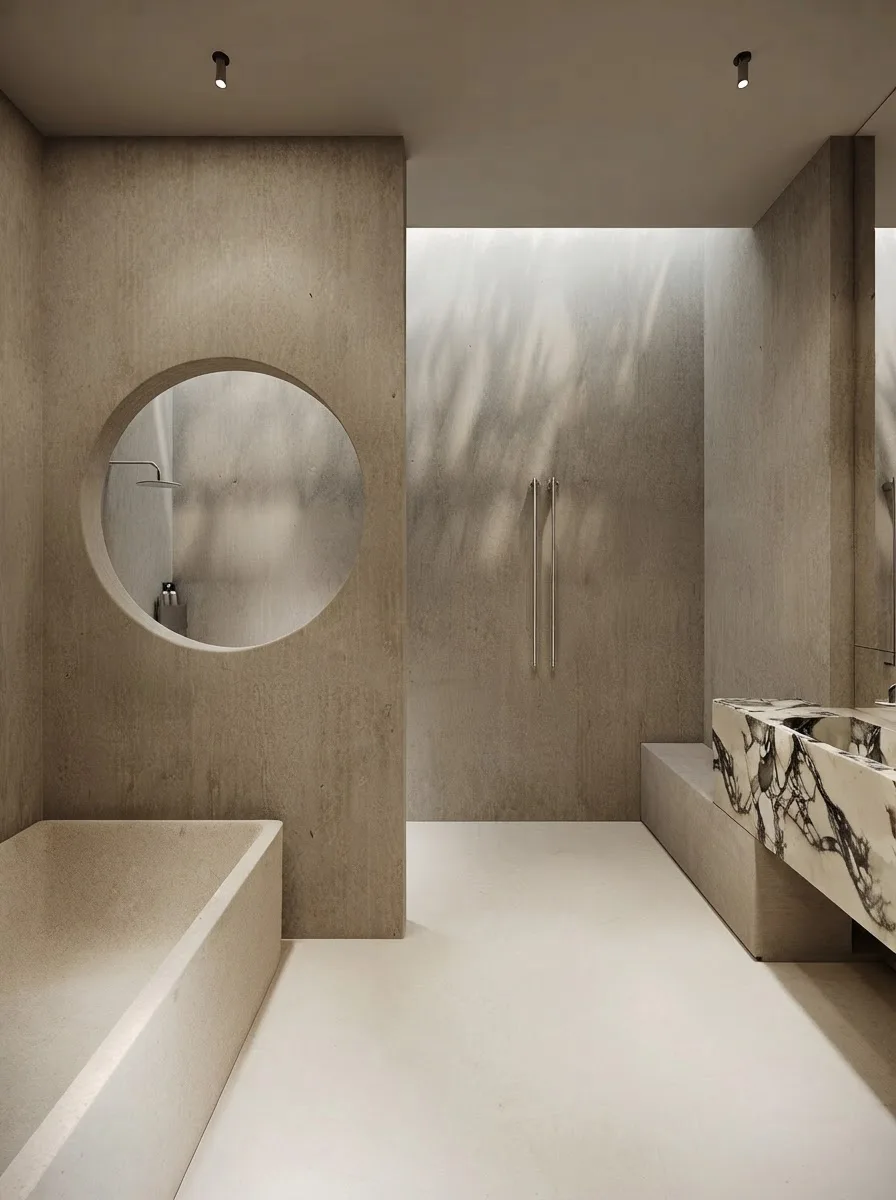
Shower floors deserve one more sentence. A gloss sealer on a wet floor is a skating rink. Specify a matte or anti slip sealer for any surface you stand on wet; Topciment sells a water based anti slip varnish for exactly this, and some polyurethane top sealers are tested to R10 under the German DIN 51130 ramp test, the same grade most bathroom porcelain carries. Ask the installer for the slip report of the full system rather than the sealer on its own. Bathtubs can be coated too, and the search for microcement bathtubs is real, but a tub takes hot water, bath oils and bare skin every day, and every source we read treats it as the highest risk surface in the room. If you want the look on a tub, a built in surround in microcement with a standard acrylic or stone insert is the version that lasts.
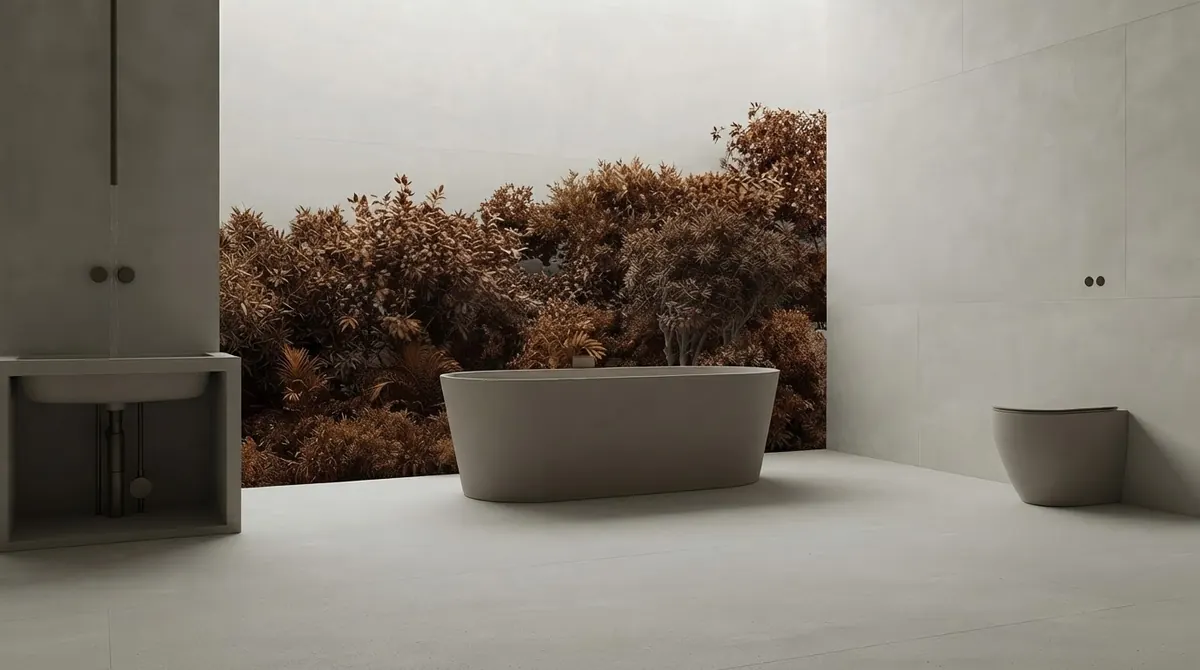
A freestanding tub against a concrete look wall. The wall takes the finish; the tub stays a tub. That split is the safe way to get the look. Render from our gallery.
For the layout questions that come before the finish, our guides to small bathroom layouts and dimensions, standard shower sizes and bathtub sizes cover the clearances, and bathroom remodel costs puts the microcement line next to everything else you are paying for.
Microcement over tile: when it works and when it does not
Microcement can go directly over existing ceramic or porcelain tile, adding about 1/8 inch, with no demolition, which is why Duraamen calls over tile application “one of its biggest selling points in NYC apartment renovations.” The condition is the substrate. SEMCO’s preparation is cleaning the tile, leveling the grout lines and priming; House Digest’s April 2025 piece on the downsides puts the failure mode plainly: if the grout lines “aren’t properly filled, you’ll end up with bumpy lines visible through the surface.” A 3 millimeter coating cannot hide a 3 millimeter recess. It copies it, and you see the old tile grid as a ghost every time the light rakes the wall.
The test before you commit is a tap test. Tap every tile with a coin; a hollow note means the tile has let go of the wall, and a coating applied over it will crack along that tile’s edges within months. Loose, hollow or cracked tiles come off and the hole is filled flush. Silicone, soap film and the waxy residue of years of cleaning products all have to be stripped, because the primer bonds to the glaze, not to whatever is sitting on it. Done properly, over tile is the cheapest route to a microcement bathroom, and it skips the dumpster, the dust and the week of demolition that a small bathroom remodel normally starts with. Done quickly, it is the most common microcement failure we found in the forums.
Microcement flooring: thickness, cracks, slip and heating
A microcement floor is the same 2 to 3 millimeter system laid over a sound slab, screed, tile or properly prepared plywood, and it stays crack free only as long as what is under it does not move. Topciment’s advice list is the one to pin up: expansion joints in a slab must be “respected and not filled,” a wood floor is “an unstable surface” where cracks are likely, and over an unrepaired base “the appearance of cracks or fissures is 100% certain.” Duraamen embeds a fiberglass mesh in the base coat “to prevent future cracking, especially over joints or wood substrates.” The coating is flexible, but it is a faithful reporter: a hairline in the slab becomes a hairline in the floor.
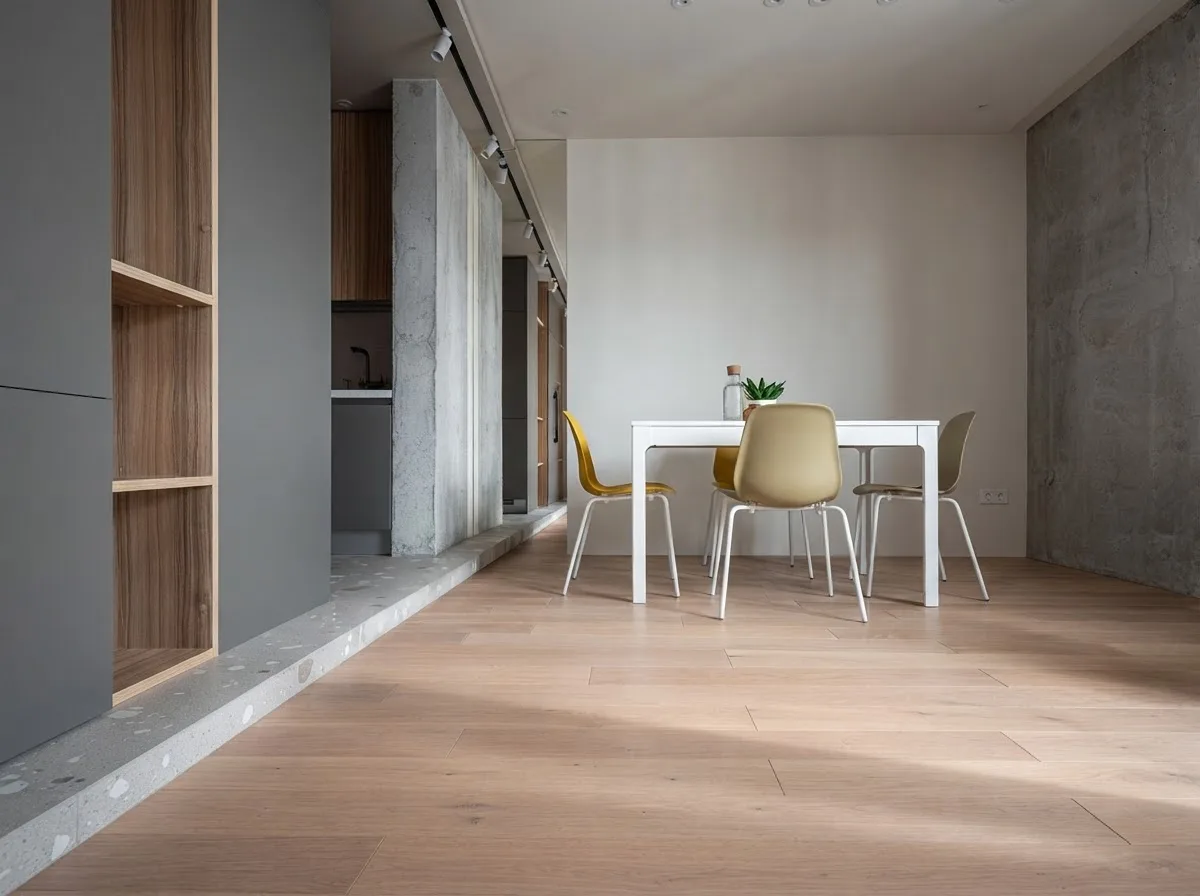
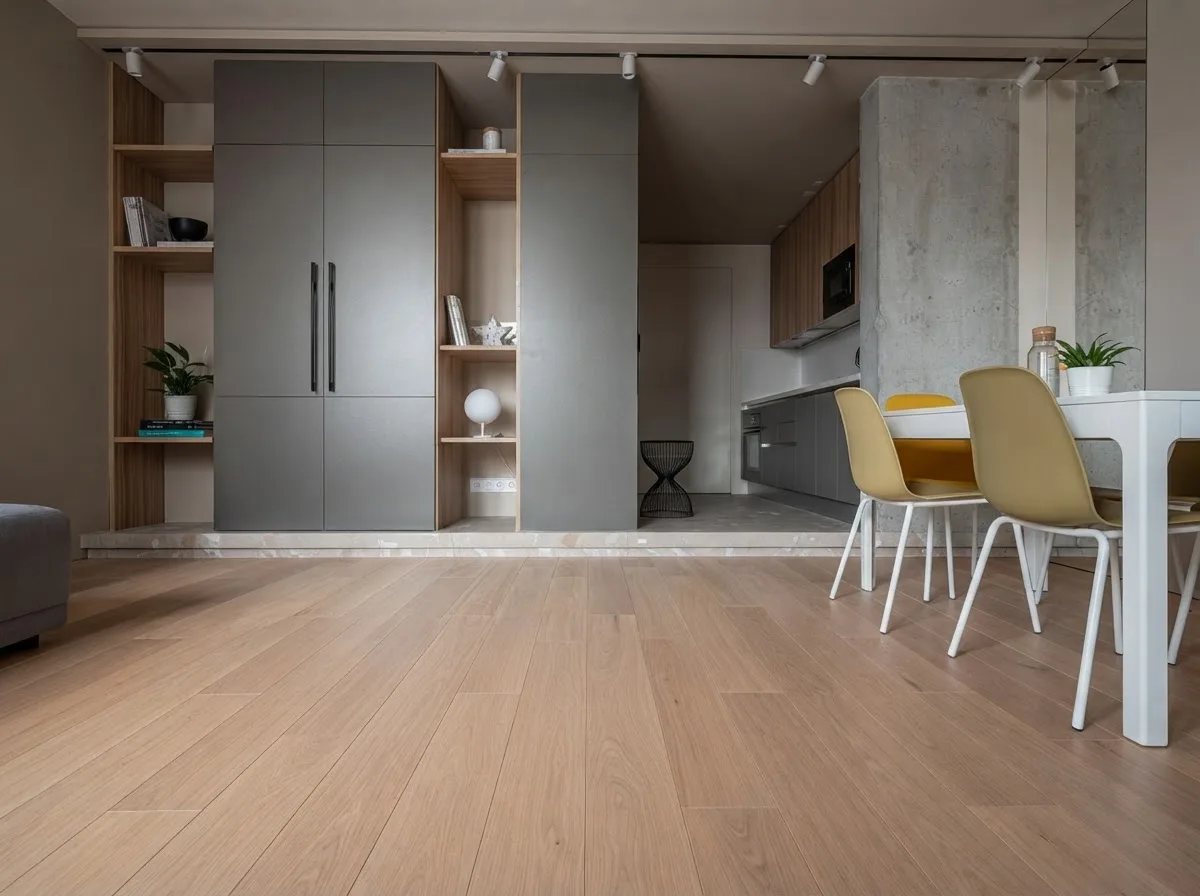
Two facts make it a good floor and one makes it a demanding one. It is thin enough that it rarely forces doors to be trimmed, which tile over an existing floor almost always does. It conducts heat well, so it is a natural partner for radiant floors, something both Topciment and the Australian installer Alternative Surfaces state in their guides. The demanding part is repair: Alternative Surfaces admits “a repair layer can sometimes be visible,” and Topciment’s own fix for a chip is to make the repaired area “as large as possible” so the color difference does not show. A cracked tile is replaced in an hour. A chipped microcement floor is re-coated wall to wall or lived with. On slip, the fine trowel texture under a matte sealer is roughly as grippy as matte porcelain; it is the gloss sealer, chosen because it photographs well, that makes a wet kitchen floor dangerous. For the broader comparison of what is being laid in 2026 and at what price, see flooring trends 2026, and to try a seamless floor against your own cabinets, the flooring visualizer guide walks through it.
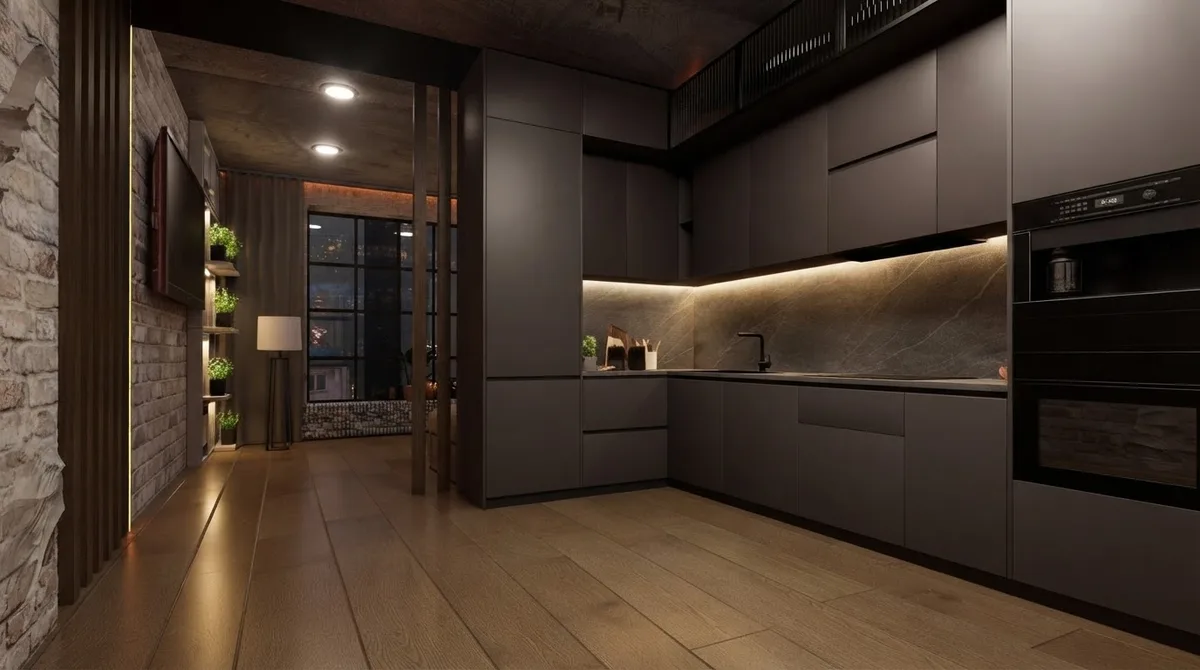
Charcoal microcement walls in a loft kitchen, with the floor deliberately left in wood. Dark microcement on a floor shows every drop of water and every footprint; it belongs on walls in living spaces, not on a shower floor. Render from our gallery.
Microcement walls, countertops, backsplashes and fireplaces
On a dry wall, microcement is the easiest surface in the house to get right, which is why it is the one to start with if you are tempted to DIY: a sound, primed wall does not move, does not get wet and forgives an uneven trowel better than a floor does. It goes over painted drywall after a bonding primer, over plaster, and over old tile in a kitchen. As a kitchen backsplash it is a good match, since it takes heat and is wiped clean, though it needs the same stain discipline as a countertop. It is fine on a fireplace surround and a chimney breast, where the heat of a sealed wood stove flue is the only thing to check with the manufacturer, and for a living room feature wall it is the sober alternative to the painted and paneled ideas in our accent wall and feature wall guides.


Countertops are the surface people love in photographs and regret in use, and the reason is chemistry, not craft. The cement is alkaline and the sealer is a thin plastic film. Lemon juice, vinegar, red wine and anything acidic that sits on the film works its way to the cement and etches or shadows it; House Digest lists “waxing, massage oils, red wine, and hair dye” as the likely culprits on bathroom surfaces, and SEMCO tells owners to rinse off products like “purple shampoo and self-tanners as soon as you finish showering.” A countertop that is wiped as you cook will look good for years; one that hosts a cut lemon overnight will carry the ring. If you want the color and the seamlessness on a kitchen work surface without the babysitting, run microcement on the walls and island sides and put stone or quartz on the top; the kitchen remodel cost guide prices both.
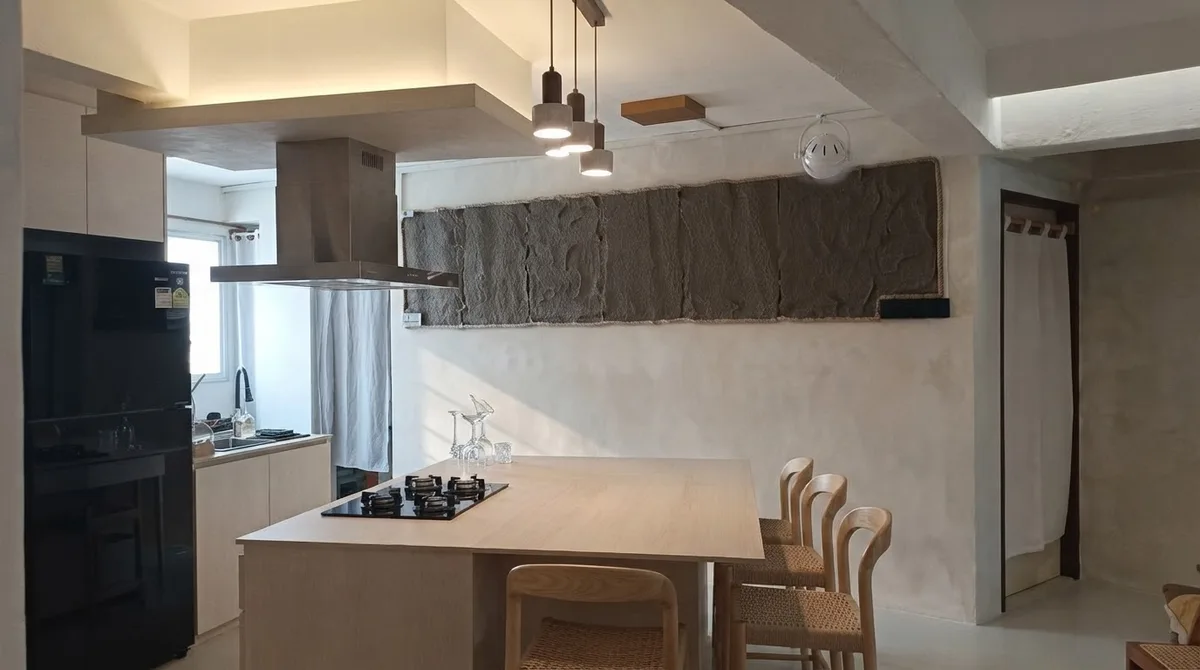
Pale microcement walls and ceiling with an oak island. The work surface is a separate material, which is the arrangement we would specify. Render from our gallery.
Microcement cost per square foot in 2026
In the US, professionally installed microcement costs about $14 to $30 per square foot for a standard residential floor or wall, $30 to $60 for commercial work, and $80 to $120 for complex residential surfaces such as showers, stairs and small bathrooms, with installers charging a minimum of roughly $3,500 to $4,000 for small jobs. Those are Duraamen’s published 2026 figures for the New York market, where the company both makes the system and places the installers, so treat them as the top of the national range. In Europe, Topciment’s 2026 price page gives a total of “between 60 and 100 euros per square meter,” which converts to roughly $6 to $10 per square foot, and notes that “the vast majority of applicators charge more to cover elements such as showers, bathtubs.” The gap between the two markets is labor, not material.
Read the table against the claim you will hear most, that microcement is cheaper than tile. On a floor or a dry wall, installed by a pro, it is close to porcelain and cheaper than stone. In a shower it is more expensive than ceramic tile by a factor of three to five, because the membrane, mesh, corners and drain detail are slow hand work that a tiler does with a Kerdi board and a bucket of thinset. Where it wins on money is over an existing tiled bathroom, where it removes the demolition, the disposal and the week of dust, and on an open floor where the absence of thresholds and cuts speeds the job. Measure before you ask for quotes; the square footage guide is enough, and remember that a bathroom’s wall area is usually two to three times its floor area.
Microcement kits and DIY: what the people who did it say
The kits are real and the walls are doable; the honest reports from people who finished a bathroom themselves are about time, sanding and consistency rather than failure. The EPODEX bathroom set is typical of what you can buy: powder, acrylic resin, pigment and a two part polyurethane sealer, with a primer sold separately, drying “approx. 8h” per cement coat at 70°F, 12 hours per sealer coat, 48 hours after the final one, and 7 days before any water touches it in a shower. The label on the powder carries a “Danger” pictogram for serious eye damage, which is the first thing to know before you open a bag: goggles, gloves and a mask are not optional with wet cement.
Adriana of texasdiymama coated an entire bathroom, shower included, over Kerdi board with a Surecrete system and published the tutorial in September 2025. The numbers from her diary are the ones to plan around: about $475 of material, roughly three months of evenings and weekends, 22 sheets of 80 grit sandpaper, a plastic trowel abandoned for a 6 inch drywall knife, batches that hardened at the bottom of the bucket and “visible color differences” where one batch met the next, painter’s tape that bonded to the cured coat (“once microcement hardens, it sticks to tape like glue”), and “a mild allergic reaction on my face” from one session without a mask. She waited two weeks before using the shower against the seven days the instructions required, and reports water beading on the surface and easy cleaning since. A self builder on the UK BuildHub forum who coated a shower on cement board in January 2022 summed up the basecoat sanding as “a pain,” and regretted using the stiff reinforcing mesh on the internal corners: “Next time I’ll use normal scrim tape on any corners.”
If you want to see the material handled rather than read about it, the clearest short explainer we found is from Design in Practice, a US design and remodeling channel, whose host installed it himself and includes the mistakes. It covers what microcement is, where it belongs and where to buy it in thirteen minutes; it does not cover a full shower build, and it is one installer’s experience with one system, so treat the product opinions as his rather than a market survey.
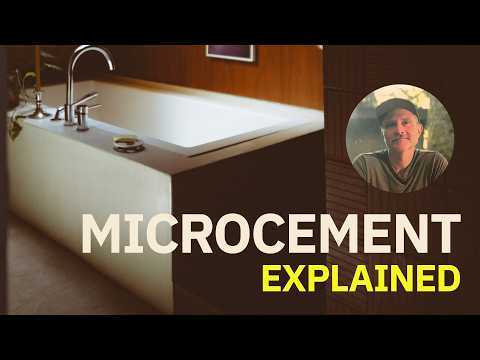
Design in Practice, “Microcement: What It Is, Where to Use It, and What to Avoid,” October 2025. A first hand overview with the installer’s own mistakes; not a shower waterproofing tutorial.
Our rule after reading all of it: DIY a dry wall first, then a floor outside the wet zone if the first one went well, and pay for the shower. The shower is the one place where the cost of being wrong is a torn out bathroom, and where the installer’s price is mostly buying the membrane, corner and drain details you cannot see and cannot redo.
Microcement problems: cracks, stains, mold and repairs
Almost every microcement problem traces back to the substrate, the sealer or the batch, and the manufacturers say so themselves: Topciment’s own problems page attributes fissures, marks and stains “mainly” to “failures in fundamental steps of the application or the poor condition of the support.” That is a self serving framing from a company that sells the product, and it is also, from everything the DIY diaries and forums report, true. The table collects the failure modes we found, their stated cause and what prevents them. The one entry no source could help with is the look of a repair, so plan on never needing one.
One pattern worth naming because it drives the “microcement bathroom problems” searches: the surface photographs flawlessly on handover day and the complaints start in month six. Sealer wear shows first on the shower floor where feet scuff it, then at the vanity where products sit. Duraamen’s guidance that high traffic areas “may need a new topcoat every 3 to 5 years” applies sooner to a shower floor than to a hallway. Budget a resealing visit the way you would budget regrouting, and the finish ages gracefully; skip it and the first stain is permanent.
Microcement colors and textures
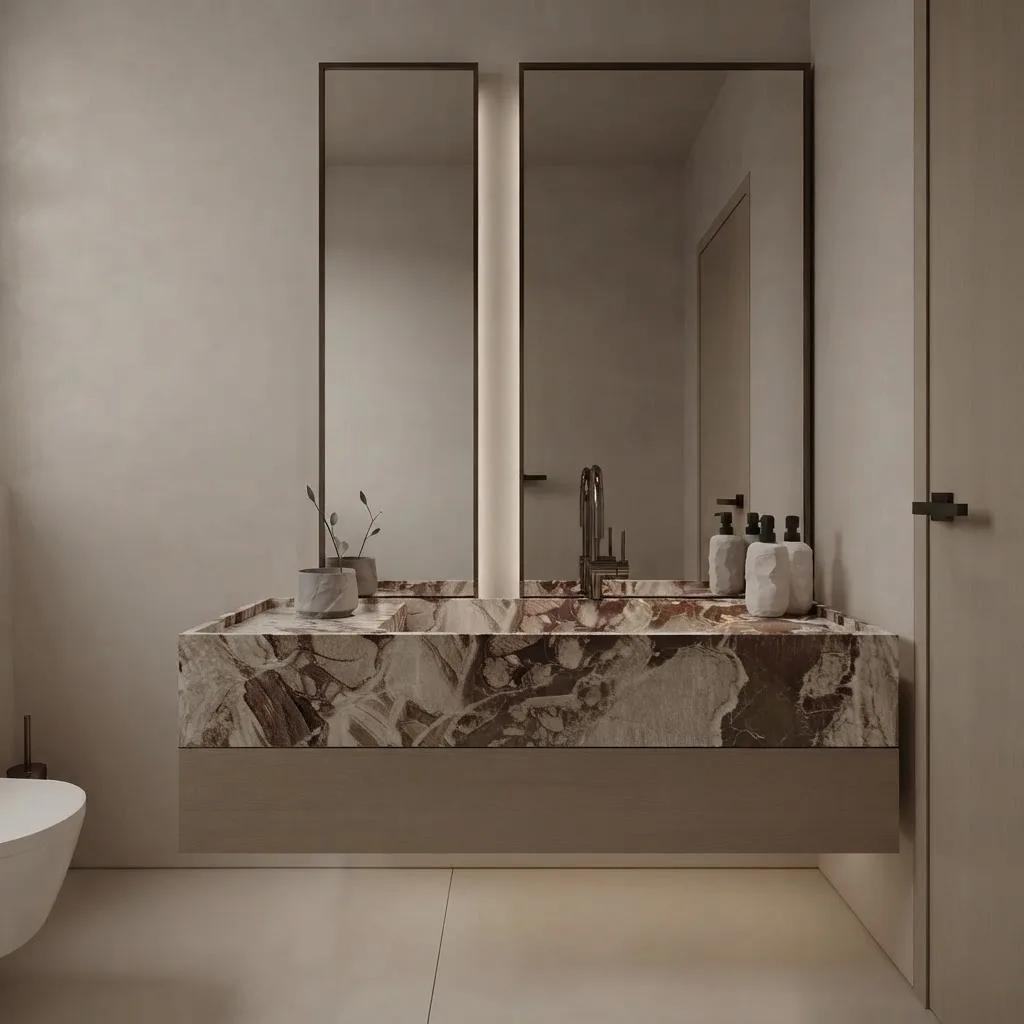
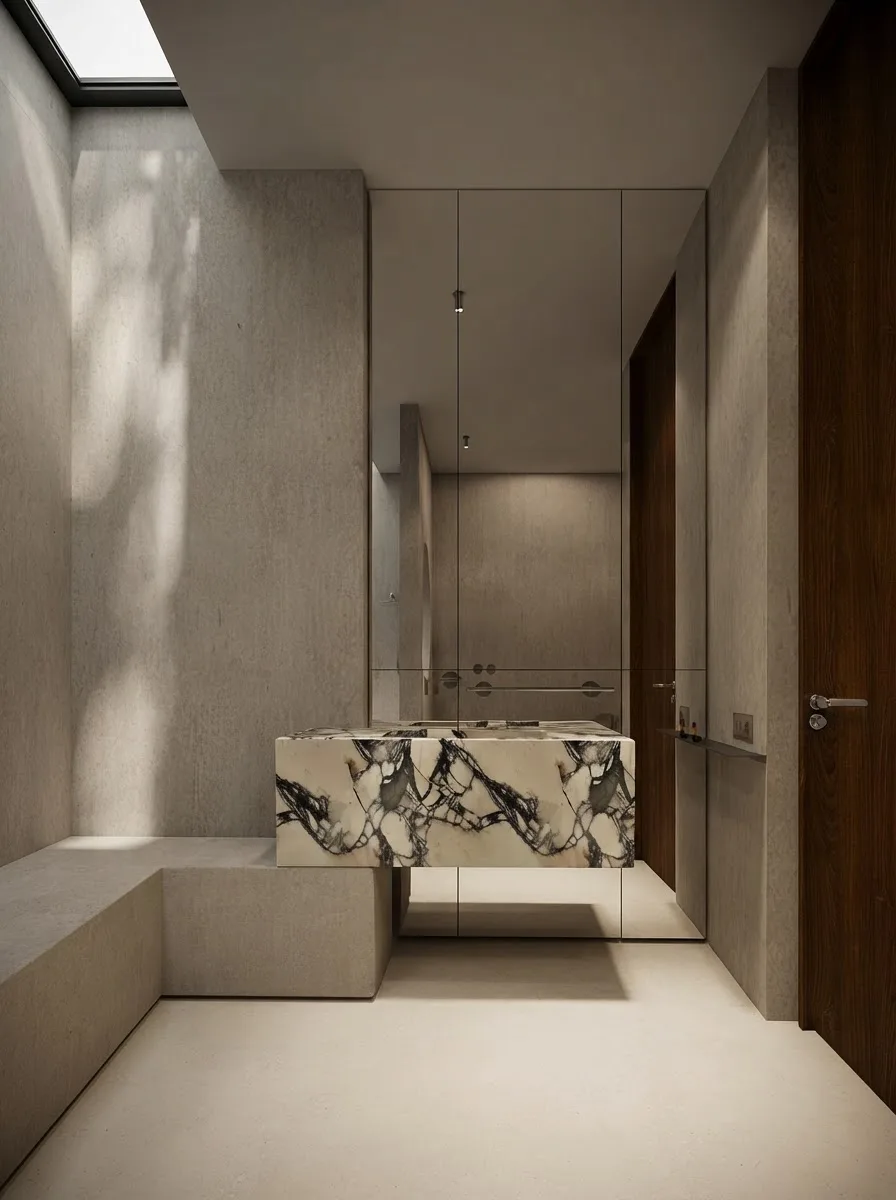
Microcement is pigmented in the mix, so any color is possible, but the finishes that age well in a bathroom are the pale warm greys, greiges, sand and off whites, and the finishes that age badly are the dark charcoals that show every water spot and footprint. EPODEX shows twelve stock colors on its bathroom kit; the professional systems mix to order. Texture is set by the final coat and the trowel: a fine, almost smooth finish for showers and countertops where cleaning matters, a more visible troweled movement on dry walls where the light will catch it. Two things to know before picking from a swatch. Wet microcement is several shades darker than cured microcement, so judge the color after a week, not after an hour. And the sealer changes the depth: matte flattens the tone slightly and hides water marks, satin and gloss deepen the color and show them. A backlit mirror or a window on the long wall does more for a microcement room than any pigment choice.
Microcement vs tile, polished concrete, Roman clay and limewash
Microcement is the only finish in this group rated for a shower floor; everything else wins somewhere else. The short table below is the decision, and the long version of the mineral finishes, where the same wall is shown in all four, is in our limewash vs Venetian plaster vs Roman clay guide, with limewash walls covered on its own.
See microcement in your own bathroom before you hire anyone
The thing no supplier page can give you is your bathroom in the finish rather than a stranger’s. Our AI bathroom design tool has a microcement preset: upload one photo of the room you have now, pick Microcement, and it re-renders the same walls, floor and shower in a seamless warm greige with the tile joints gone and the vanity and window where they are. It is a visualization, not a quote, and it will cheerfully render a seamless shower over a tub that an installer would tell you to keep as a tub, so use it to decide whether you like the look in your light and your layout, then hand the result to the person pricing the work. For a floor on its own, the floor restyle tool has a seamless microcement option that keeps your cabinets and furniture in place, and if you would rather write the brief yourself, the bathroom design prompts include a microcement one that names the finish, the vanity and the light in the order the model needs. The roundup of AI bathroom design tools covers what the alternatives do with the same photo.
What the renders taught us, repeated because it is the single most useful thing in this guide: microcement needs raking light. If your render looks like grey drywall, the room needs a lit mirror or a window on the long wall before it needs plaster.
Sources, and what we could not verify
Every figure above links to the page it came from, and most of those pages belong to companies that sell or install microcement, which is a bias worth keeping in view. We do not sell, install or earn a commission on any of it. The table lists what we used and what we dropped.
Frequently asked questions
What is microcement made of?
A cement base modified with acrylic or latex polymers, fine aggregates and pigment, troweled on in layers about 1 millimeter thick to a total of 2 to 3 millimeters, roughly 1/8 inch, then sealed with a polyurethane varnish. It is not a lime finish and it is not poured concrete; the polymer is what lets it bond to tile and drywall and flex slightly without cracking.
Is microcement waterproof?
Not on its own. It becomes water resistant through its sealer, and a shower also needs a waterproofing membrane underneath. Topciment states a finish is waterproof only if the sealer gives it that capacity, and SEMCO builds its shower system as membrane, two coats and a final sealant. Leave either out and water finds the corners and the drain first.
How much does microcement cost per square foot?
Professionally installed in the US, about $14 to $30 per square foot for a standard floor or wall and $80 to $120 for showers, stairs and tight bathrooms, plus job minimums that in New York run $3,500 to $4,000, per Duraamen. In Europe, 60 to 100 euros per square meter. DIY materials run $2 to $4 per square foot: a $150 EPODEX kit covers 37 square feet of wall, and one measured DIY bathroom used $475 of material.
Can you put microcement over existing tile?
Yes, adding about 1/8 inch with no demolition, provided the tile is sound, degreased and primed and every grout line is filled flush. An unfilled joint shows through as a faint grid once the finish dries, and a hollow or cracked tile will crack the coating along its edges, so tap test the wall and remove anything loose before the primer goes on.
Does microcement crack?
The coating is flexible but it copies any movement underneath it. Cracks come from an unrepaired substrate, a filled expansion joint, a wood floor that swells and shrinks, or a thin low grade product; Topciment calls cracks 100 percent certain over an unrepaired base. Mesh in the base coat, open slab joints and a stable backer board are what keep a floor or shower crack free.
How long does microcement last?
SEMCO gives 15 to 20 or more years when installed and maintained correctly. The sealer wears before the cement does, so high traffic floors may need a new topcoat every 3 to 5 years and a shower floor sooner. A shower that fails usually fails in the first year at a corner or drain, which is an installation fault rather than age.
Is a microcement floor slippery when wet?
With a matte sealer, roughly as grippy as matte porcelain, helped by the fine trowel texture. With a gloss sealer, slippery. Anti slip sealers and additives exist, some tested to R10 under DIN 51130, so specify matte or anti slip for any wet floor and ask for the slip report of the complete system rather than the sealer alone.
Can you DIY microcement?
A wall or a dry floor, yes, with patience: kits are available, the coats go on with a drywall knife or trowel, and sanding is the hard part. People who finished a bathroom themselves report about three months, 22 sheets of 80 grit paper, batch to batch color lines and tape that bonds to the cured coat. The shower enclosure is where most of them, and every installer, say to hire it out.